


Setting up a Mac Mini is all about maximizing performance in a small, powerful package. Whether you’re a designer, developer, or casual user, the right accessories can completely change how your workspace feels and functions.
Even small upgrades like the right hub, monitor, or SSD can make your setup more efficient and organized.
In this post, I’ll help you choose the best accessories, explain how to expand your ports safely, and share tips to build a clean, comfortable desk setup that works for your daily routine.
Let’s start by looking at one of the most important details people often overlook.
Knowing Your Mac Mini Ports (M1–M4)
Before you buy, take a moment to understand your Mac Mini’s ports. Each version has different USB4 or Thunderbolt ports, so knowing them helps avoid buying the wrong accessories.
Certified USB4 hubs and cables are worth the price because they’re faster and more reliable. They also reduce the risk of connection drops when transferring large files or connecting multiple devices.
Check how many ports you use daily for drives, displays, and input devices. Planning ahead ensures your hub or dock has the right mix of power delivery, speed, and connectivity for your workflow.
Start With the Essentials
- Monitor: Choose one with at least 1440p resolution for sharp visuals. Go for a 4K display if you edit videos or work with detailed graphics.
- Keyboard: Pick macOS-compatible models like the Keychron or Apple Magic Keyboard. They offer smoother typing and better shortcuts.
- Mouse: The Logitech MX Master 3S is ideal for multitasking and precision work. It connects easily and works across multiple devices.
- Trackpad:Apple’s Magic Trackpad gives natural gesture control and a smooth workflow.
- External SSD: Add a portable SSD to expand storage and back up files quickly. It keeps your data safe and your Mac Mini running efficiently.
These basics create a reliable foundation for your setup and make everyday tasks feel more seamless and productive.
Best Hubs and Docks to Expand Ports
Hubs and docks can turn your Mac Mini into a full workstation with all the ports you need. They let you connect displays, drives, and accessories easily while keeping your desk clean. A reliable hub ensures fast data transfer and stable performance for daily use.
1. Mac Mini-Shaped Hubs (With SSD Enclosure)
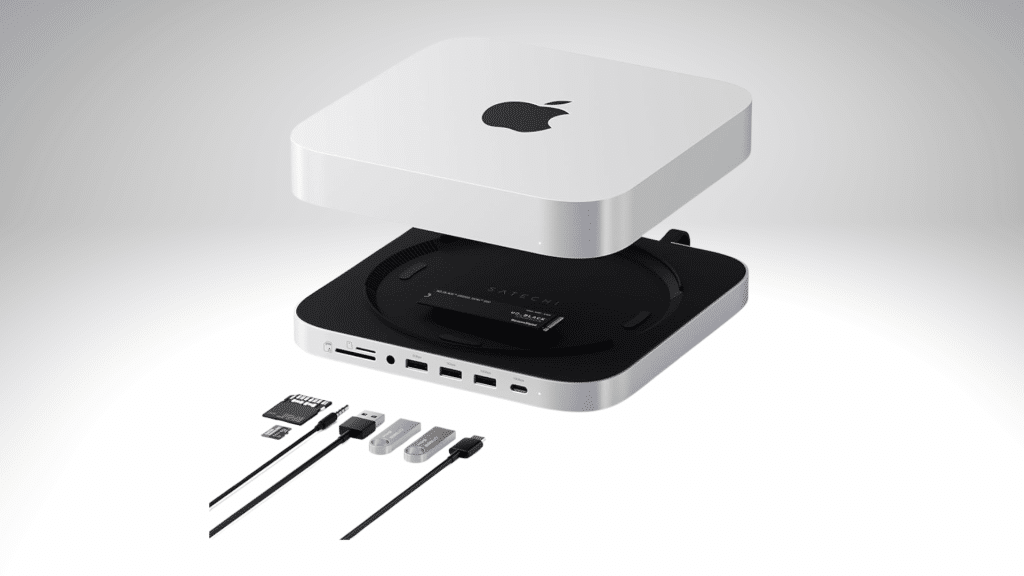
These hubs fit neatly under your Mac Mini and match its aluminum design. They often include USB-A and USB-C ports, SD card slots, and an NVMe SSD bay for extra storage.
Brands like Satechi, UGREEN, Beelink, and ORICO offer dependable models. They’re perfect for anyone who wants an integrated, clutter-free way to expand ports and add storage.
Look for hubs with proper ventilation and aluminum housing to avoid heat issues. USB4 support is also worth having for faster speeds and future-proof performance.
2. Thunderbolt & USB4 Docks
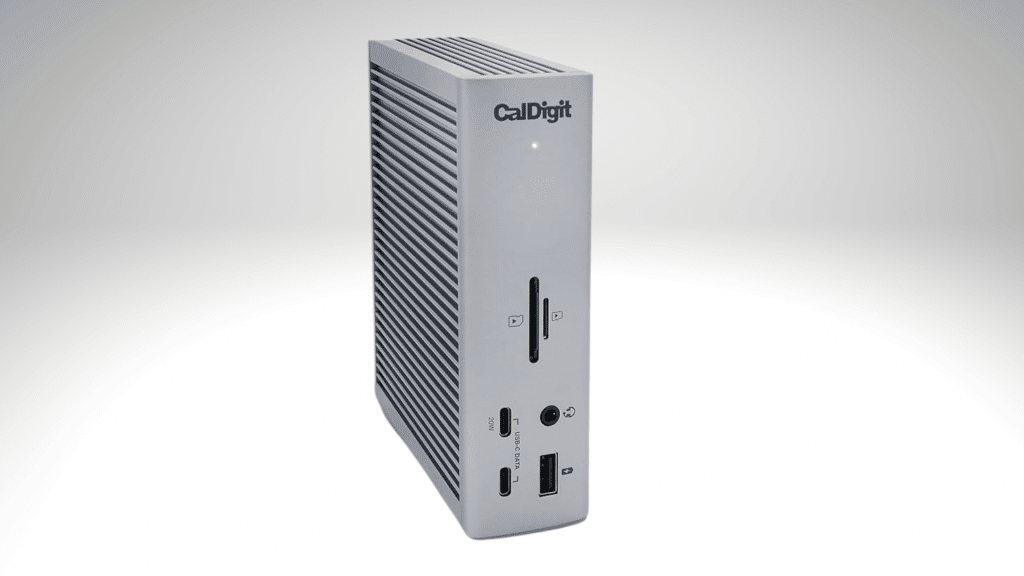
Thunderbolt and USB4 docks are designed for power users with heavy workflows. They offer high-speed data transfer, multiple display support, and strong network connections.
Most models include extra USB-C ports, DisplayPort or HDMI, and up to 100W power delivery. Go for trusted brands like CalDigit, UGREEN, or OWC.
They’re great for video editing, development, or multitasking setups. Pick one that supports your monitor configuration and external drive needs.
3. Portable USB-C Hubs
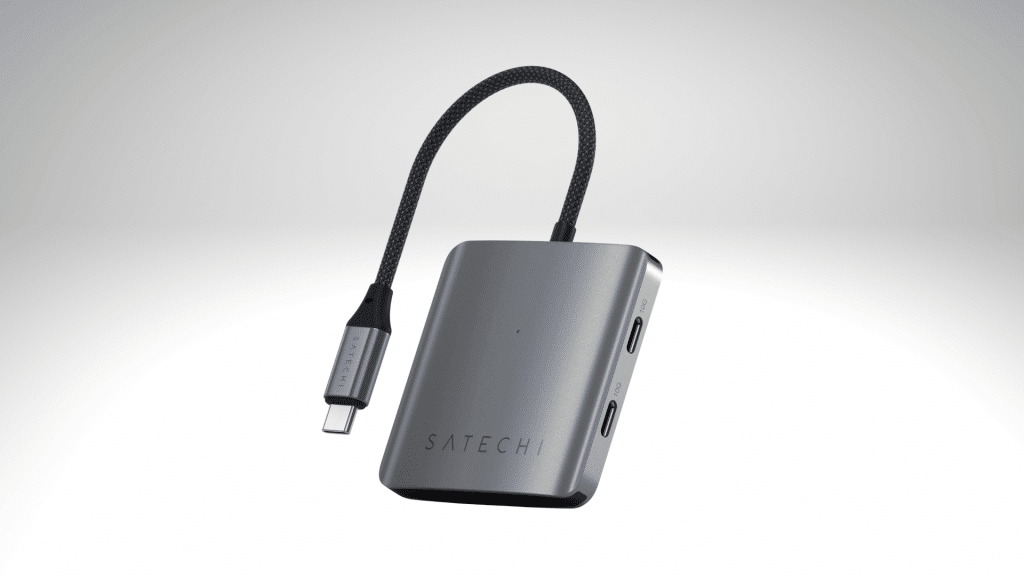
Compact USB-C hubs are ideal for simple setups or travel. They provide basic ports like HDMI, USB-A, and SD card readers without taking up much space.
Prices range from $10 to $150, depending on features and material. Choose a hub with pass-through charging to power your Mac Mini while connected to other devices.
These are great for users who only need light connectivity. They’re affordable, versatile, and easy to carry between workspaces.
External SSDs That Feel Built-In
Adding an external SSD enhances performance, providing fast, quiet, and reliable storage. NVMe drives are faster for editing or transferring large files, while SATA options are cheaper for backups.
| Brand | Speed | Capacity | Best For | Buy From |
|---|---|---|---|---|
| Samsung T9 | Up to 2000 MB/s | 1–4TB | Creators | Amazon, B&H |
| Crucial X9 | Up to 1050 MB/s | 1–4TB | General use | Amazon, Best Buy |
| SanDisk Extreme | Up to 1000 MB/s | 1–2TB | Portability | Amazon |
| WD Black | Up to 2000 MB/s | 1–4TB | Heavy workloads | Amazon, B&H |
Most external SSDs’ costs depend on speed and capacity. They’re one of the easiest and most valuable upgrades for your Mac Mini. Format SSDs in APFS for macOS or ExFAT for cross-platform use.
Webcam, Microphone, and Lighting Setup
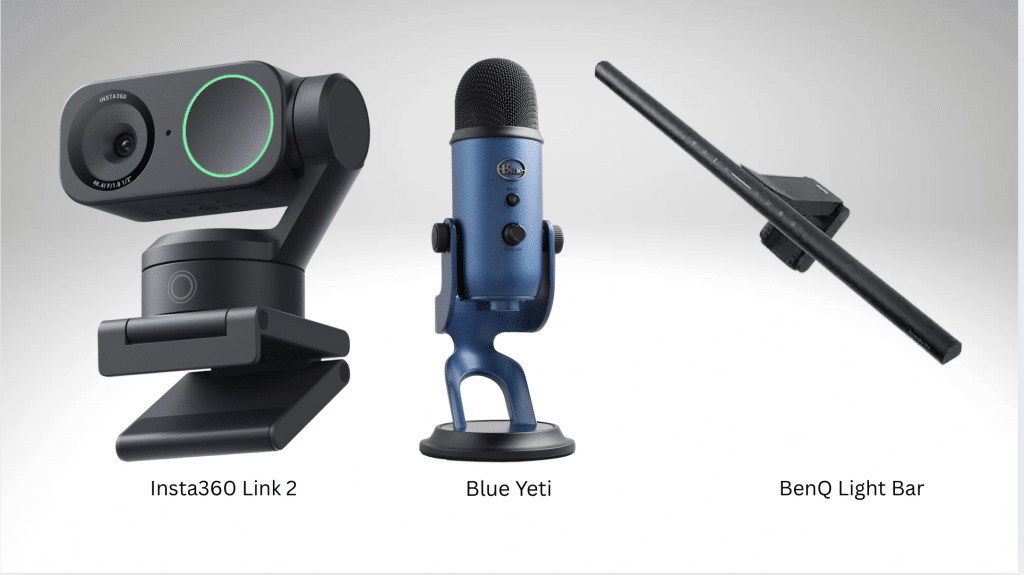
Since the Mac Mini lacks a built-in camera and microphone, adding them is essential. Good accessories enhance your appearance and sound in meetings or recordings.
- Webcams like the Insta360 Link 2 or Logitech Brio offer excellent clarity and auto-tracking capabilities.
- For sound, the Blue Yeti or Rode NT-USB mics deliver clean, professional audio.
- A BenQ Light Bar provides balanced lighting and helps reduce eye strain.
These upgrades help create a professional and comfortable workspace.
Stands, Mounts, and Desk Comfort
A clean, ergonomic setup makes work feel easier. The Mac Mini features vents or hidden SSD slots to enhance airflow and storage.
Monitor risers help raise your screen to eye level, preventing strain. Use cable sleeves, clips, and trays to organize wires neatly and keep your desk clear.
These small accessories usually cost between $30 and $100. They’re simple upgrades that make a big difference in comfort and appearance.
Power, Safety, and Backups
Protecting your setup keeps it running longer. A surge protector shields against voltage spikes, and a UPS maintains steady power during outages.
Set up Time Machine or a cloud backup to automatically secure your files. Label cables and use power switches to simplify daily maintenance.
Trusted brands like APC, Anker, and Belkin offer reliable options from $83 to $150. Investing here saves you from costly surprises later.
Before You Buy – Compatibility & Warranty Checklist
Before adding any new gear to your setup, take a few minutes to double-check compatibility and warranty details. Here’s a simple checklist to guide your purchase:
Compatibility
- Confirm your Mac Mini model (M1–M4) before buying any hub or dock.
- Make sure accessories support USB4 or Thunderbolt 4 for full speed and stability.
- Check that any hub or dock can handle your monitor setup (especially 4K or dual displays).
- Verify that the accessory works with the latest macOS version and firmware updates.
- If your home setup includes older devices, ensure backward compatibility for USB-A or HDMI.
Quality & Warranty
- Choose trusted brands such as Apple, Satechi, UGREEN, Anker, or CalDigit.
- Review return policies, especially for electronics that may need testing.
- Check for at least a 1-year manufacturer warranty or extended coverage through retailers.
- Avoid unbranded or uncertified accessories; they often cause connectivity or heat issues.
Buying Tips
- Buy directly from official stores or verified sellers like Apple, Best Buy, or Amazon.
- Keep product receipts and serial numbers for warranty claims.
- Register your accessories when possible to simplify future support.
Following this checklist helps ensure your Mac Mini accessories are safe, compatible, and built to last
Compare and Shop Top Mac Mini Accessories
Finding the right accessory can be challenging with the numerous options available. Here are some picks that strike a balance between performance, quality, and value for every type of user:
| Category | Top Pick | Best For | Available At |
|---|---|---|---|
| Hub + SSD | Satechi Staand & Hub | Everyday use | Satechi, Amazon |
| Dock | UGREEN USB4 Dock | Multi-monitor setups | UGREEN, Best Buy |
| External SSD | Samsung T9 | Creators | Amazon, B&H |
| Keyboard | Keychron K3 | Compact desks | Keychron, Apple |
| Mouse | Logitech MX Master 3S | Productivity | Logitech, Apple |
| Stand | Spigen LD203 | Airflow & storage | Spigen, Amazon |
All listed accessories are compatible with M1 to M4 Mac Minis. They’re well-rated, reliable, and available through official or verified stores.
Recommended Desk Kits by Use Case
Each kit simplifies your buying decisions by grouping together what works best. Start small and expand as your needs grow.
- The Budget Setup includes a basic USB-C hub, a 1080p monitor, a portable SSD, and a Logitech M650 mouse.
- The Creator Setup combines an NVMe hub, a color-accurate monitor, a card reader, and a studio mic.
- Developers can build a Developer Setup with dual monitors, a wired keyboard, a multi-port dock, and a UPS.
- For everyday work, the Office Setup includes a compact dock, webcam, ergonomic stand, and neat cable setup.
Quick Setup Tips
Setting up your new accessories is simple and only takes a few minutes. Follow these quick steps to keep everything running smoothly from the start.
Connection Order: Plug in power first, then your display, hub, SSD, and other devices. This sequence ensures stable detection and fewer connection issues.
Speed Testing: Use Disk Utility or a speed test app to check your SSD’s performance. It helps confirm that your drive is running at full speed.
Troubleshooting: If something doesn’t appear or connect right away, restart your Mac Mini. Most minor detection problems are fixed instantly after a reboot.
Once everything is connected and tested, your setup will run reliably and feel faster overall. A few minutes of care here saves hours of frustration later.
Conclusion
The right Mac mini accessories can completely change how your setup looks and performs. A few smart choices make everyday work faster, smoother, and more enjoyable.
Quality matters more than quantity when it comes to upgrading. Investing in the right hubs, SSDs, and comfort tools saves time and keeps your desk organized.
Start by picking one or two essentials from this list and build your setup around them. When you’re ready, check these accessories online or at trusted stores to create a workspace that truly fits your needs.