


ISO on a camera controls how bright or dark your photo appears. It is one of the three main settings that affect exposure, along with aperture and shutter speed.
When you change ISO, you are not changing how much light enters the camera. You are adjusting how bright the final image looks based on the light already captured.
Understanding ISO helps you handle low light, avoid blurry shots, and keep image quality under control.
This guide explains what ISO means, how it works, and how to use it with confidence in real shooting situations.
What ISO Means on a Camera
ISO is a camera setting that controls how bright or dark your photo appears. It helps you adjust exposure when lighting conditions change.
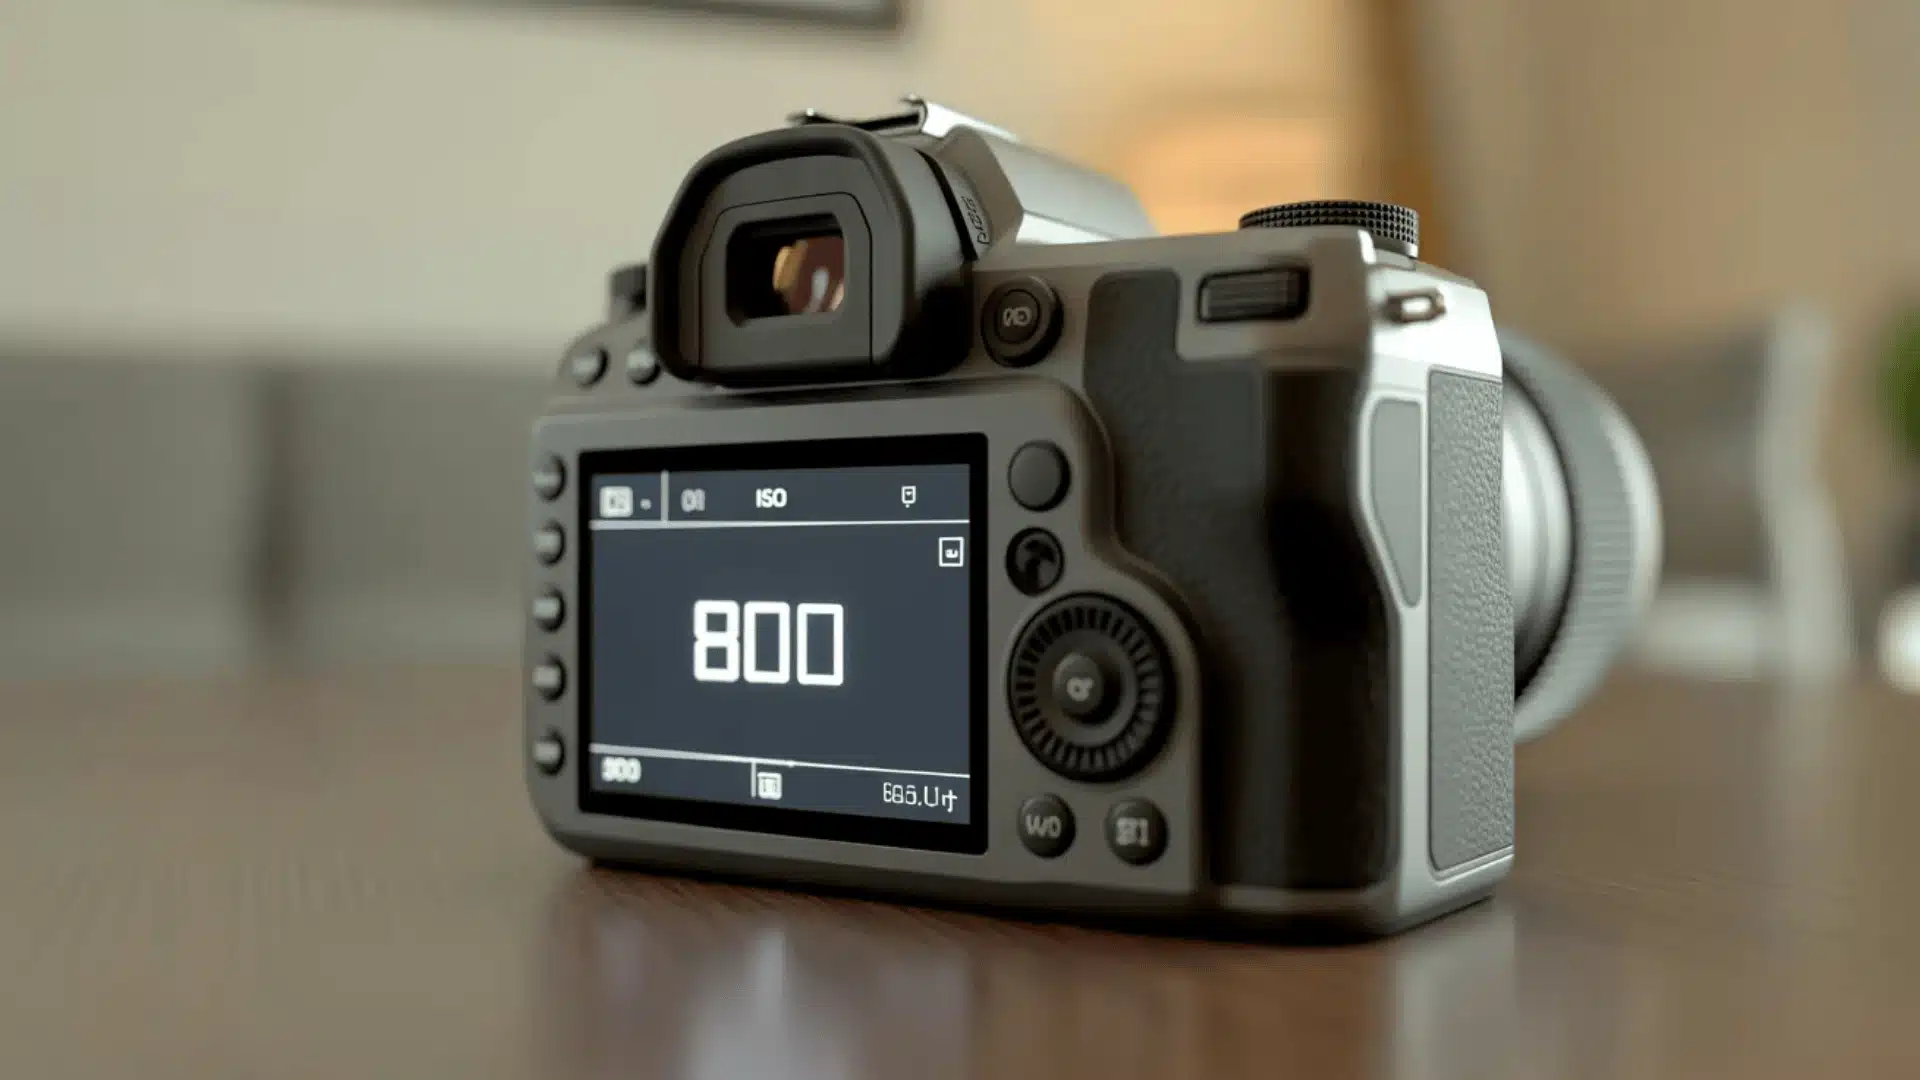
ISO is represented by numbers such as 100, 200, 400, 800, and higher. Each increase typically doubles the brightness of the image while keeping other settings the same.
A lower ISO value, such as 100 or 200, results in a darker, higher-quality image. A higher ISO value, such as 1600 or above, produces a brighter image but may introduce visible grain or noise.
The term “ISO” comes from the International Organization for Standardization, which developed a unified system for rating film sensitivity.
This numbering system was later adopted by digital cameras to maintain consistency with film photography.
ISO is often described as controlling a camera’s sensitivity to light, and this is a helpful way to understand it at a basic level.
In practice, ISO does not change how much light the sensor captures. Instead, it adjusts how bright the image appears after the light has been recorded.
How ISO Actually Works
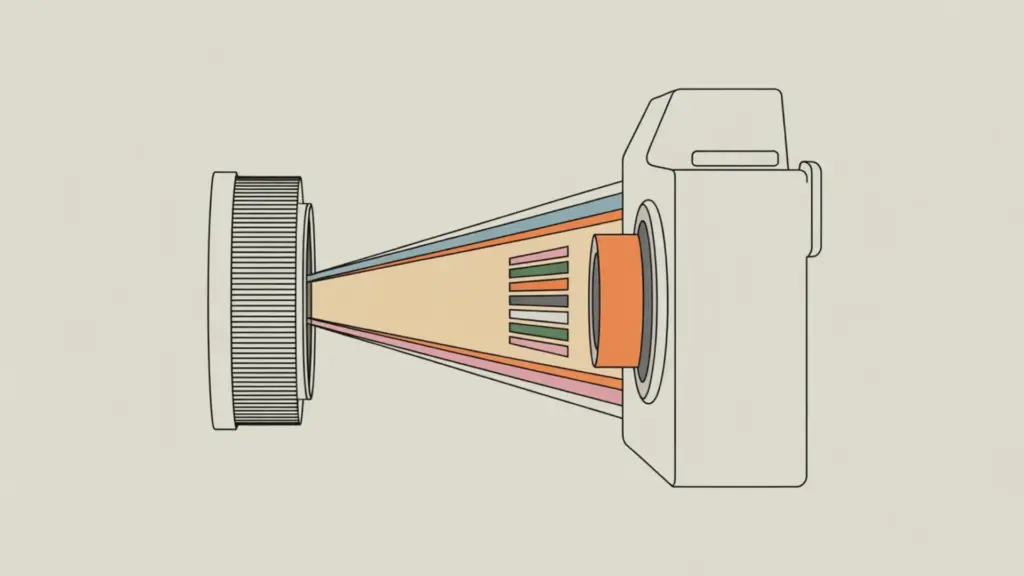
The camera sensor captures a fixed amount of light when you take a photo. This amount is determined only by the aperture and shutter speed, not by the ISO setting.
ISO works by amplifying the electrical signal produced by the light that the sensor has already captured. This amplification makes the image appear brighter without increasing the actual light entering the camera.
Because ISO amplifies the existing signal, the final photo is brighter even in low-light conditions.
However, this process can also make imperfections in the signal more visible, which is why higher ISO values often introduce noise.
A helpful way to understand ISO is to think of it as a volume or gain control on a speaker. Turning up the volume makes the sound louder, but it does not change the original recording—similarly, increasing ISO brightens the image without adding more light.
Note: ISO is commonly explained as increasing sensitivity, which works as a simple mental model. Technically, it increases brightness by amplifying the captured signal.
How ISO Affects Your Photos

ISO directly influences how bright your images appear and how much detail they retain. Understanding this balance helps you make better decisions when shooting in different lighting conditions.
Brightness Effect
Increasing the ISO makes your photo brighter, allowing you to capture images in low-light environments.
This adjustment helps achieve proper exposure when changing aperture or shutter speed is not practical.
By boosting brightness, ISO ensures scenes with limited light can still be recorded clearly. This makes it essential for indoor, night, or fast-action photography.
Doubling ISO Roughly Doubles Brightness
ISO values follow a standardized scale where each step represents a doubling of brightness. Moving from ISO 100 to ISO 200 doubles brightness, and increasing to ISO 400 doubles it again.
This predictable progression allows photographers to make quick and accurate exposure adjustments.
It also helps maintain consistency when transitioning between different lighting conditions.
Example Progression (100 → 200 → 400)
Common ISO values include 100, 200, 400, 800, 1600, and 3200, forming a logical sequence. Each step up increases brightness, while each step down decreases it, making the scale easy to understand and apply.
This progression helps photographers anticipate how exposure will change with each adjustment. It also simplifies learning manual camera controls for beginners.
Image Quality and Noise Impact
Higher ISO settings can reduce overall image quality by introducing visible noise and softening fine details.
This happens because increasing ISO amplifies both the image data and unwanted signal interference.
As amplification increases, grain and color speckles may appear, especially in darker areas. Dynamic range can also decrease, resulting in highlights and shadows losing detail.
Trade-Off Principle
Using ISO always involves balancing brightness and image quality. Lower ISO values produce cleaner images, while higher ISO values provide sufficient brightness in challenging lighting conditions.
Photographers must evaluate the scene to decide which compromise is acceptable. In many situations, capturing a slightly noisy image is preferable to missing the shot.
No “Free” Increase in Brightness
Increasing ISO does not increase the amount of light in the scene; it simply amplifies the signal captured by the camera. Every increase in brightness, therefore, comes with potential drawbacks in image quality.
Understanding this limitation helps photographers make informed exposure decisions. Recognizing that there is no “free” brightness ensures more intentional use of ISO.
ISO is a powerful tool for controlling brightness, but every increase comes at the cost of image quality. Balancing this trade-off is key to capturing well-exposed and detailed photographs.
Why High ISO Creates Noise (Grain)
Increasing ISO is often necessary in low-light conditions, but it introduces visible noise that can reduce image quality. Understanding how and why this happens helps photographers make better exposure decisions.
Source, Process, and Result of Noise
- Source: Electronic and photon noise naturally exist in every image captured by a camera sensor. These small fluctuations are present even at low ISO levels but are usually too subtle to notice.
- Process: When ISO is increased, the camera amplifies the entire electrical signal from the sensor. This amplification simultaneously boosts both the useful image data and the inherent noise.
- Result: The amplified noise becomes visible as grainy textures and colored speckles in the image. This also leads to a loss of fine detail and overall sharpness.
Additional Effect: Reduced Dynamic Range
- Higher ISO settings raise the noise floor, which reduces the camera’s dynamic range. This limits the ability to capture detail in both highlights and shadows.
- As tonal information is compressed, highlights may appear blown out, while shadows can look muddy. This results in a less balanced and less detailed final image.
When Noise Becomes Most Noticeable
- Low-Light Situations: Noise is more apparent when shooting in dim environments where higher ISO values are required. Limited light forces greater signal amplification, making grain more visible.
- Higher ISO Ranges (1600+): Noise typically becomes increasingly noticeable at ISO 1600 and above. The exact threshold varies depending on sensor size and camera technology.
Note: ISO does not create new noise in an image. It simply amplifies the existing noise, making it more visible in the final photo.
Understanding ISO Values and What the Numbers Mean
ISO numbers follow a standardized scale that indicates how much the camera amplifies the light it captures. Common values include 100, 200, 400, 800, 1600, 3200, and 6400 or higher.
Each step up the ISO scale represents a doubling of brightness. For example, an image taken at ISO 200 will appear twice as bright as one taken at ISO 100, assuming other settings remain unchanged.
Low ISO values, typically 100-200, involve minimal signal amplification. These settings produce the cleanest images, with the least noise and the highest level of detail.
High ISO values, such as 1600 and above, apply heavier amplification to the captured signal. While this increases brightness in low-light situations, it also introduces more visible noise and reduces overall image clarity.
Base ISO refers to the lowest native ISO setting of a camera, often ISO 100 or 200, depending on the model.
Shooting at base ISO delivers the best possible image quality with maximum dynamic range and minimal noise.
Using extremely high ISO settings can lead to significant image degradation. Excessive noise, color speckles, and loss of detail may render photos unsuitable for large prints or professional use.
Aperture vs. Shutter Speed vs. ISO: Clarifying the Difference
Understanding ISO becomes easier when you compare it with aperture and shutter speed.
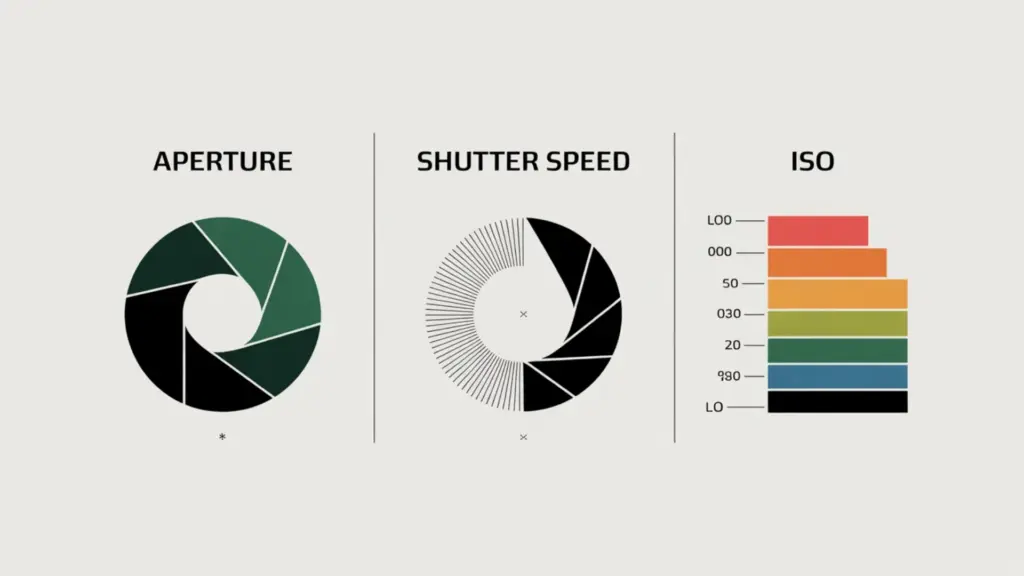
Aperture controls how much light enters the lens. A wider opening lets in more light and makes the image brighter.
Shutter speed controls how long the sensor is exposed to light. A slower shutter speed allows more light to build up, making the image brighter.
ISO works differently. It does not control incoming light. It only makes the final image brighter by amplifying the captured signal.
In simple terms:
- Aperture = how much light enters
- Shutter speed = how long light enters
- ISO = how bright the image appears
When ISO Helps and When It Becomes a Problem
ISO plays a practical role in achieving proper brightness when lighting conditions are challenging. Understanding when to use it ensures better image quality and more effective exposure control.
When ISO Helps
-
Low-Light Situations: Increasing ISO lets you capture brighter images in dim environments, such as indoors or at night. This helps maintain proper exposure when available light is insufficient.
-
Fast Motion: A higher ISO enables the use of faster shutter speeds to freeze moving subjects. This is especially useful in sports, wildlife, or action photography where motion blur must be avoided.
Why It Becomes Necessary
ISO becomes essential when aperture and shutter speed alone cannot provide sufficient brightness.
For example, opening the aperture further may not be possible, or slowing the shutter speed could introduce blur.
In such cases, raising ISO helps achieve a balanced exposure without compromising sharpness. It acts as a supportive adjustment when other exposure settings reach their practical limits.
When It Fails
Excessively high ISO settings can significantly reduce image quality.
Increased noise, loss of fine detail, and reduced dynamic range may make the photo unsuitable for professional or large-format use.
ISO also cannot fix fundamentally poor lighting conditions. If the scene lacks sufficient light or contrast, increasing ISO will only amplify imperfections rather than improve the overall image.
Core Principle: ISO is a compromise tool rather than a primary exposure solution. It should be increased only when aperture and shutter speed cannot provide sufficient brightness while maintaining image quality.
Common ISO Myths that Cause Confusion
Many beginners encounter misleading explanations about ISO, leading to confusion about how it truly works. Clarifying these myths helps build a more accurate understanding of exposure and image quality.
“ISO Changes Sensor Sensitivity”
The camera sensor has a fixed physical sensitivity to light that does not change with ISO adjustments. ISO simply modifies how the captured signal is processed after exposure.
Increasing ISO amplifies the electrical signal from the sensor, making the image appear brighter. This amplification does not increase the amount of light captured by the camera.
“Higher ISO Means Better Low-Light Performance”
Higher ISO settings help achieve brighter images in low-light situations when other settings are limited. This makes it easier to maintain faster shutter speeds or narrower apertures.
However, increasing ISO also amplifies noise and reduces overall image quality. While it enables shooting in dim conditions, it does not improve the actual lighting of the scene.
“ISO is Part of Exposure”
Aperture and shutter speed determine the actual exposure by controlling how much light reaches the sensor. ISO does not influence the amount of light captured during the exposure.
Instead, ISO adjusts the brightness of the recorded image after the light has been captured. Understanding this distinction prevents confusion when balancing the exposure triangle.
“You Should Always Use Low ISO”
Using a low ISO generally produces cleaner images with minimal noise and better dynamic range. This makes it ideal for well-lit environments with sufficient light.
However, in real-world scenarios, higher ISO settings are often required to avoid motion blur or underexposure. Increasing ISO when necessary ensures sharp and usable images despite challenging lighting conditions.
Understanding these common ISO myths helps photographers make more informed decisions when adjusting camera settings. Recognizing the true role of ISO leads to better exposure control and improved image quality.
Simple Mental Model to Remember ISO
A simple mental model helps beginners quickly understand how ISO affects their photos. This clarity makes it easier to apply ISO settings confidently in real shooting situations.
- ISO = Brightness Control Through Amplification: ISO increases image brightness by amplifying the captured signal rather than adding more light.
- Low ISO = Clean Image, Needs More Light: Lower ISO values produce the best image quality with minimal noise but require sufficient lighting.
- High ISO = Brighter Image, More Noise: Higher ISO values make images brighter in low light but introduce visible grain and reduce detail.
- Increase ISO Only When Necessary: Raise ISO only when aperture and shutter speed cannot provide enough brightness for a proper exposure.
- Every ISO Change Has a Cost: Each increase in ISO involves a trade-off between achieving brightness and maintaining image quality.
ISO is best understood as a brightness adjustment tool that comes with unavoidable trade-offs. Using this mental model helps photographers balance exposure while preserving image quality.
Wrapping Up
Now that you understand what ISO means on a camera, you can confidently adjust this setting to achieve the right balance between brightness and image quality.
With this knowledge, you’re better equipped to handle various lighting situations and avoid common mistakes.
Start experimenting with your camera’s ISO settings today to capture sharper, well-exposed images and elevate your photography skills.
Frequently Asked Questions
What is Auto ISO, and when should it be used?
Auto ISO automatically adjusts sensitivity based on lighting conditions, making it ideal for situations with changing light or when quick shooting is required.
Is ISO performance the same across all cameras?
No, ISO performance varies by sensor size and technology, with larger sensors generally producing cleaner images at higher ISO values.
Does ISO impact battery life?
ISO has minimal impact on battery life, though higher processing for noise reduction may cause a slight increase in power consumption.