




Knowing how to reset iPhone devices safely can prevent data loss or choosing a stronger reset than the situation requires. A frozen screen, forgotten passcode, software issue, or planned sale may each need a different approach.
Before changing anything, check what stays on the device, what may be erased, and whether a recent backup is available. I have seen simple restart problems turn into unnecessary data loss because the reset options were misunderstood.
The steps below explain how to choose the right reset, protect personal information, manage eSIM and Activation Lock, and confirm that the process has finished correctly.
How to Reset iPhone Based on the Problem
Resetting an iPhone can mean several things, so the right choice depends on the problem you are dealing with. I have seen people erase their phone when a simple restart could have fixed it. This comparison makes each option and its steps easier to understand.
| Reset option | When to use it | What happens | How to do it |
|---|---|---|---|
| Restart | Minor bugs, slow performance, or an app behaving strangely | Reloads iOS without removing personal data | Hold the side button and either volume button. Drag the Power Off slider, wait, then hold the side button until the Apple logo appears. |
| Force Restart | A frozen, stuck, or unresponsive screen | Reloads iOS while keeping photos, apps, messages, accounts, and settings | Quickly press Volume Up, quickly press Volume Down, then hold the side button until the Apple logo appears. |
| Reset Settings | Wi-Fi, keyboard, privacy, location, or Home Screen problems | Restores selected preferences without deleting personal files | Open Settings > General > Transfer or Reset iPhone > Reset. Choose the setting you want to reset and confirm. |
| Factory Reset | Selling, trading in, giving away, or rebuilding the iPhone | Removes apps, accounts, local files, payment cards, and settings | Open Settings > General > Transfer or Reset iPhone > Erase All Content and Settings. Tap Continue, choose an eSIM option, then enter your passcode and Apple Account password. |
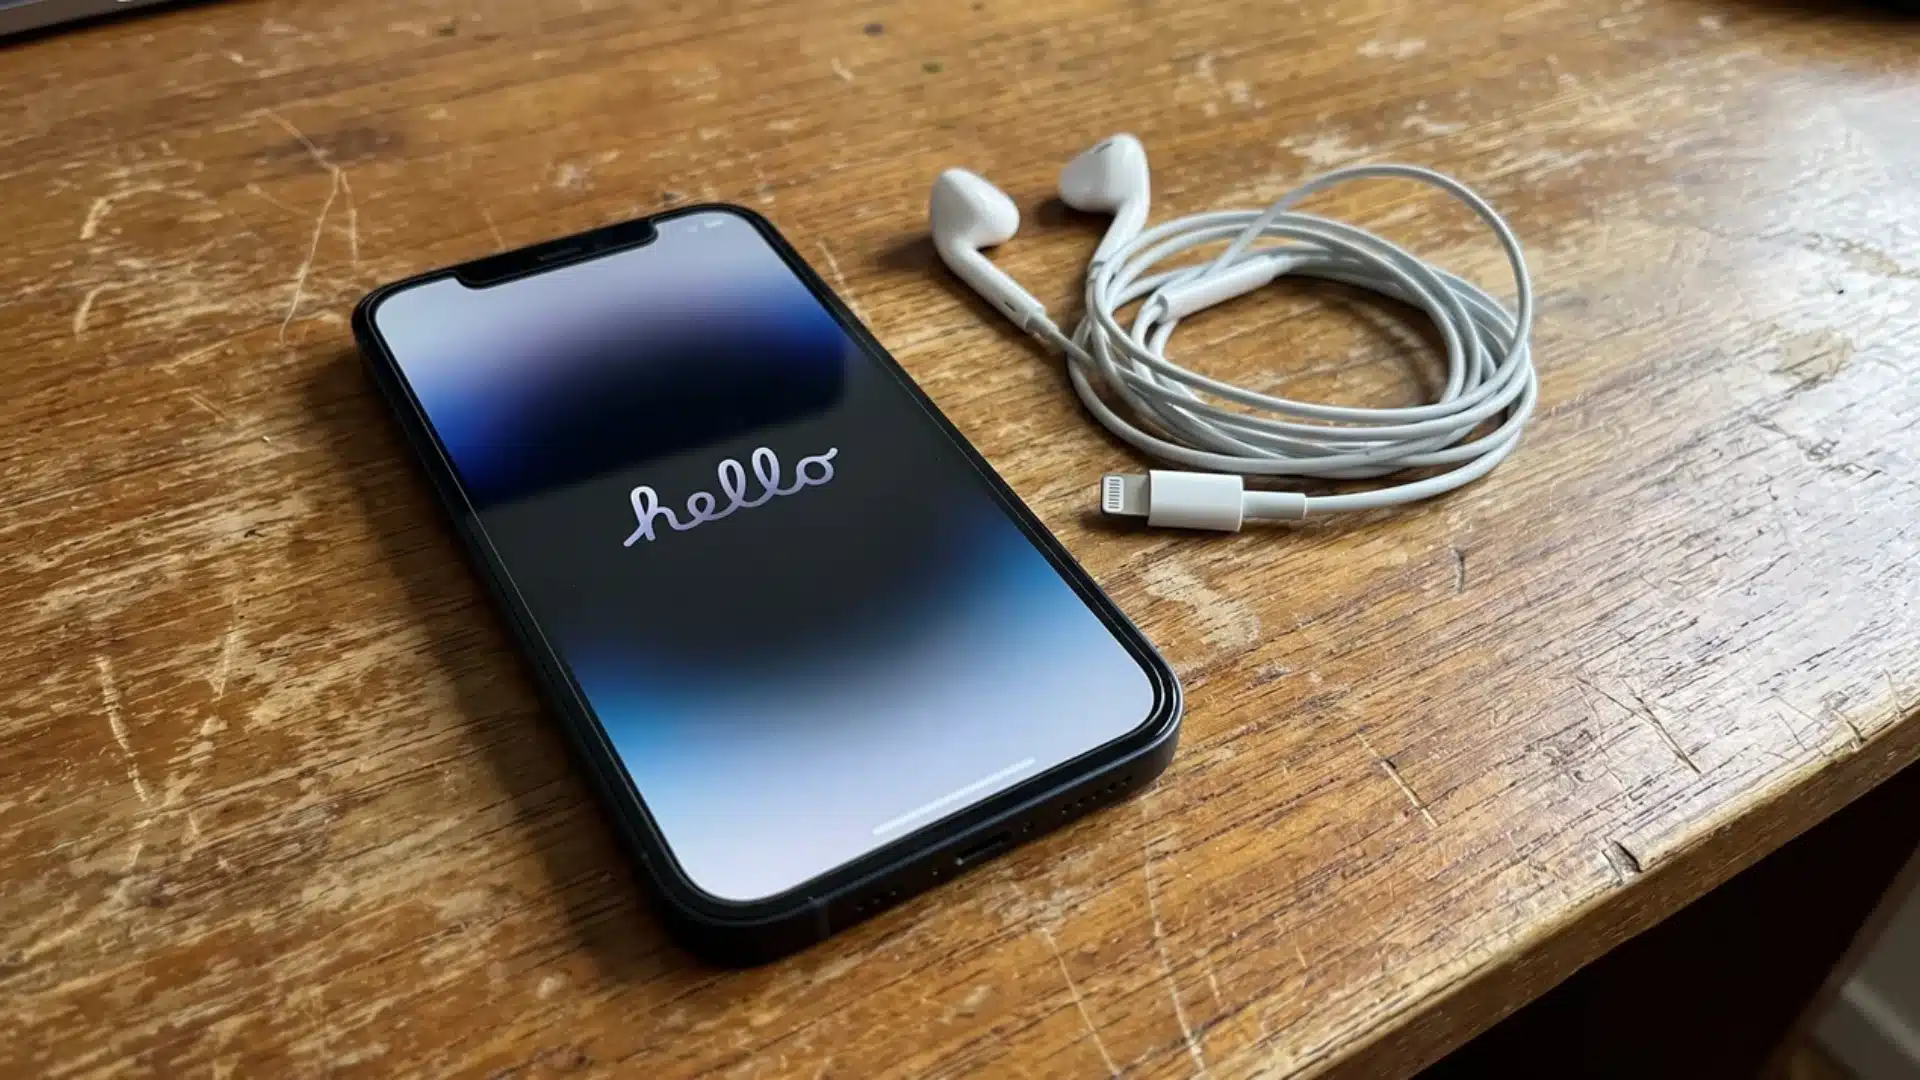
Start with the least disruptive option and move to a stronger reset only when the problem continues. If a factory reset is on the table because you’re eyeing the newest iPhone lineup as your next device, it’s worth confirming your backup is complete first, since the process removes personal content and returns the iPhone to the Hello screen.
What Should You Do Before Factory Resetting an iPhone?
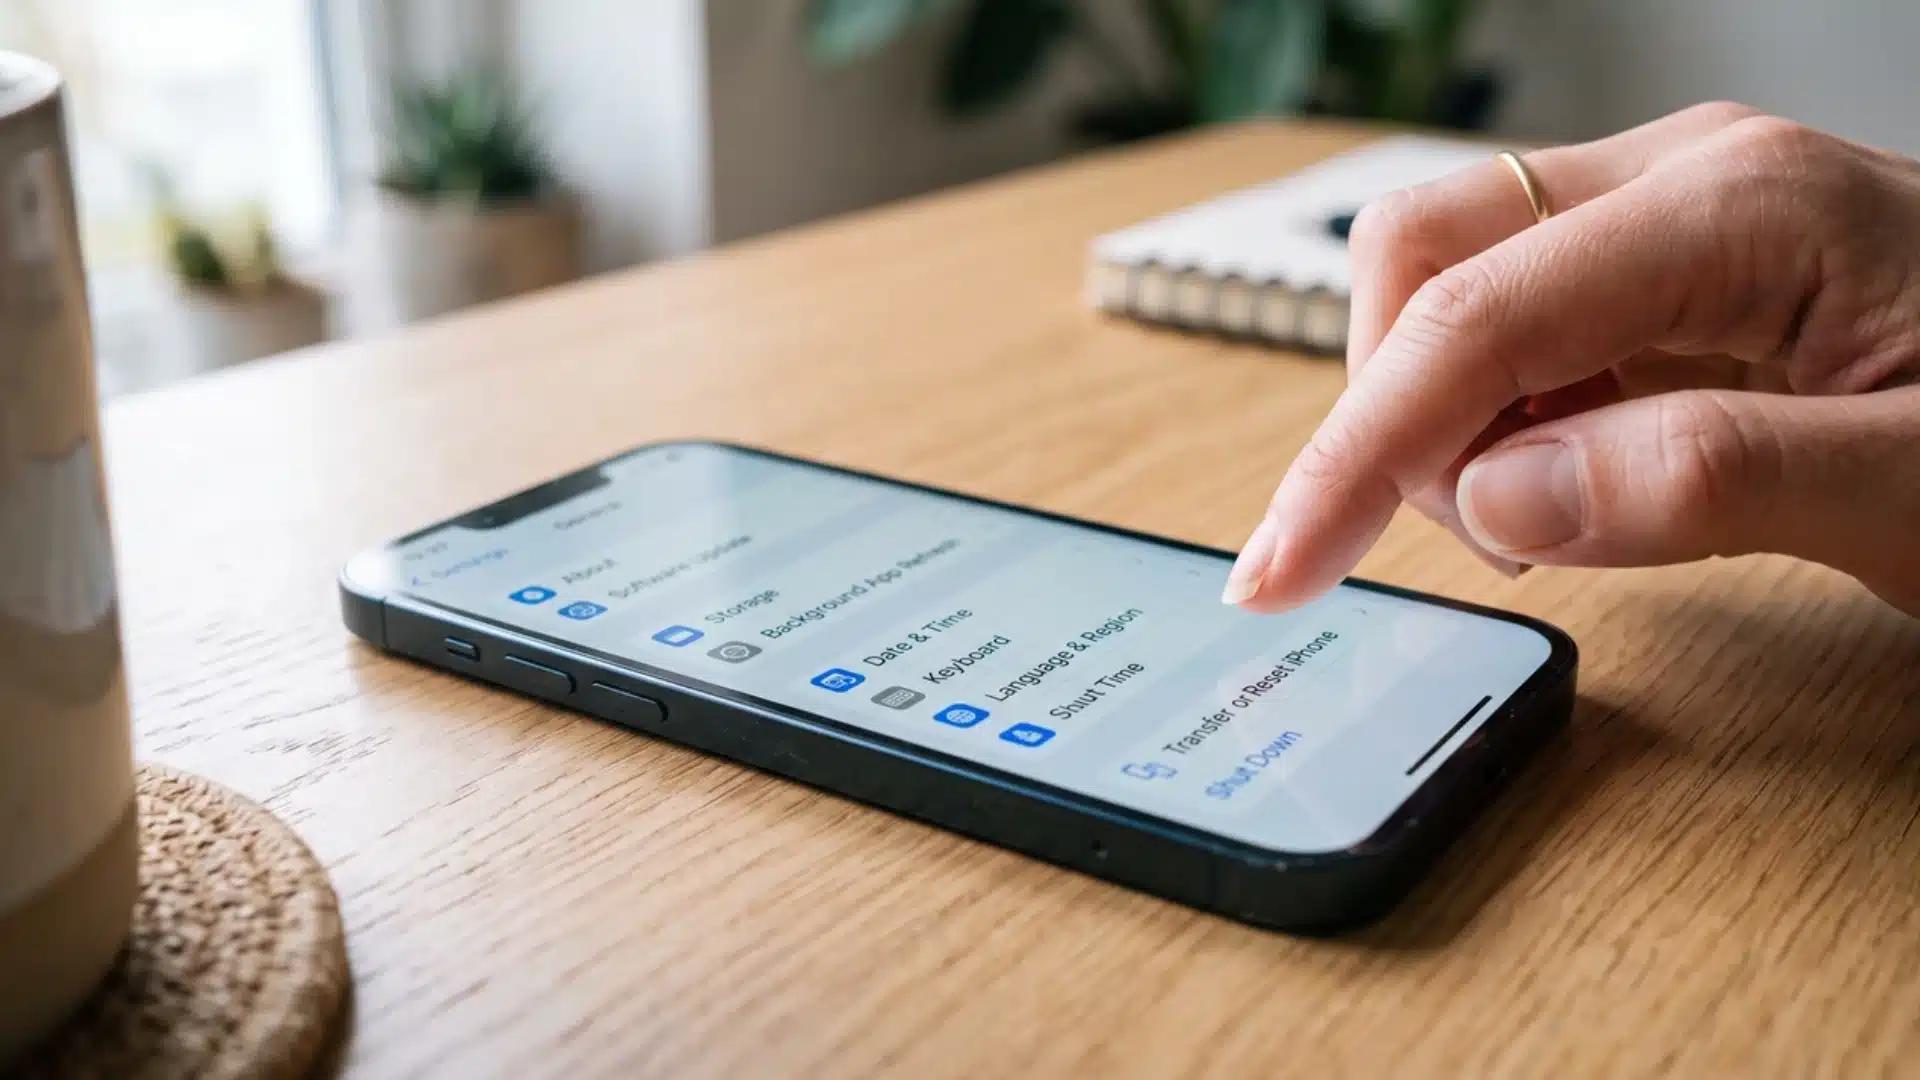
A factory reset permanently removes locally stored information from the device. Complete the following checks before starting the erase.
- Create a Backup: Open Settings > your name > iCloud > iCloud Backup > Back Up Now. Remain connected to Wi-Fi until the backup finishes.
- Check the Backup Date: Confirm the completion time under Back Up Now. An older backup may not contain recent photos, messages, app data, or settings.
- Confirm Account Access: Make sure you know the device passcode and Apple Account password. Either one may be requested during the erase or restoration.
- Transfer Security Codes: Move authentication apps, recovery codes, digital keys, and other sign-in tools needed for important accounts.
- Unpair Apple Watch: Unpair a connected Apple Watch before transferring the iPhone so the watch creates a final backup and removes its Activation Lock.
- Verify the Replacement: If data has already been moved to another phone, open important photos, contacts, messages, and apps before erasing the old device.
Avoid manually deleting synced photos, contacts, or files before selling the phone, since those changes can also affect iCloud. If you’re still weighing whether to trade in your current handset, it can help to look at how older and newer generations compare before deciding what to keep and what to wipe.
Should You Keep or Delete the eSIM?
The correct eSIM choice depends on what happens to the phone after the reset.
Keep the eSIM when you are troubleshooting the device, setting it up again for yourself, or continuing to use the same mobile plan on that iPhone.
Delete the eSIM when the phone is being sold, traded in, or given away. It should also be removed after the number or mobile plan has been transferred to another device.
Apple advises against deleting an eSIM solely as a troubleshooting step unless your carrier requests it. Removing one may require help from the carrier to reactivate the plan. Review Apple’s eSIM removal guidance before making the choice.
How Do You Confirm the Reset Worked?
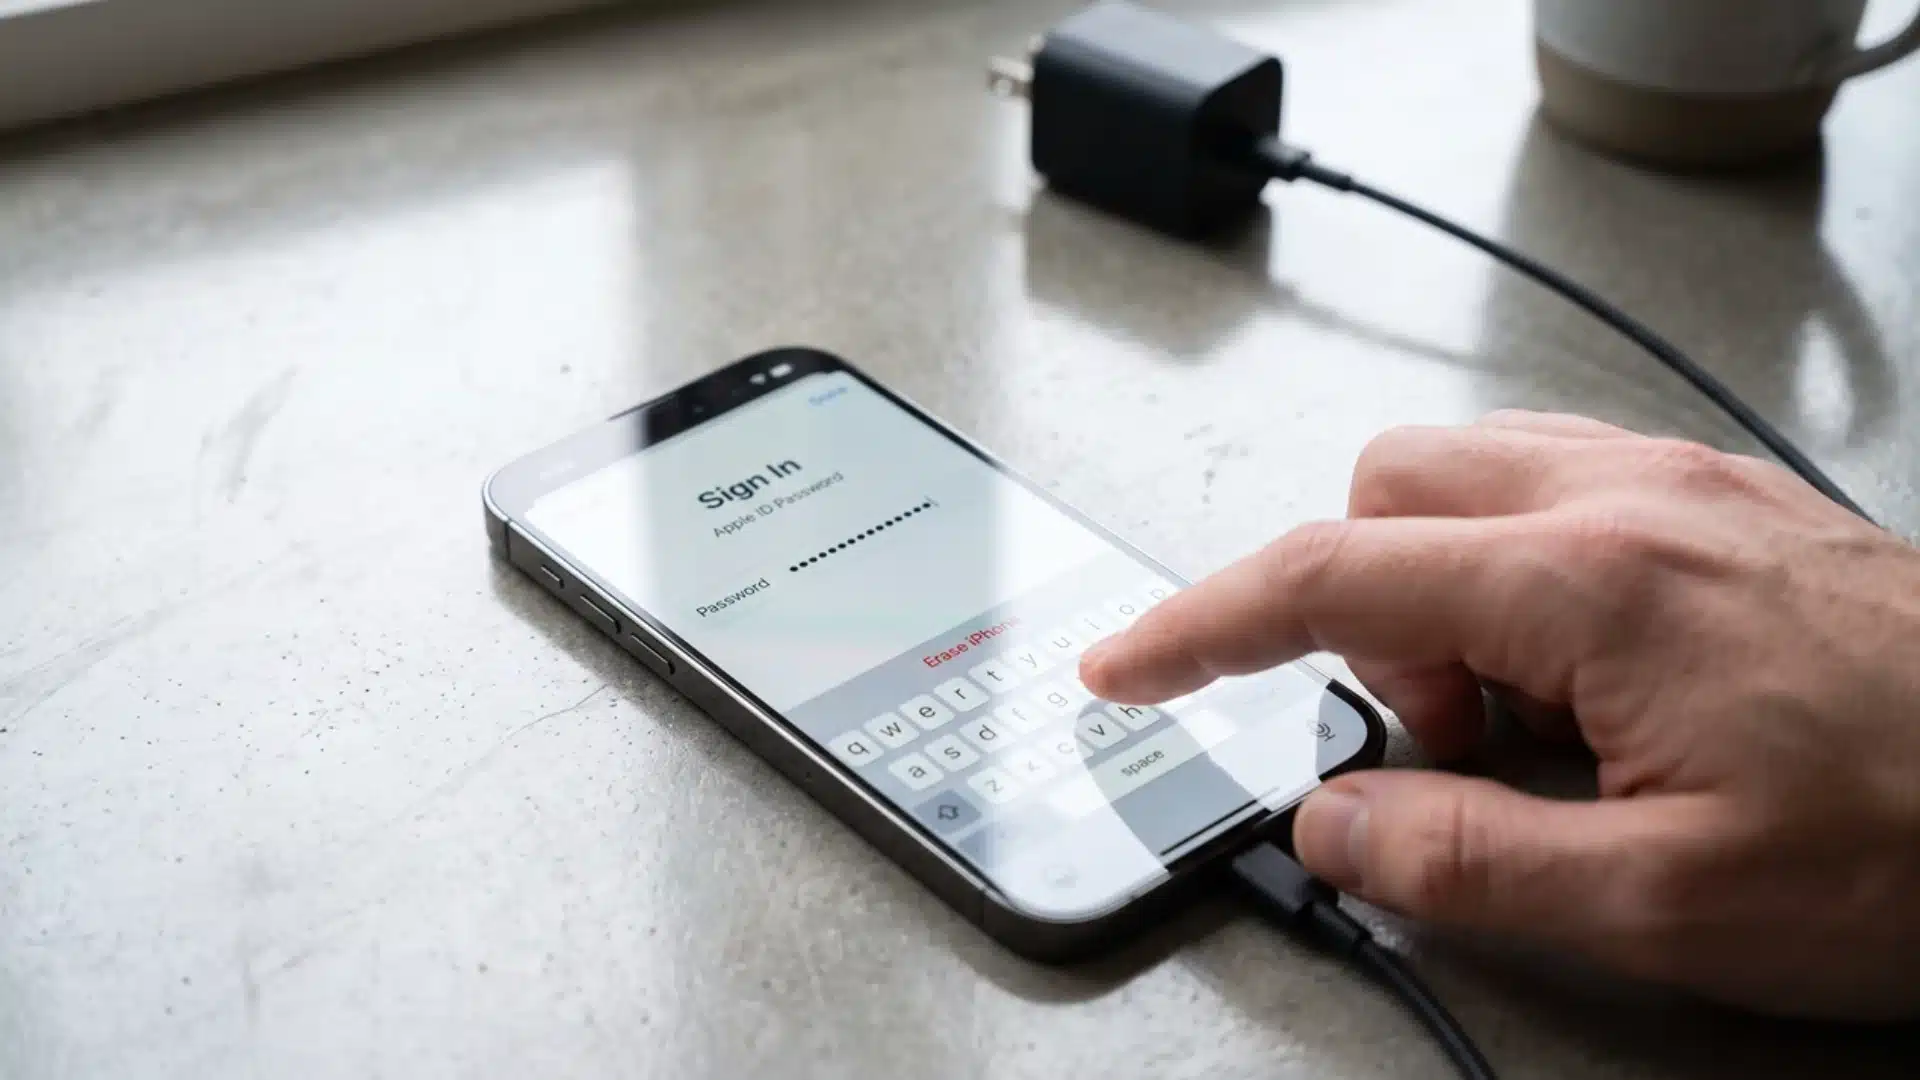
Once the backup and account checks are complete, follow these steps:
- Open Settings.
- Tap General.
- Select Transfer or Reset iPhone.
- Tap Erase All Content and Settings.
- Review the content that the iPhone plans to remove.
- Tap Continue.
- Choose whether to keep or erase the eSIM when prompted.
- Enter the device passcode.
- Enter the Apple Account password if requested.
- Wait for the iPhone to erase its content and restart.
Keep the phone connected to power if its battery is low. Do not interrupt the process after the erase begins.
If you cannot access Settings because the passcode is forgotten or the phone is disabled, the device may need to be erased with a computer or through recovery mode. Apple provides separate factory-reset instructions for those cases.
How Do You Confirm the Reset Worked?
A successful factory reset returns the iPhone to the Hello screen. Your old apps, messages, accounts, photos, payment cards, settings, and Home Screen arrangement should no longer appear.
Choose the next step based on how the phone will be used:
- Keeping the Phone: Restore an iCloud or computer backup during setup.
- Starting Fresh: Set up the iPhone without transferring previous data.
- Selling the Phone: Leave it at the Hello screen without beginning setup.
- Giving It Away: Allow the new owner to complete setup with their own Apple Account.
If the phone requests the previous owner’s Apple Account during setup, Activation Lock remains enabled. The device is not ready for another person until that account connection has been removed.
When restoring a backup, check its date before selecting it. The Home Screen may appear while apps, photos, and messages are still downloading, so leave the phone connected to Wi-Fi and power.
Prepare the iPhone for Sale or Transfer
Complete one last check before handing the device to another person. Apple’s sale and transfer instructions confirm that erasing the iPhone turns off Find My and Activation Lock when the process is completed correctly.
- Check the Hello Screen: Personal apps, accounts, and Home Screen content should not be visible.
- Remove the SIM Card: Take out the physical SIM if the mobile plan has moved or the new owner does not need it.
- Erase the eSIM: Remove the eSIM when selling, trading in, or giving away the device.
- Check Activation Lock: Confirm that setup does not request your Apple Account credentials.
- Remove Personal Items: Take off cases, card holders, screen accessories, and other items you plan to keep.
- Verify Transferred Data: Check that important information appears on the replacement phone or in the selected backup.
The safest order is to transfer the data, verify the backup, and then select Erase All Content and Settings. Leave the erased phone at the Hello screen for its next owner.
Final Thought
Understanding how to reset iPhone the right way helps you keep your data safe and avoid wiping more than you need.
A simple force restart can fix a frozen device, while a full factory reset is better for selling or starting over. I always remind you that backups, eSIM choices, and removing Activation Lock are the steps that protect you most.
Once the Hello screen appears, you can restore your backup, set up the phone again, or hand it over safely.
Take a moment to try these tips, and check my related guides if you want more help with iPhone setup and recovery. I’m here if you need more help.
Frequently Asked Questions
Does Resetting an iPhone Erase Everything?
It depends on the option. Restart and force restart keep your files. Reset All Settings restores system preferences while keeping personal content. Erase All Content and Settings performs a factory reset and removes locally stored apps, photos, messages, accounts, settings, and other data from the phone.
Is a Hard Reset the Same as a Factory Reset?
Not usually. Most people use hard reset to describe a force restart performed with the physical buttons. That process does not erase data. A factory reset uses Erase All Content and Settings or a computer restore to wipe the device and return it to setup mode.
Can I Factory Reset an iPhone Without an Apple Account Password?
You may be able to erase local data, but the linked Apple Account can still be required because of Find My and Activation Lock. Recover the password before selling or transferring the device. Otherwise, the next owner may be unable to activate and use the phone.
How Long Does an iPhone Factory Reset Take?
The erase itself is often fairly quick, but the total time varies with the model, storage, software condition, and setup method. Restoring apps, photos, and messages from a backup can take much longer. Keep the device charged and connected to reliable Wi-Fi during restoration.