

When I first started recording, I couldn’t figure out why my audio had those harsh “p” and “b” sounds. After a few failed takes, I found the simple fix was a pop filter.
It’s one of those small tools that can instantly make your recordings sound smoother and more professional, especially if you record often.
In this blog, I’ll walk you through what a pop filter is, how it works, and how to choose the right one to get professional-quality audio in any setup.
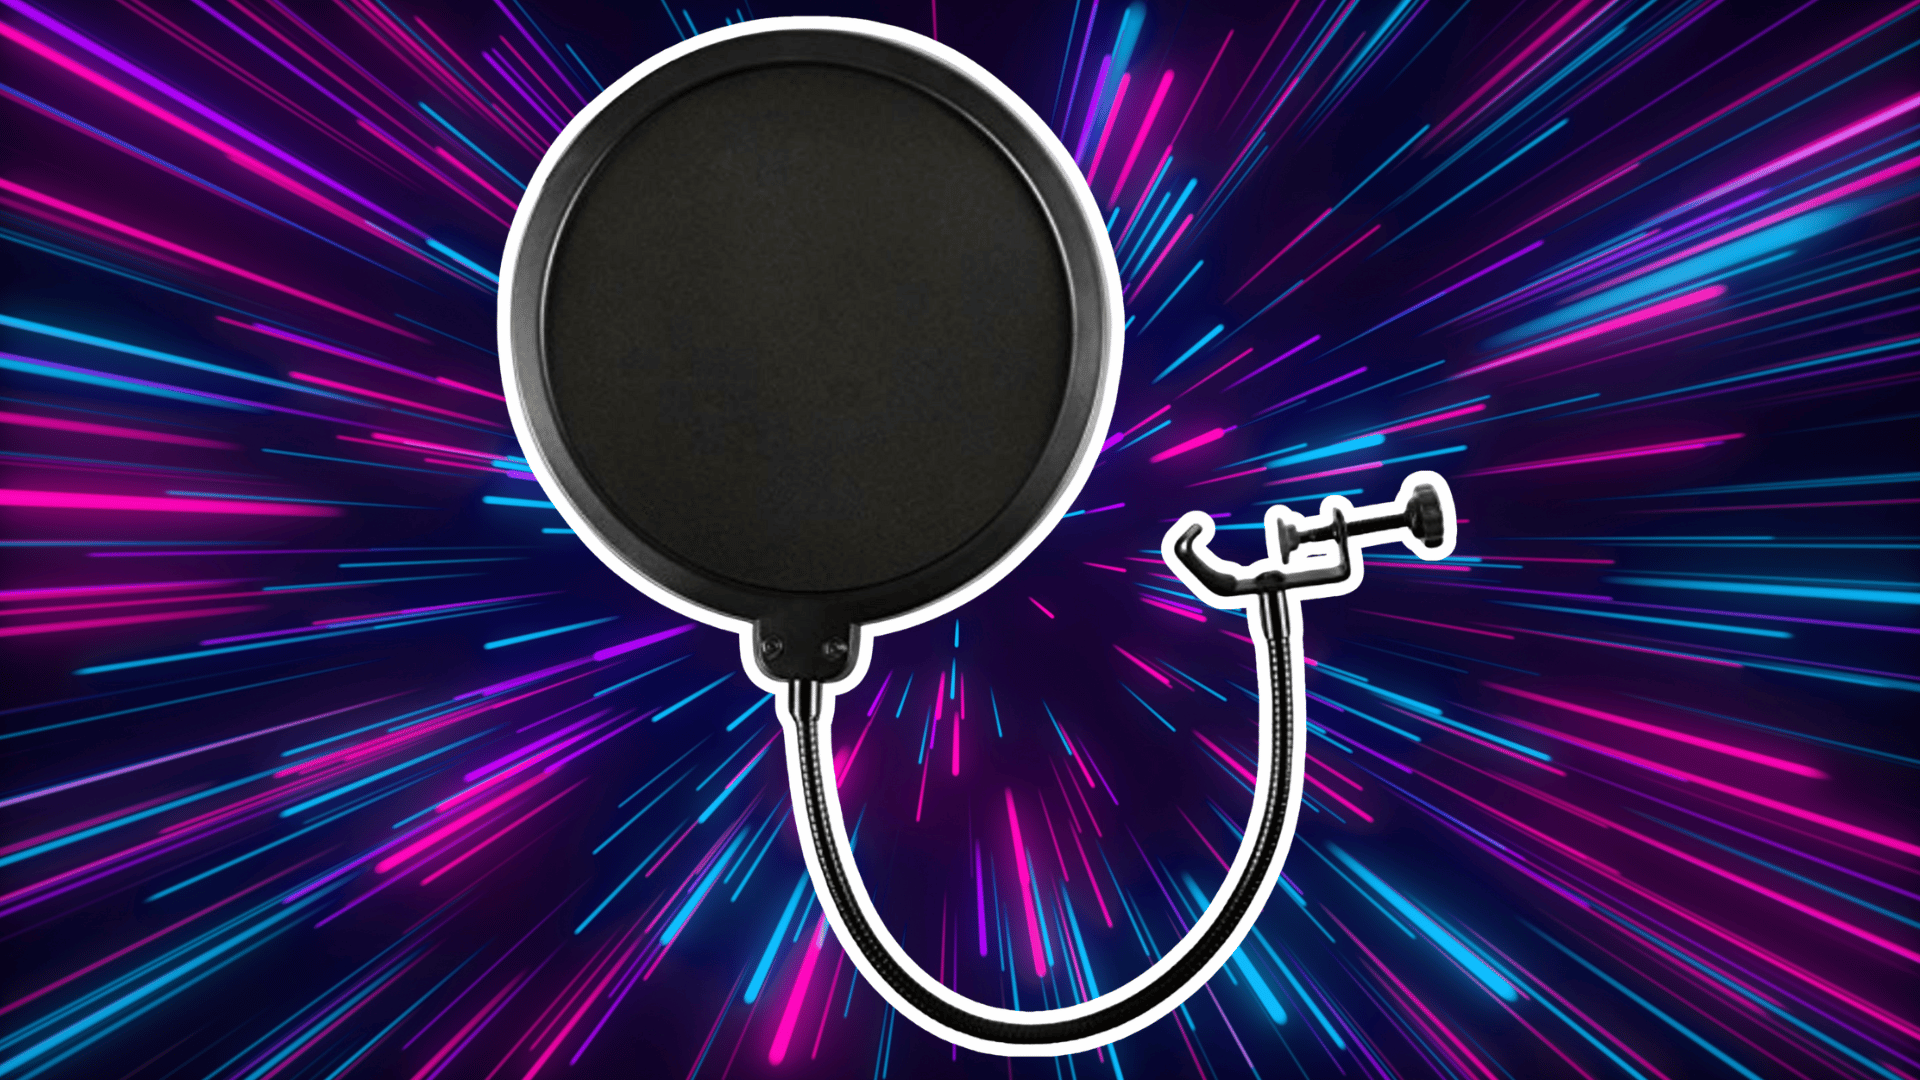
What is a Pop Filter?
A pop filter, also called a mic pop filter, is a thin screen that sits between your mouth and the microphone.
Its main job is to stop bursts of air called plosives from hitting the mic. These air blasts happen when you say words with letters like “p,” “b,” or “t.” They can make loud popping sounds in your recording.
It softens those bursts and lets only your voice pass through. This helps your audio sound clear, smooth, and professional, whether you’re recording music, podcasts, or voiceovers.
Why You Need One
Even with a high-end microphone, air blasts can still ruin your sound. It helps prevent that.
- Reduces plosive noise: Stops harsh pops from “p” and “b” sounds.
- Protects your mic: Keeps saliva and moisture away from sensitive mic parts.
- Improves clarity: Makes your recordings smoother and easier to edit.
- Creates consistency: Keeps your tone even across long sessions.
Whether you record at home or in a studio, it is essential for achieving that crisp, studio-quality sound.
Different Types of Pop Filters
It comes in different designs, each with its own purpose and benefits. Below are the most common types and what they’re best for.
1. Nylon Mesh Filters
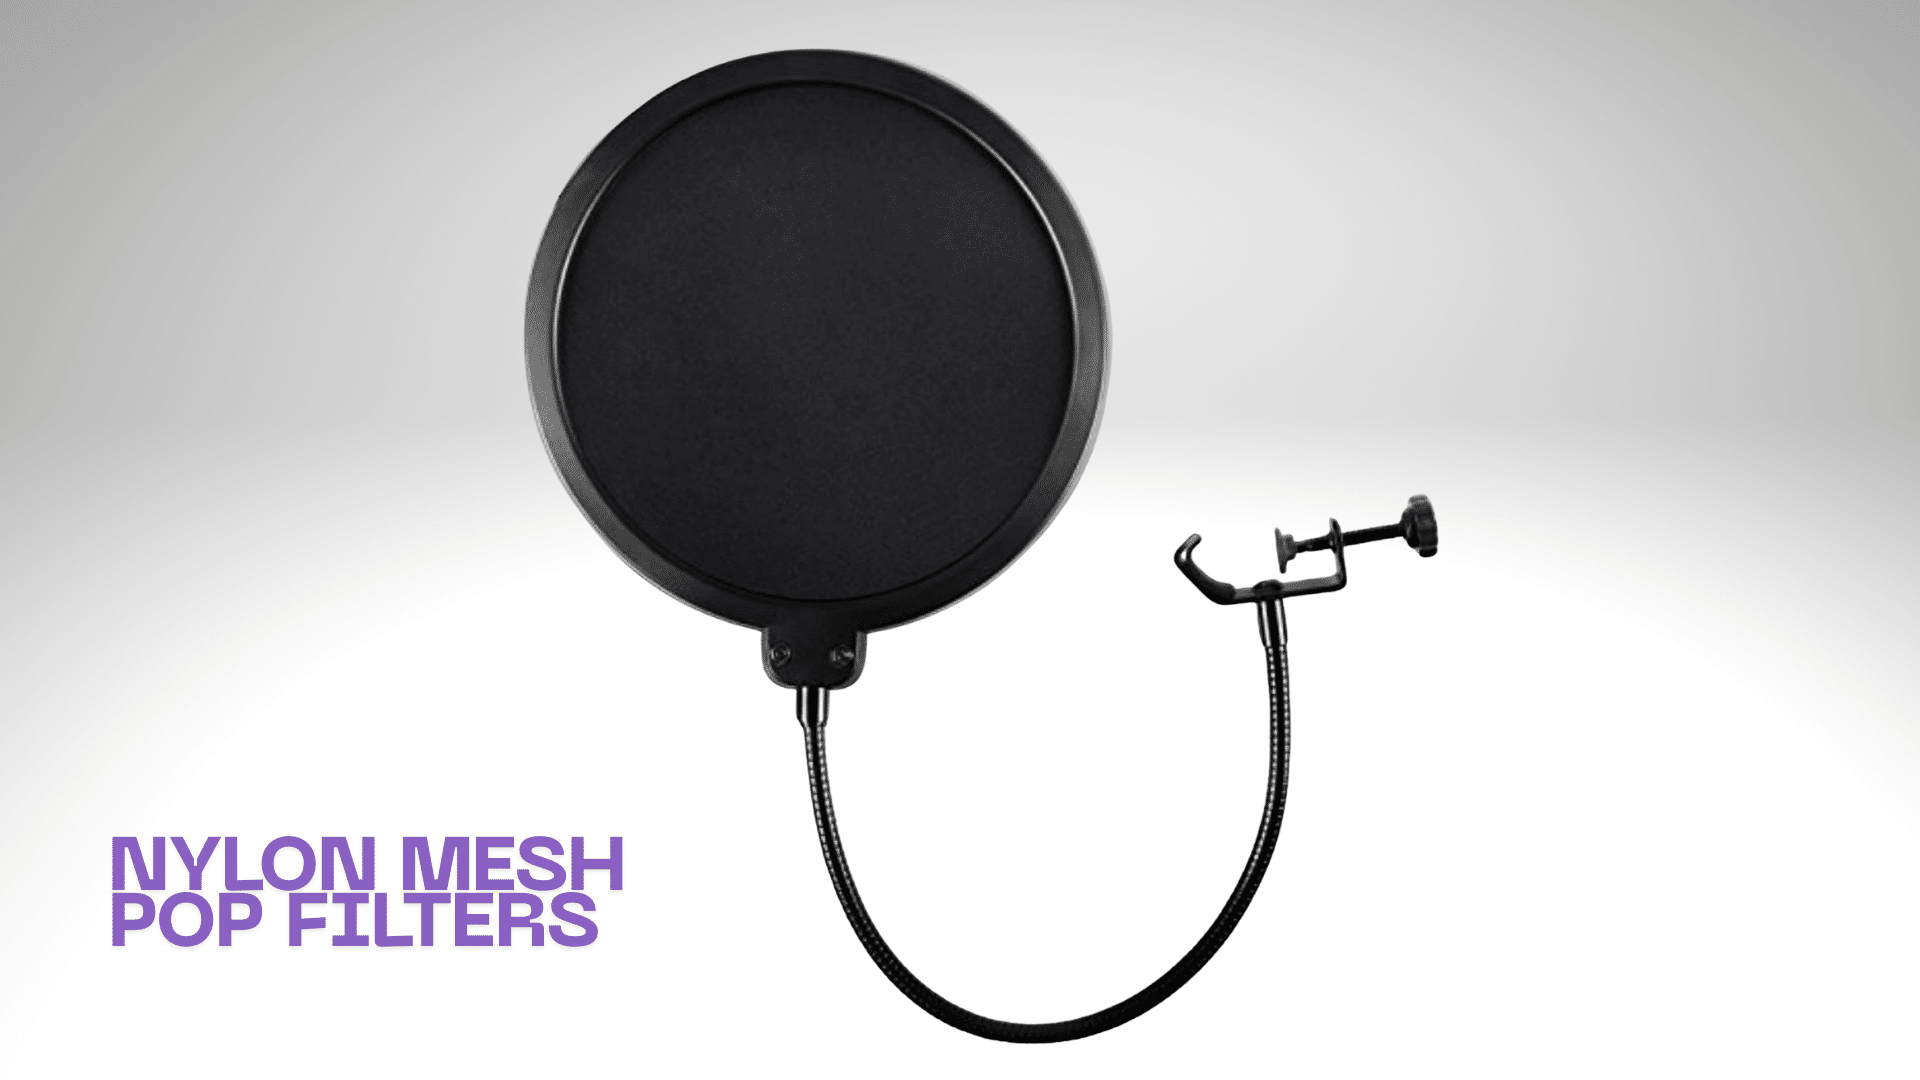
A nylon mesh pop filter uses a thin layer of nylon stretched over a round frame to block harsh air bursts.
When you say words with “p” or “b,” this screen softens the airflow before it reaches the microphone.
This type of filter is affordable and easy to use, making it a great choice for beginners, podcasters, and small home studios.
It usually costs between $10 and $25 and delivers clear, balanced sound without affecting your voice quality.
2. Metal Pop Filters
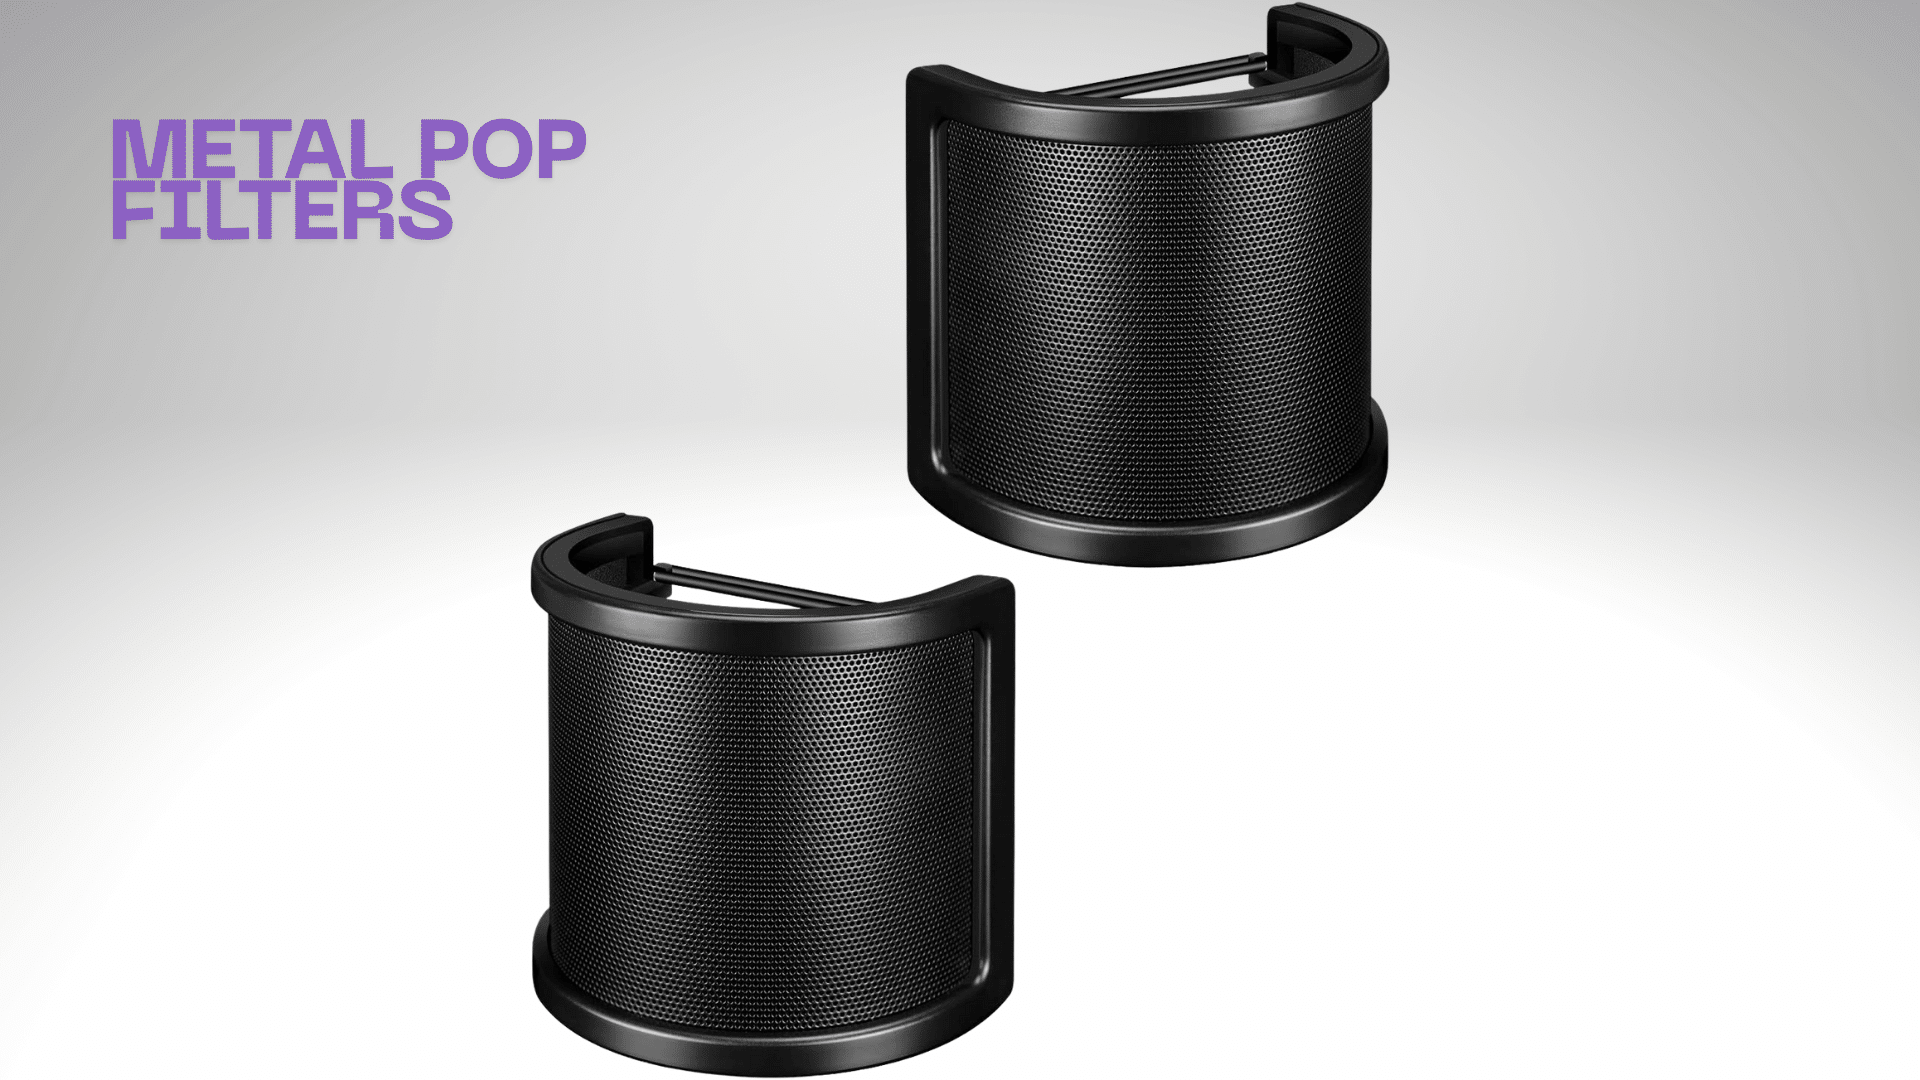
A metal pop filter uses a thin sheet of perforated metal to block plosive sounds before they reach the microphone.
The small holes in the metal screen redirect the bursts of air while letting your voice pass through clearly.
This type of filter is strong, easy to clean, and built to last. It also keeps higher frequencies crisp, which helps your recordings sound bright and detailed.
Metal filters are a good choice for regular recording sessions and professional studios, usually ranging anywhere between $25 and $70.
3. Foam Covers
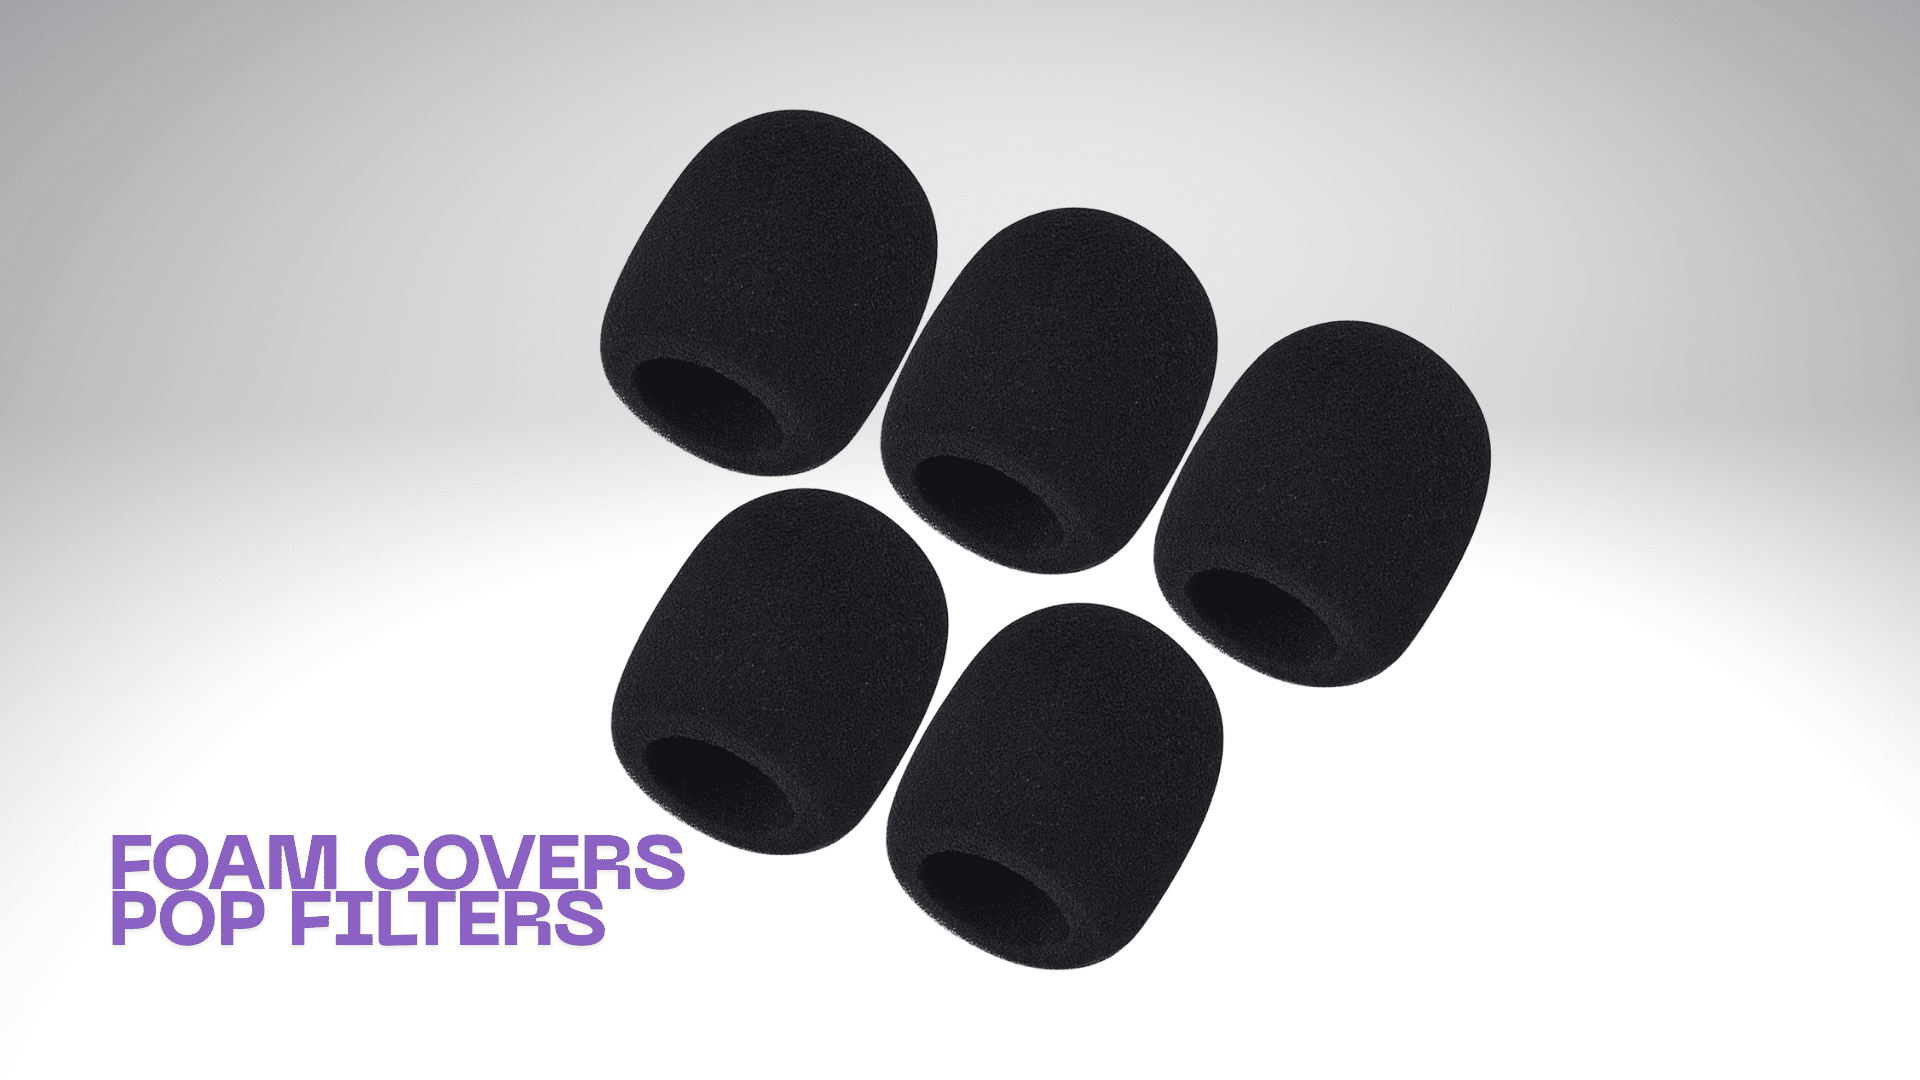
A foam pop filter is a soft cover that fits directly over your microphone. It works by blocking air bursts and light wind noise before they hit the mic.
This type of filter is lightweight, portable, and easy to use. It’s perfect for outdoor recording, live streaming, or mobile setups where traditional ones are harder to mount.
Foam covers are an affordable option, usually priced between $5 and $15, and they help keep your audio clean and clear in different environments.
Best Pop Filters by Type and Budget
Finding the right pop filter depends on your budget, setup, and how often you record.
| Brand / Model | Type | Price Range | Best For | Performance Level |
|---|---|---|---|---|
| Knox Gear Pop Filter | Nylon Mesh | $5–$10 | Beginners and home users | Reliable for basic use |
| Shure PS-6 Popper Stopper | Metal | $35–$45 | Studio and professional setups | Excellent clarity and build |
| Kaotica Silicone Pop Filter | Silicone Mesh | $30–$40 | Voice artists and podcasters | Consistent sound control |
| Gator GM-POP Filter | Nylon | $20–$30 | Balanced quality and price | Great all-round performance |
| Stedman ProScreen XL | Metal | $60–$80 | High-end studio work | Premium durability and tone |
| Aokeo Professional Pop Filter | Dual Layer Nylon | $10–$20 | Streaming and general recording | Good everyday performance |
These brands combine clarity, durability, and value. Choose one based on your recording environment and budget; even a low-cost model can make a big difference in sound quality.
How to Use a Pop Filter
Using a pop filter correctly can make a big difference in your recording quality. It helps block harsh plosive sounds while keeping your voice clean and even.
Step-by-Step Setup for Best Results
Setting them up is easy, but placement matters. Follow these quick steps:
- Attach it firmly to your mic stand using the gooseneck clamp.
- Place it 2–3 inches away from your mic.
- Keep your mouth about 3–5 inches from the pop filter.
- Adjust the angle slightly downward to reduce direct airflow.
Common Mistakes to Avoid
Many people use this, but still get poor sound because of simple setup errors.
- Placing it too close to the mic can make your voice sound muffled and unclear.
- Touching the filter while recording creates unwanted vibration or handling noise.
- Not using a pop filter at all often results in harsh popping sounds that can ruin an otherwise good recording.
By setting it up correctly and avoiding these mistakes, you’ll capture clear, balanced, and professional-quality audio every time.
How to Choose the Right One
Choosing the right pop filter depends on how and where you record.
Nylon filters are soft and affordable, ideal for podcasts or simple voice recordings, while metal filters offer durability and a brighter tone for studio use.
Gooseneck mounts make positioning easier, and it’s important to check that the clamp fits your mic stand or boom arm. Most filters range from 4 to 6 inches wide, suitable for standard microphones.
For frequent recording, invest in a high-quality model like Stedman or Kaotica. Beginners can start with budget-friendly options such as Knox or Aokeo, which still deliver clear, clean sound.
Conclusion
A pop filter may seem like a small piece of gear, but it can completely change the quality of your recordings.
By blocking harsh air bursts and reducing distortion, it keeps your voice clear and smooth, making your audio sound more professional.
No matter if you’re recording vocals, podcasting, or streaming live, a pop filter adds polish and consistency to your sound. Investing in the right one is one of the easiest upgrades you can make to your setup.
Ready to improve your audio? Add a quality pop filter to your mic and hear the difference immediately.