


Ever feel like jumping between tabs slows you down, or that one screen just can’t keep up with everything you’ve got going on?
A 4-monitor setup provides space to work, play, or create without the clutter or constant clicking around.
In this blog, I’ll show you what makes a four-monitor setup so useful and how to get it working seamlessly.
Expect real-world tips, simple tweaks, and a few things most people miss when setting up their systems. Stick around, this might just be the upgrade your desk’s been waiting for.
Understanding a 4 Monitor Setup
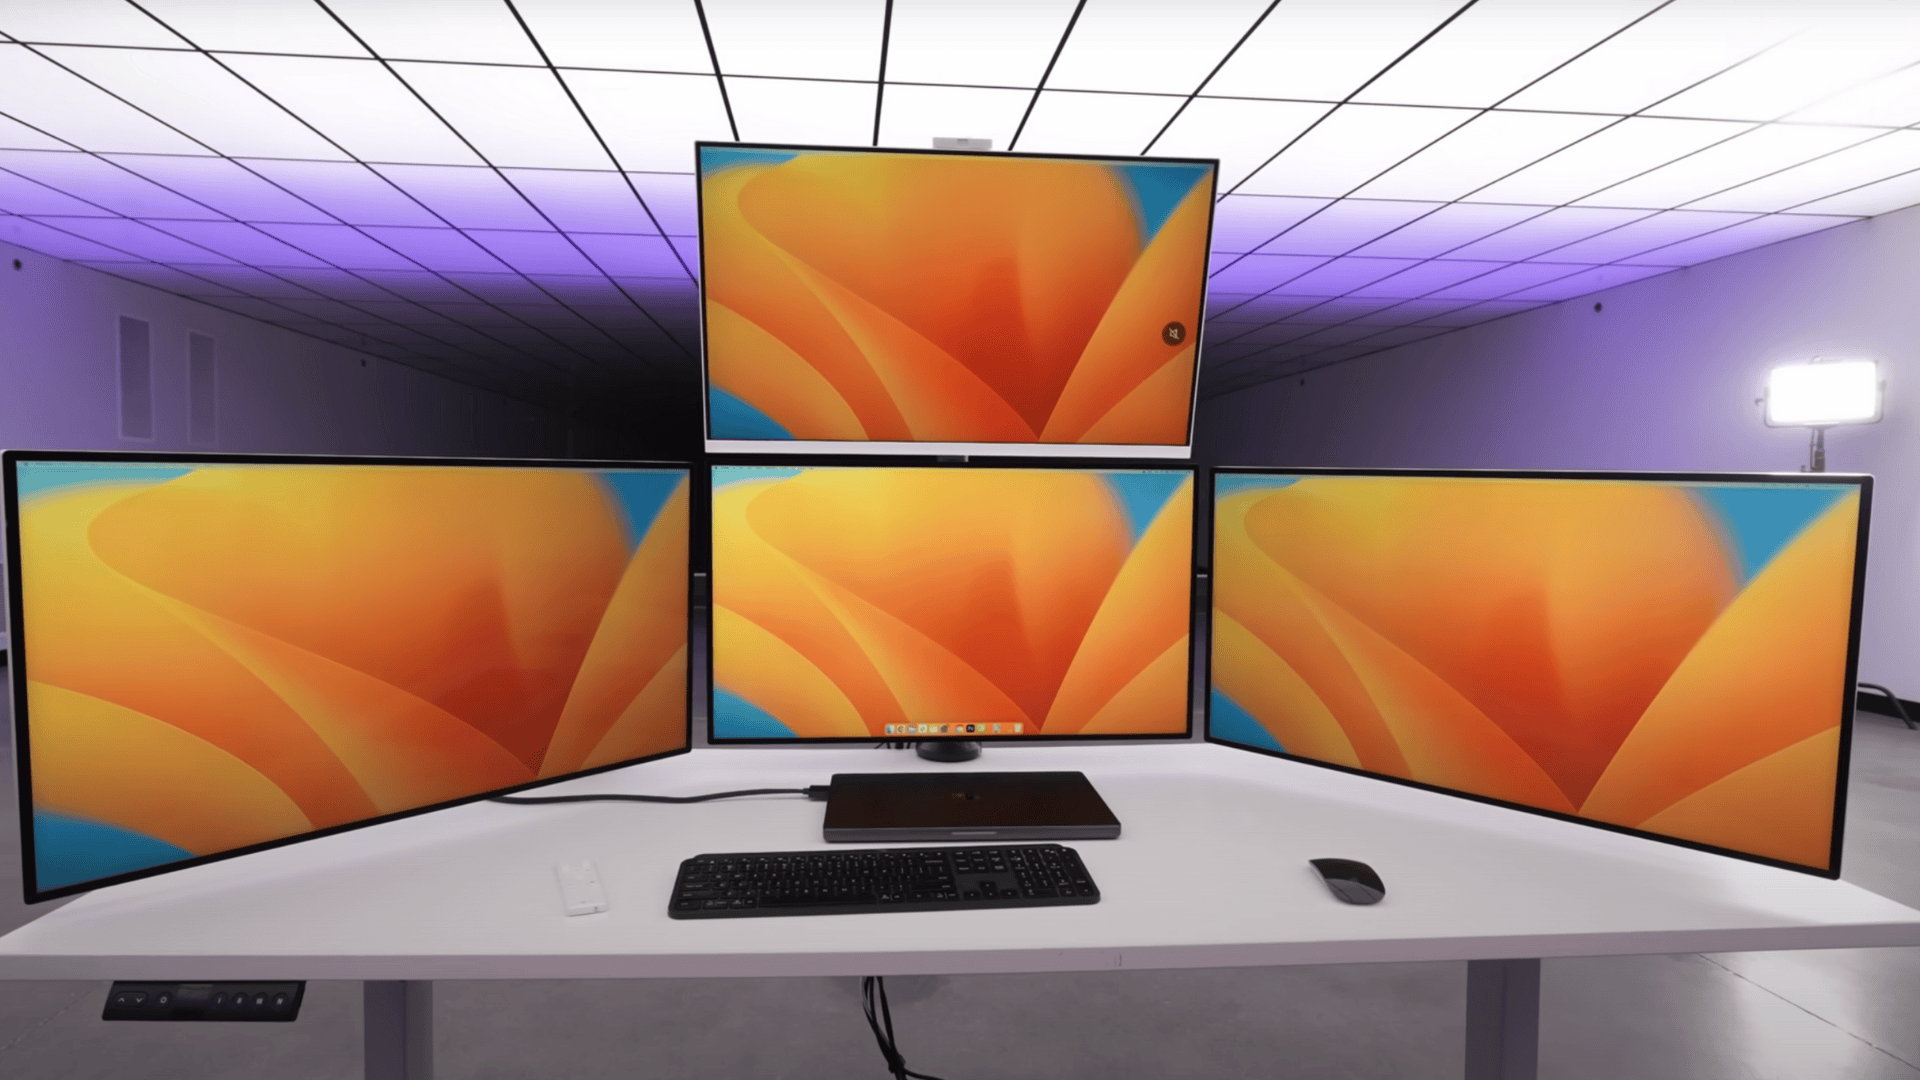
A 4-monitor setup means using four screens with one computer to expand your workspace. It helps you multitask easily without switching tabs.
You can keep emails on one screen, tools on another, and use the rest for research or entertainment. Professionals like developers, traders, and designers benefit most from it, as it improves focus and productivity.
To set it up, you’ll need a graphics card that supports four displays, compatible cables, and enough power supply.
Keeping your display drivers up to date and using tools like DisplayFusion or PowerToys helps you manage all four screens efficiently.
Step-by-Step Guide to Setting Up a Four-Monitor System
Setting up four monitors may sound complicated, but it’s actually straightforward when you take it step by step.
Step 1: Check Hardware Compatibility
Start by making sure your graphics card can handle four displays. Most modern GPUs support multiple outputs, but it’s good to double-check. Look for HDMI, DisplayPort, or USB-C connections.
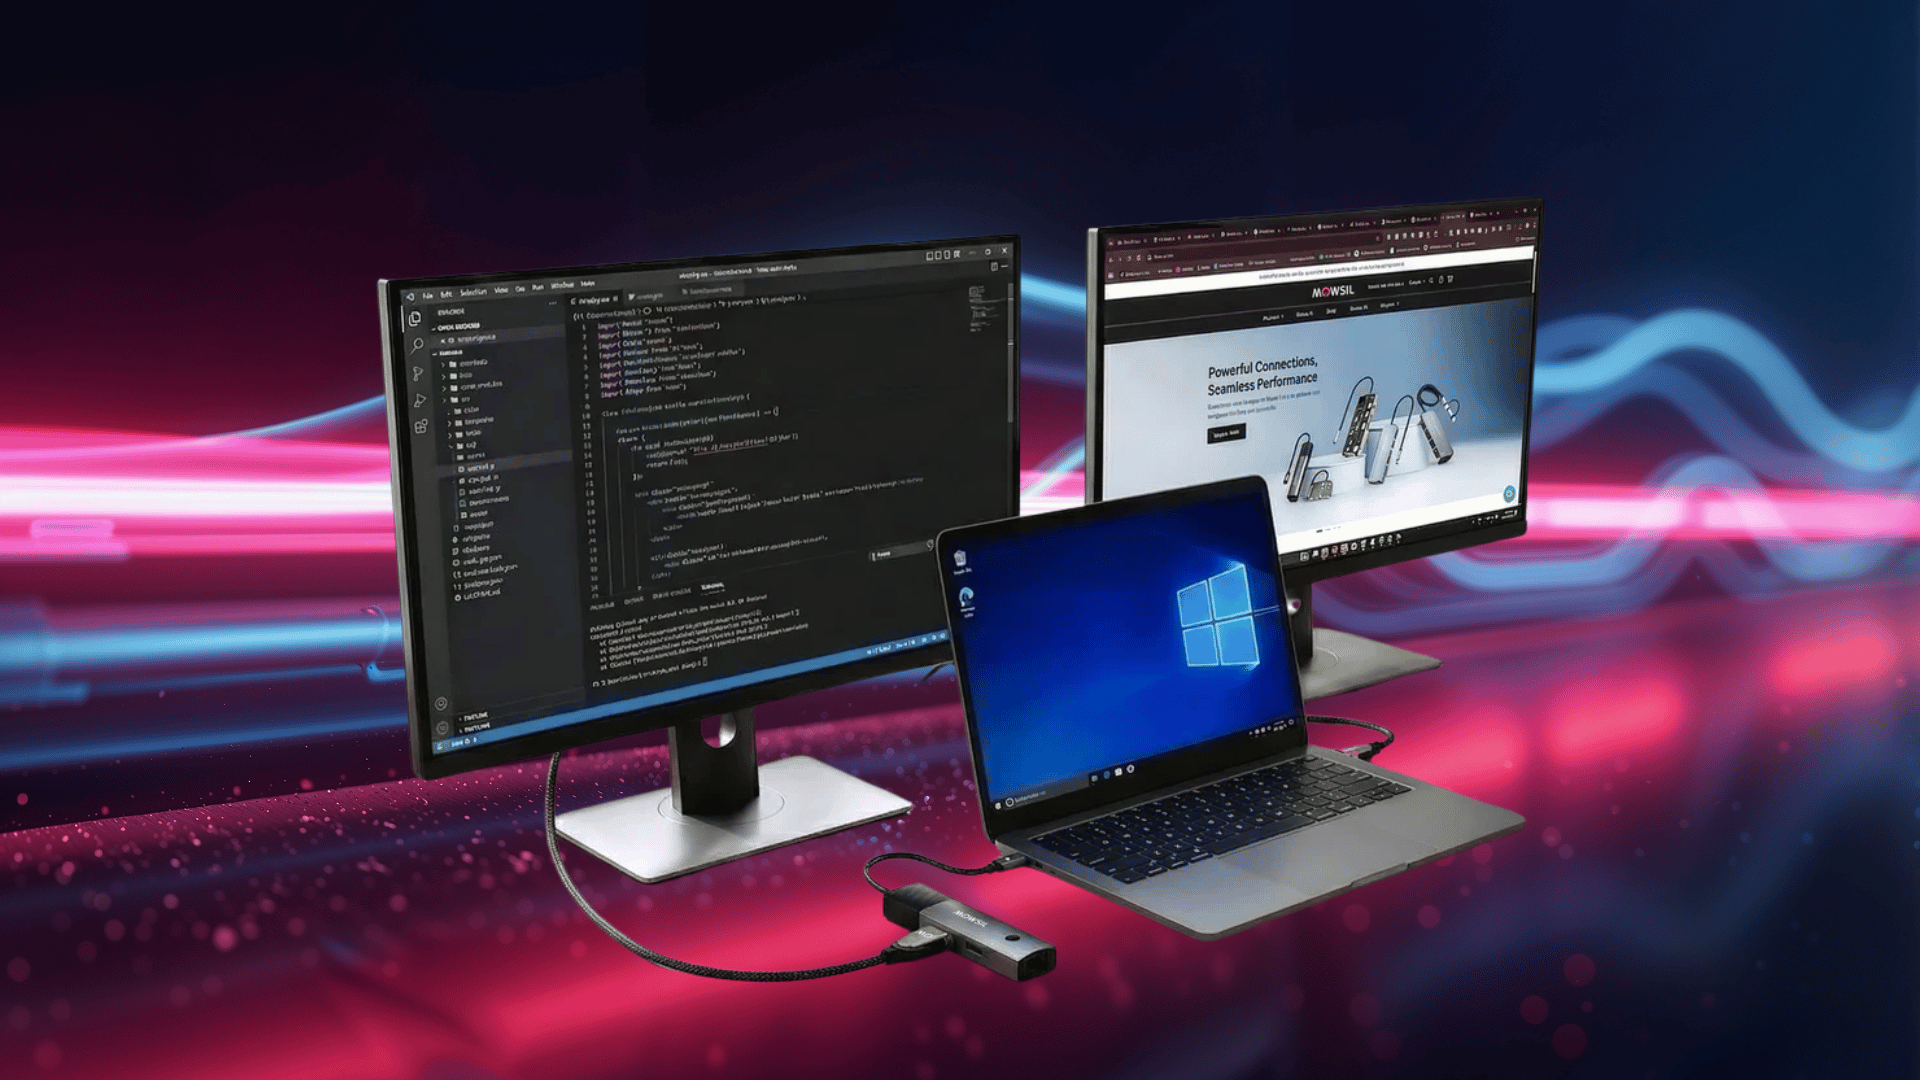
If you’re using a laptop, you may need a docking station or USB-C adapter to connect all your monitors.
Tip: Check your system’s total resolution and refresh rate limits so everything runs smoothly.
Step 2: Connect and Power Your Monitors
Use the right cables for each connection: HDMI, DisplayPort, or USB-C. Connect one monitor at a time and confirm it shows up before adding the next.
Turn on all monitors first, then power up your computer. This helps your system detect each screen properly.
Step 3: Configure Display Settings
Once all monitors are connected, it’s time to set them up in your system. Whether its Windows or macOS:
- Windows: Go to Settings → System → Display and choose “Extend these displays.”
- macOS: Open System Preferences → Displays → Arrangement tab.
Arrange your monitors to match their placement on your desk. This keeps your cursor movement natural across screens.
Step 4: Optimize Alignment and Ergonomics
Keep the top edges of your monitors level for smoother mouse movement. Your main screen should be at eye level, with the others slightly angled toward you.
Sit at an arm’s length from the center display to reduce eye strain and maintain comfort during long hours.
Common Problems and Fixes with the Setups
Even the best systems can face issues when running four displays. These problems often stem from minor setup errors or hardware limitations.
1. Monitors Not Detected
If one or more monitors don’t show up, it’s often due to loose cables, outdated drivers, or GPU limitations. Start by checking every connection and making sure each monitor is powered on.
Then, update your graphics drivers and confirm your GPU supports four outputs. Restarting your PC after connecting each screen also helps the system detect all displays properly.
2. Display Alignment or Position Errors
Your cursor or Windows may jump oddly between screens when the display order doesn’t match your desk layout. This can make multitasking frustrating.
Open your display settings and drag the monitors into the correct positions. Try to align their top edges evenly.
Calibration tools can also help fine-tune cursor movement so everything feels seamless across all four screens.
3. Resolution and Scaling Issues
Mismatched resolutions or scaling can make text and icons appear too large, too small, or blurry. This happens when each screen runs at different settings.
Fix it by using each monitor’s native resolution and adjusting scaling in display settings. Maintain consistent scaling across all monitors for sharper visuals and smoother transitions when moving windows between screens.
4. Lag or Performance Drops
If your screens lag or feel sluggish, your GPU might be overloaded. High refresh rates, too many background apps, or heavy graphics tasks can cause slowdowns.
Check your system’s performance in the Task Manager, close unnecessary programs, and reduce the refresh rate slightly.
Lowering resolution on non-essential screens can also help balance performance and keep your setup running smoothly.
5. Color and Brightness Inconsistencies
Each monitor can look slightly different in color or brightness, especially if they’re from different brands. This makes it more challenging to work with visuals or maintain consistent display quality.
Utilize the built-in calibration tools to accurately match color and brightness levels. For best results, use identical monitor models or software that synchronizes color settings across all displays.
6. Connection Limitations
Not all ports and cables handle the same display quality. HDMI may limit refresh rates, while DisplayPort supports higher resolutions and improved performance.
If you run out of ports, consider a docking station, splitter, or USB-C adapter. Ensure your GPU can handle four active outputs simultaneously to prevent flickering or display loss.
With these quick checks and small adjustments, you can typically resolve most multi-monitor issues without requiring additional tools.
Once everything’s properly aligned and calibrated, your 4-monitor setup will feel faster, cleaner, and easier to use.
How to Tailor a Four-Monitor Setup for Different Users
After setting up your monitors, arrange them to match your work or play style. Here’s how to organize your layout for different needs:
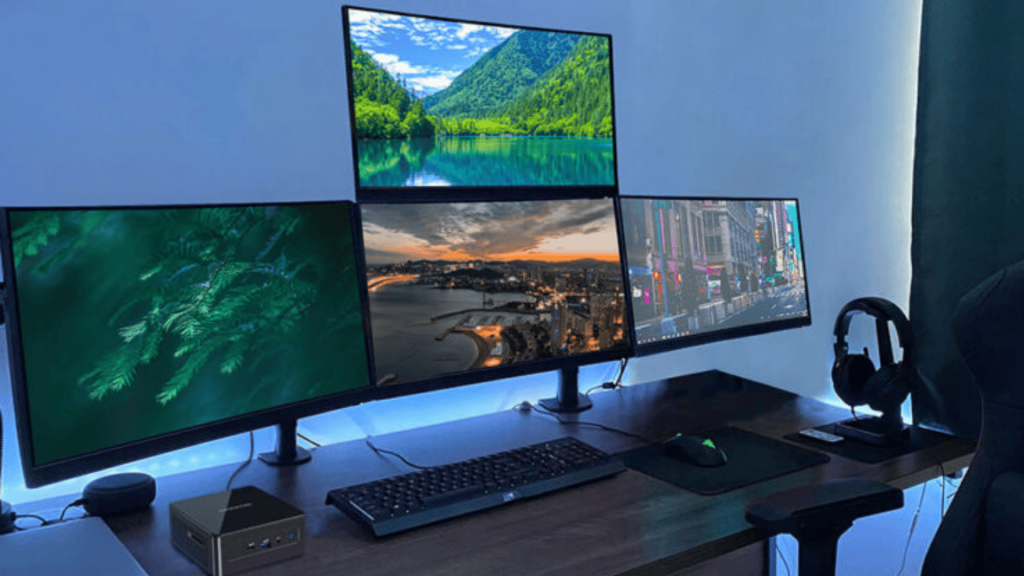
1. For Professionals, Developers, and Productivity Users
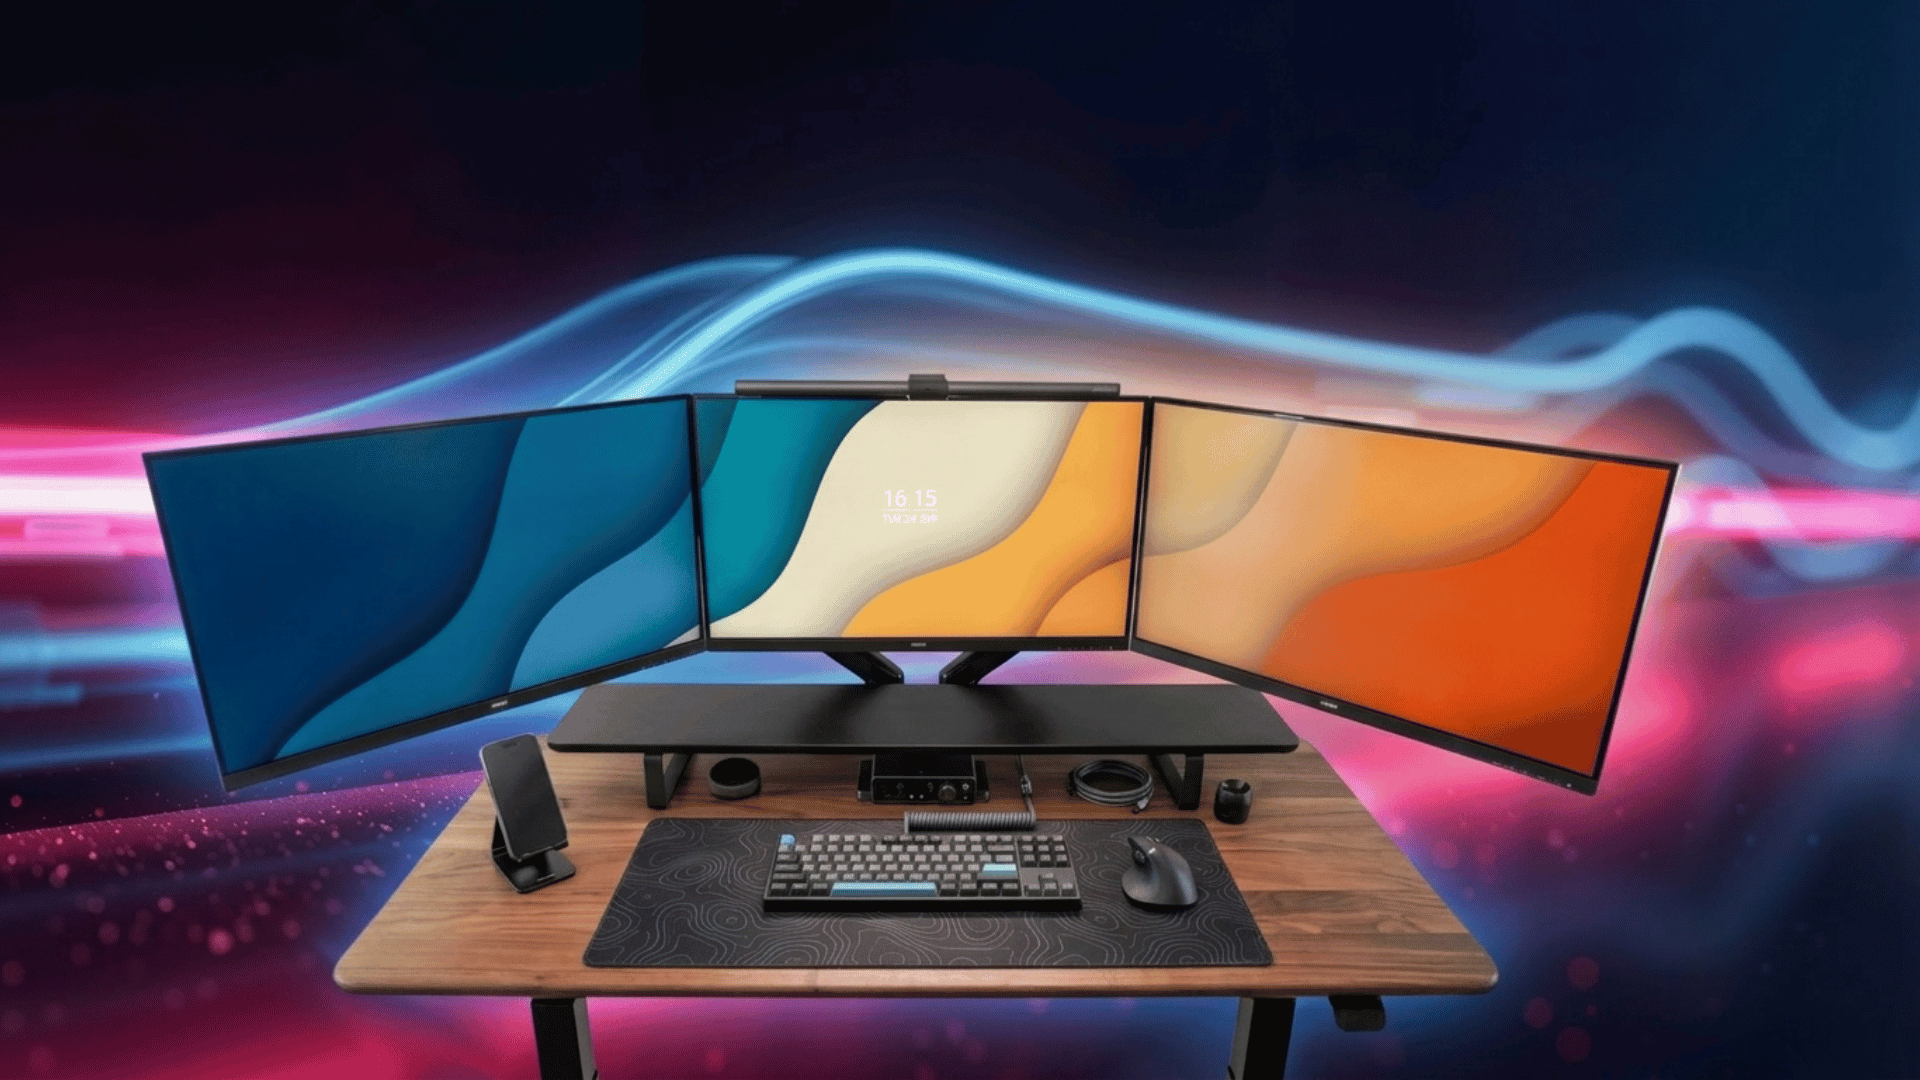
Keep your main screen in the center for focused work, such as writing or coding. Use a second monitor in portrait mode for emails or documentation.
The others can hold tools, browsers, or test windows. Add simple backlighting to reduce eye strain and keep your desk clear for better focus.
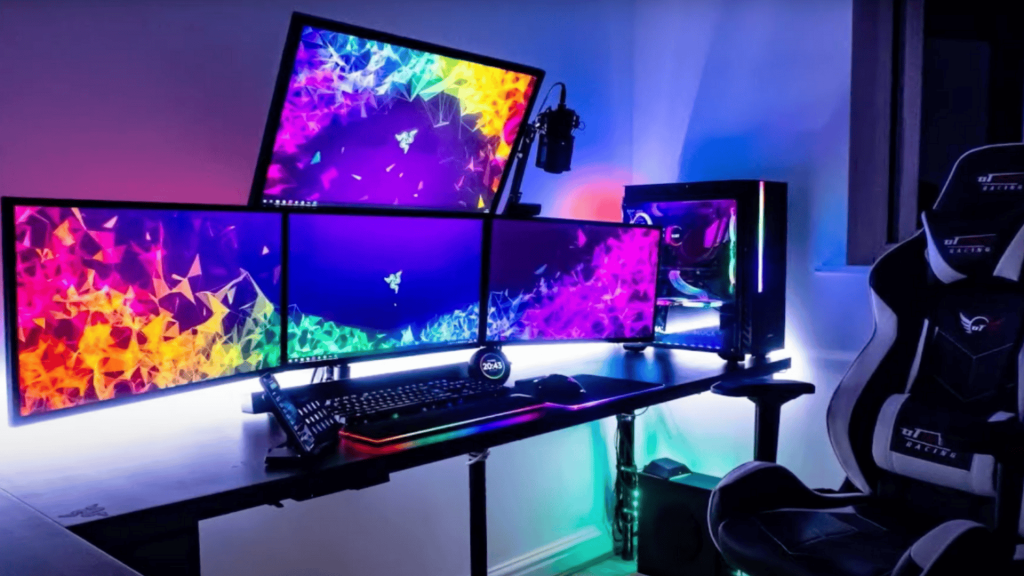
2. For Gamers
Use one main display for gaming and the rest for streaming, chats, or stats. Match refresh rates on all screens and turn on GPU sync to prevent tearing.
Mount your monitors with VESA arms for a curved setup that feels natural during long sessions.
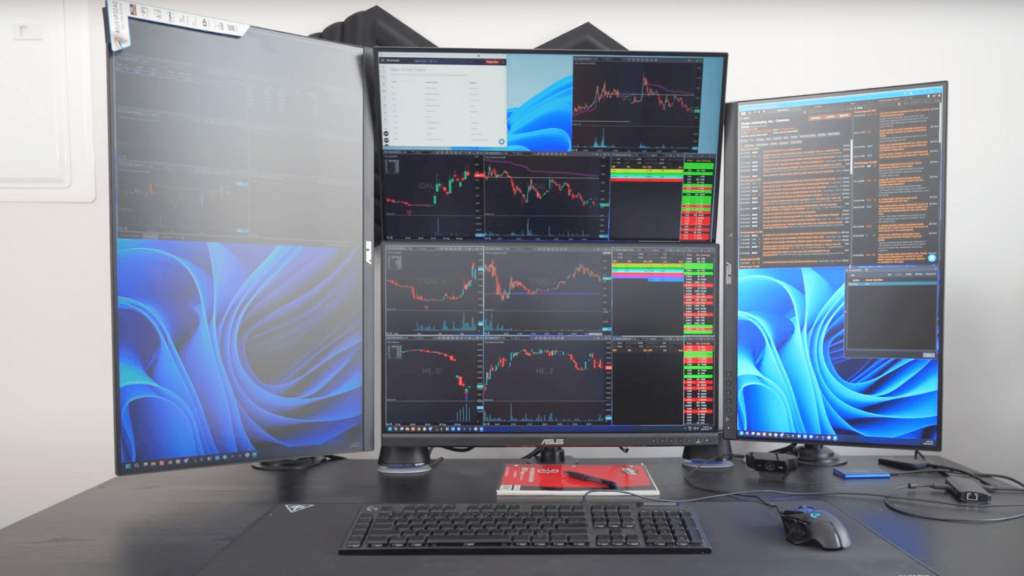
3. For Traders and Analysts
Set up a grid-style 2×2 layout to view charts, dashboards, and market news. Keep one vertical monitor for tickers or alerts.
Use tools like DisplayFusion or PowerToys to organize multiple windows fast and keep key data visible at all times.
4. For Content Creators and Editors
Place your main monitor for editing, with side screens for assets and previews. Calibrate all monitors for color accuracy.
Angle the top monitors slightly downward for improved comfort during extended periods of editing or reviewing.
Regardless of your work style, arrange your four-monitor setup to match your daily tasks. A simple, organized layout makes it easier to stay focused and efficient.
Optimizing Your Quad Monitor Setup
After fixing setup issues, take a few minutes to fine-tune your workspace. Small changes in placement and cable management can make your setup more comfortable and efficient:
Ergonomic Tips:
- Keep the main monitor at eye level and centered.
- Align the top edges of all screens evenly.
- Sit about an arm’s length from the center display.
- Angle side screens slightly inward for natural eye movement.
Cable and Power Management:
- Group and label cables to prevent tangles.
- Use clips or sleeves to keep wires neat.
- Plug all devices into a surge protector.
- Keep power outlets clear to avoid overheating.
These quick adjustments make your 4-monitor setup cleaner, faster, and easier to use. With good organization and comfort in mind, you’ll get more done without distractions.
Accessories and Tools to Enhance
The right accessories and tools can make your 4-monitor setup more efficient and comfortable. They help you keep things organized, boost performance, and create a workspace that’s easier to manage:
| Accessory / Tool | Purpose | What to Look For |
|---|---|---|
| Monitor Arms & Stands | Adjust screen height, tilt, and angle for comfort | VESA compatibility, weight capacity, mounting type (desk clamp/grommet) |
| Docking Stations | Connect multiple monitors and devices to a laptop | Multiple HDMI/DisplayPort outputs, USB-C power delivery, data ports |
| Cable Clips & Power Strips | Keep cables tidy and prevent overheating | Cable sleeves, labels, surge protection, and flexible cord length |
| DisplayFusion | Manage layouts, wallpapers, and window snapping | Profile saving, taskbar per monitor, hotkeys |
| Windows PowerToys | Improve window control and workflow | FancyZones layout manager, shortcut tools |
| UltraMon | Add taskbars and window tools for multiple screens | Display profiles, mirroring, and window shortcuts |
| NVIDIA Control Panel | Fine-tune display settings for best visuals | Adjust color balance, refresh rates, and GPU performance |
Where to Buy
Getting the right gear makes all the difference in how smooth your setup feels.
- Monitor Arms & Stands:Ergotron LX Desk Mount or VIVO Dual LCD Desk Mount – both are sturdy and VESA compatible.
- Docking Stations:Anker PowerExpand Elite Thunderbolt 3 Dock or Dell D6000 Universal Dock– ideal for multiple display outputs.
- Cable Management & Power:J Channel Cable Raceway Kit and APC 11-Outlet Surge Protector– keeps cables neat and safe.
These simple additions make your setup cleaner, safer, and easier to use. With the right accessories in place, your 4-monitor system will not only look better but also work more smoothly every day.
When to Upgrade Hardware
If your system struggles with four monitors, upgrading a few components can make a big difference. Below is a simple checklist to help you know when and what to upgrade.
Signs You Need an Upgrade
- Screens flicker, disconnect, or go black when all four are connected.
- You see lag or delay when dragging windows or watching videos.
- GPU usage stays near 100% even during light tasks.
- Your PC overheats or crashes with normal multitasking.
Recommended System Specs
- GPU: At least 4GB VRAM – NVIDIA RTX 3060 or AMD RX 6600 and above.
- CPU: Quad-core or higher for stable multitasking.
- RAM: 16GB minimum; 32GB for editing or trading setups.
- Ports: Four dedicated video outputs (HDMI, DisplayPort, or USB-C).
- Power Supply: 650W or higher for steady performance.
External Options to Support More Displays
If your system can’t handle four monitors, consider using an external GPU (eGPU) via Thunderbolt 3 or 4 to add more power.
For light tasks, a USB-to-HDMI or DisplayPort adapter, or a DisplayLink dock, can easily add extra screens. Always check your device’s compatibility before making a purchase.
Upgrading the right parts ensures smooth performance across all four screens. A strong GPU, sufficient RAM, and a stable power supply ensure your setup runs smoothly without lag or overheating.
Conclusion
A 4-monitor setup can completely change the way you work, game, or create. It’s more than just adding screens; it’s about designing a space that feels effortless, focused, and truly yours.
With the right setup, you’ll move between tasks seamlessly and stay organized without the usual screen chaos.
I’ve shared what really makes a difference: real setups, simple fixes, and smart tweaks that actually work.
Now it’s your turn to use these tips to build a workspace that fits your daily routine perfectly. Go ahead and create your ideal quad monitor setup, one that feels effortless every day!