


That feeling when you leave home and wonder if everything is okay inside? A CCTV camera installation fixes that. One good setup, and that worry largely disappears.
Not knowing is the worst part. And honestly, it does not have to be that way anymore.
Whether it is the front door, the driveway, or the backyard, knowing what is happening around the home just makes sense. Everything needed to get started is right below.
Why is CCTV Installation No Longer Optional for Most Homes?
Home security has changed. It is not just about locks and alarms anymore. A CCTV camera installation adds a layer of protection that works around the clock, recording, monitoring, and deterring threats even when nobody is watching.
Break-ins, package theft, and suspicious activity around driveways are more common than most people think. And without cameras, there is simply no way to know what happened or when.
Beyond security, CCTV systems help families stay aware of daily activity at home. Children arriving from school, delivery updates, unknown visitors, cameras catch what human eyes miss. That kind of visibility matters.
Tools Required Before You Start
Before starting CCTV camera installation, keep the basic tools and materials ready. This helps you work faster and avoid stopping in the middle of the setup.
| Tool or Material | Required For | Use During Installation |
|---|---|---|
| Power Drill | Mounting Setup | Drill holes for mounts and cable entry |
| Drill Bits | Mounting Setup | Cuts through drywall, wood, brick, or siding |
| Screwdriver | Mounting Setup | Tightens brackets, screws, and fittings |
| Measuring Tape | Planning and Marking | Marks correct camera height and spacing |
| Pencil or Marker | Planning and Marking | Mark screw holes before drilling |
| Ladder | Mounting Setup | Reaches high indoor and outdoor spots |
| Cable Clips | Cable Management | Keeps wires neat along walls or ceilings |
| Ethernet or Coaxial Cable | Camera Connection | Links cameras to the NVR or DVR system |
| Wall Anchors | Mounting Setup | Strengthens screw hold on drywall or masonry |
| Cable Tester | Camera Connection | Verifies that the cable connection is working correctly |
| Sealant | Weatherproofing | Seals outdoor cable holes against water entry |
| Safety Gloves and Glasses | Personal Safety | Shield hands and eyes while drilling |
Step-by-Step Guide for CCTV Installation
CCTV installation becomes easier when each task is done in the right order. Start with a clear plan, then move to mounting, wiring, connecting, and testing.
These simple steps can help you set up your cameras with fewer mistakes and better coverage.
Step 1: Choose the Camera Locations
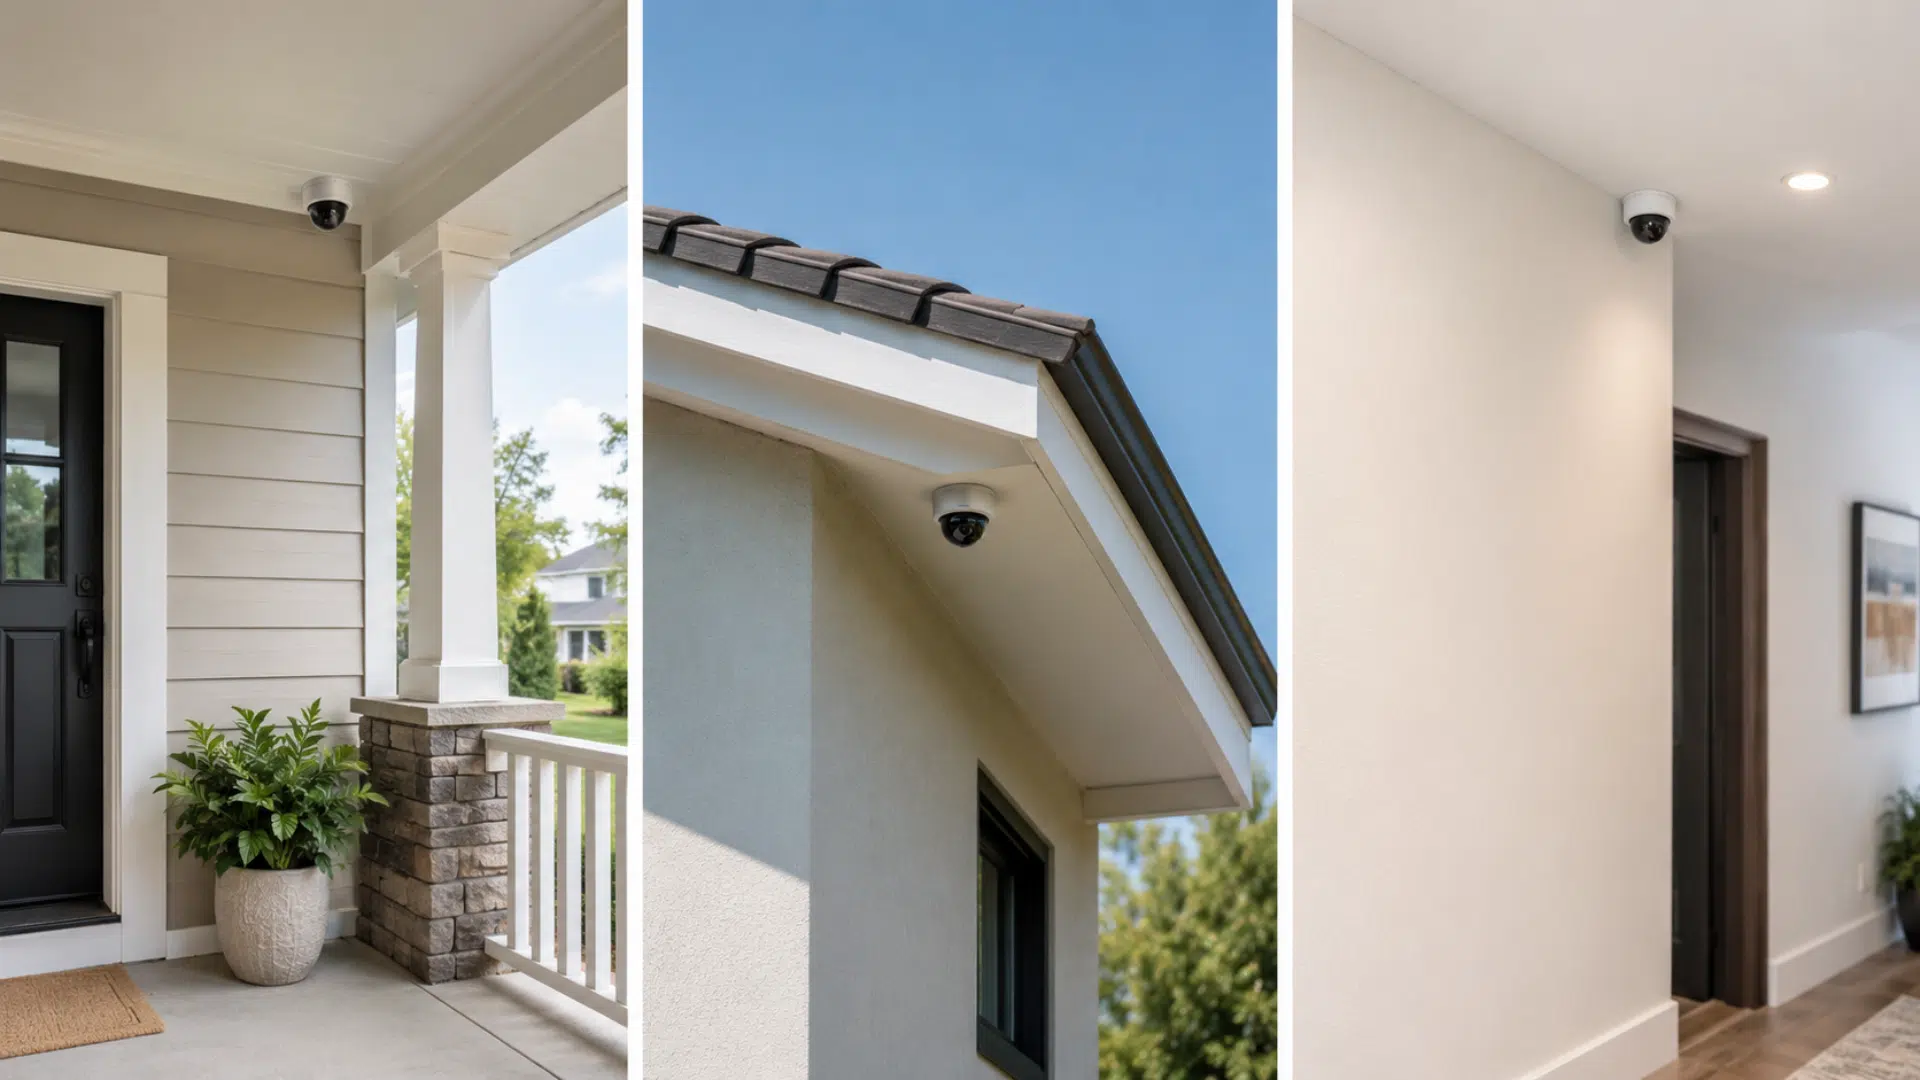
Pick camera spots that cover the most important areas around your home. These may include the front door, back door, driveway, garage, porch, side gate, and backyard.
Try to place each camera where it has a clear view. Avoid spots blocked by trees, lights, walls, or hanging decor, as these can affect the footage.
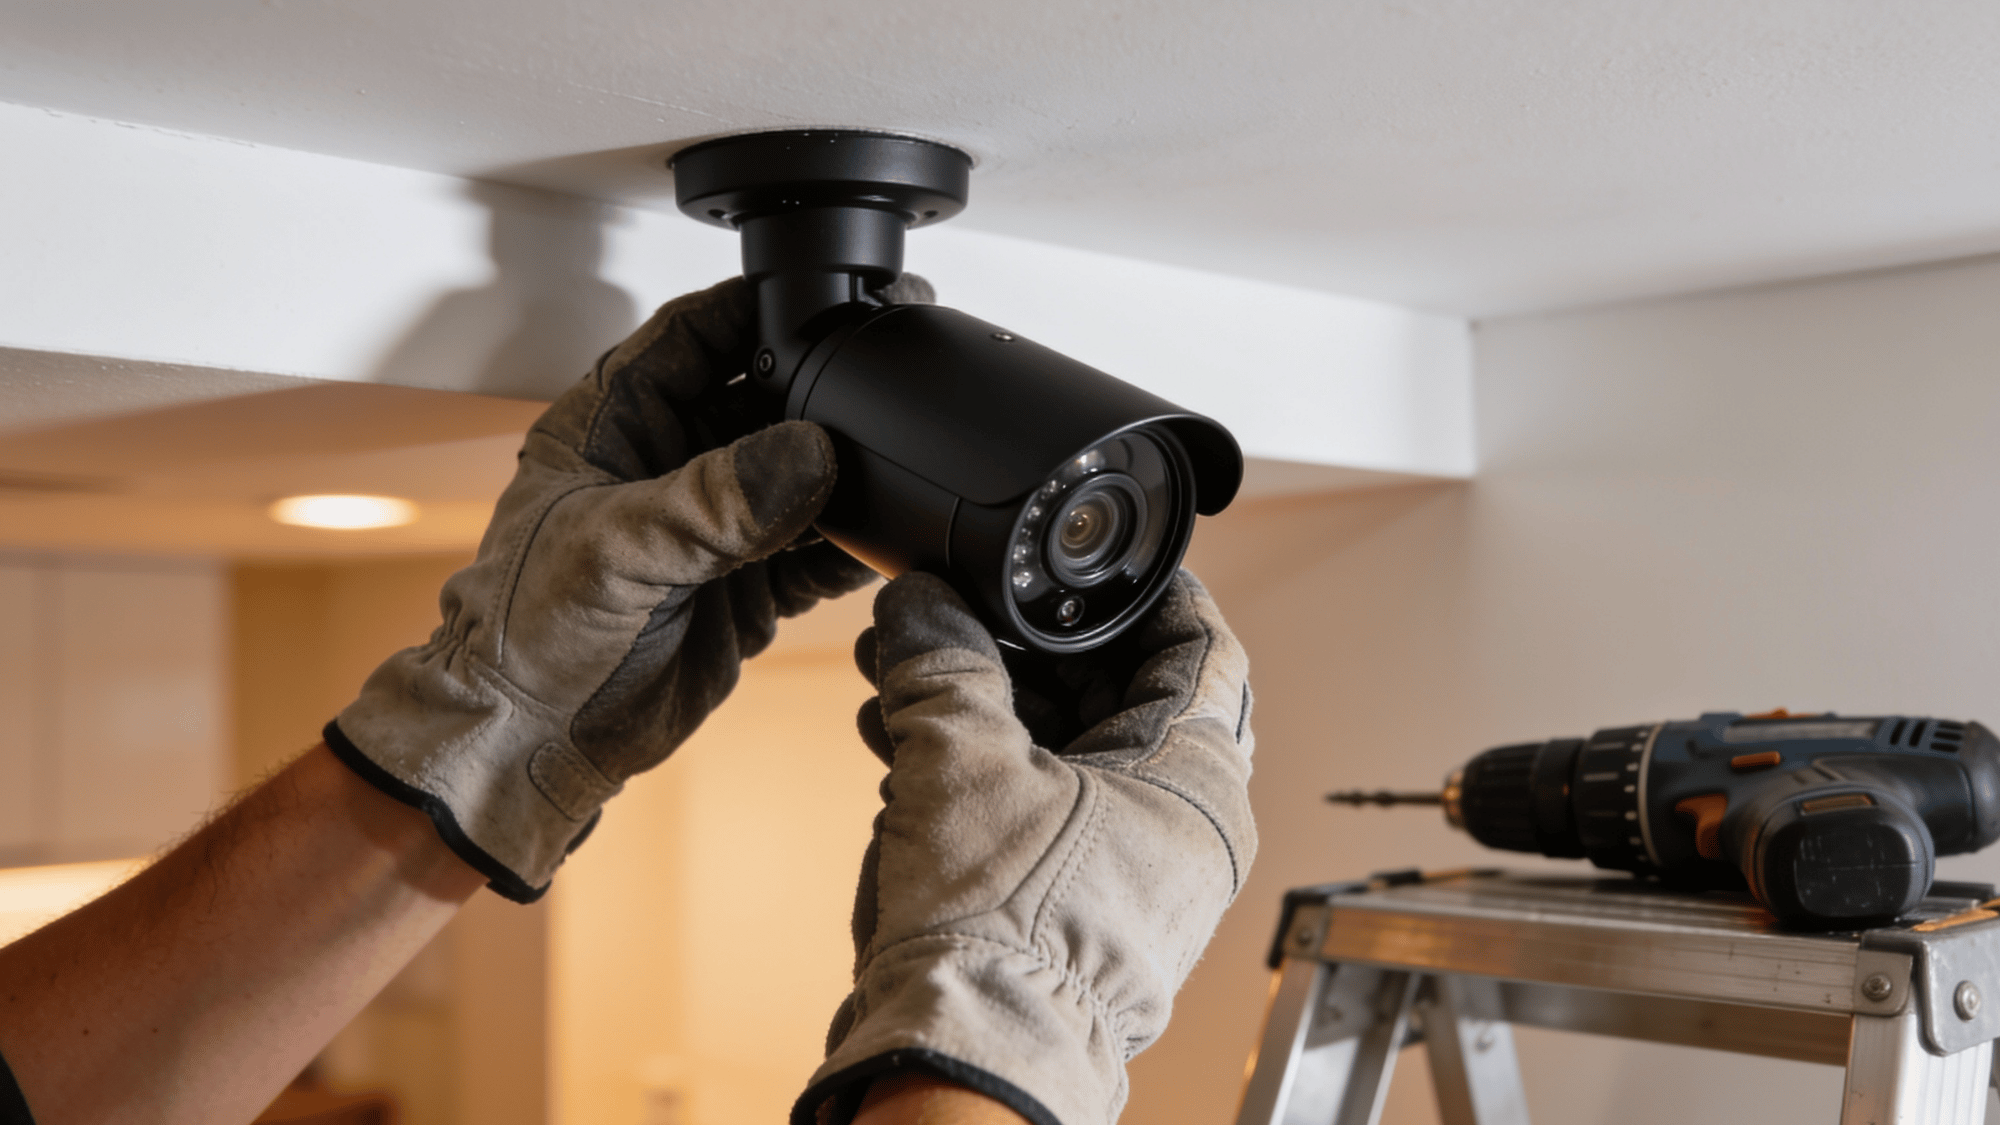
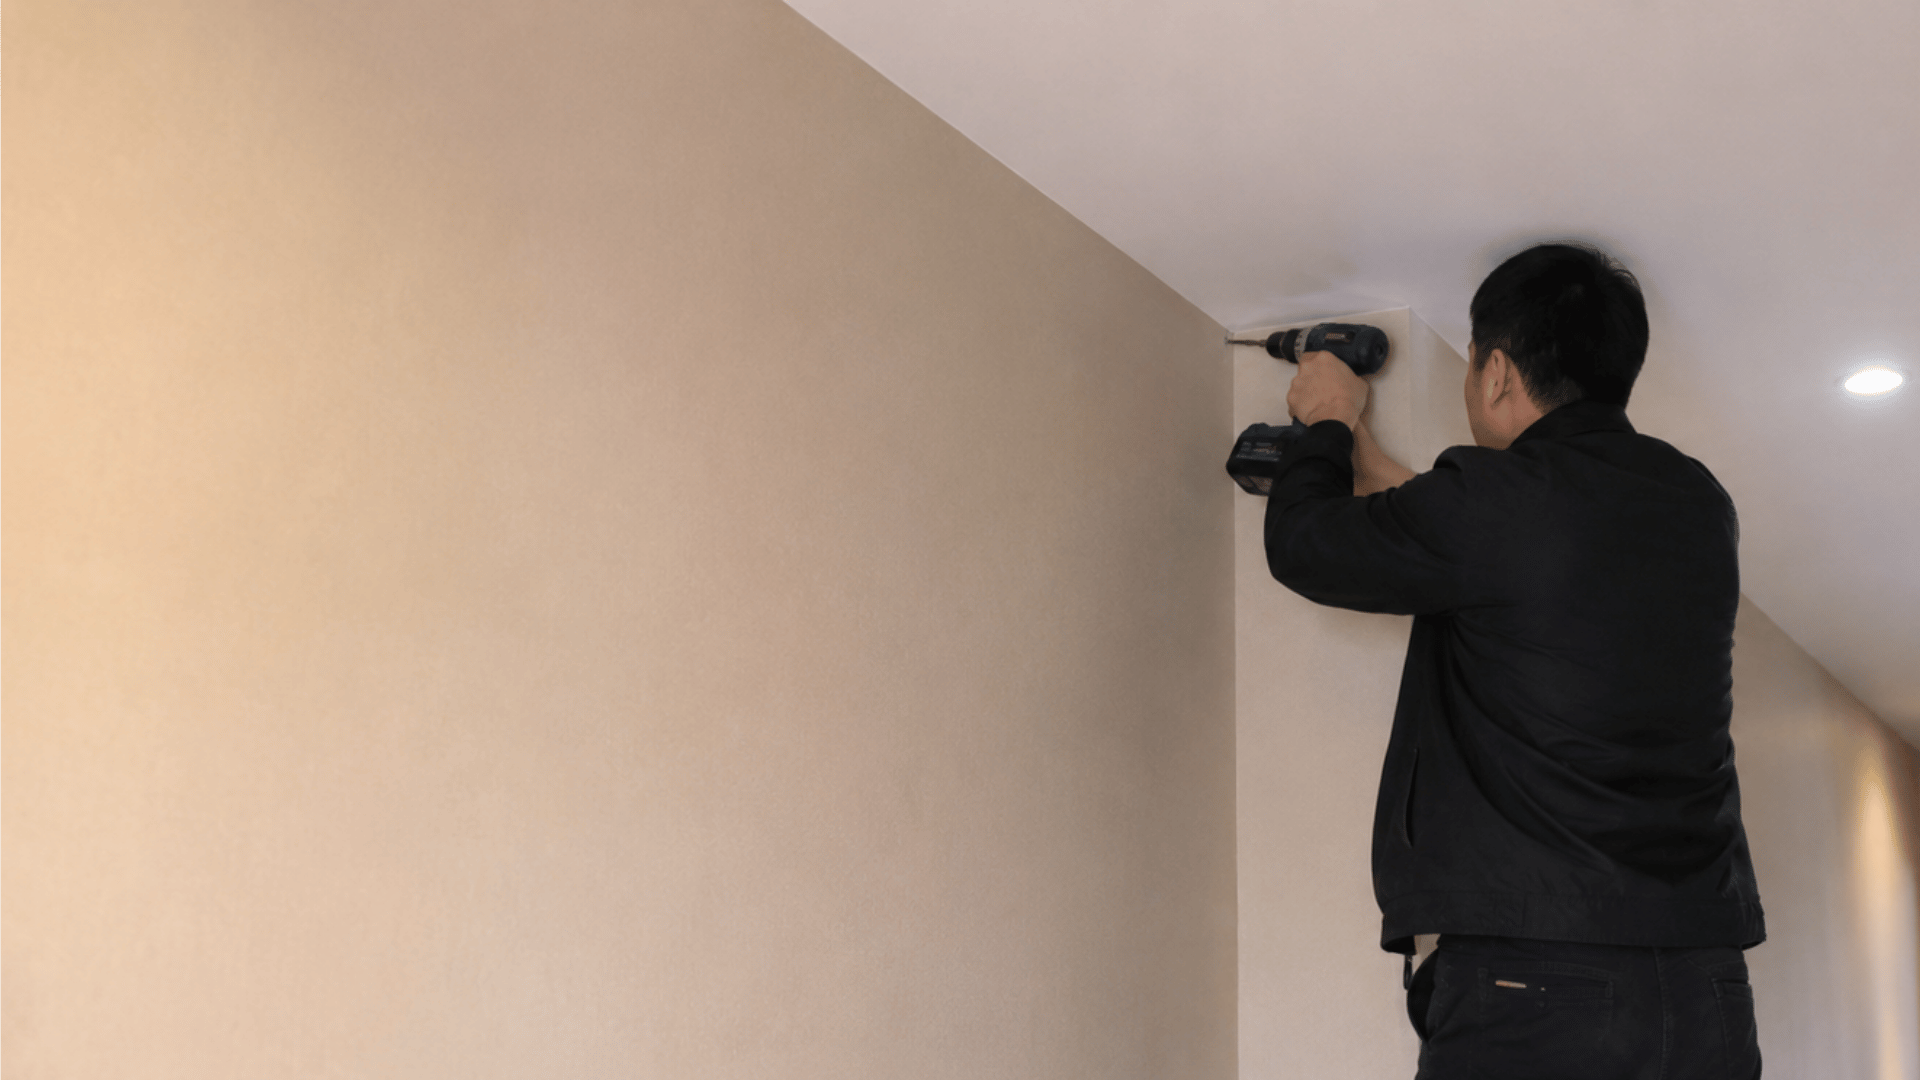
Step 2: Mark the Mounting Points
![]()
Hold the camera base against the wall or ceiling where you want to install it. Use a pencil to mark the screw holes clearly.
If the camera needs a cable hole, mark that spot too. This helps you drill in the right place and keeps the final setup cleaner.
Step 3: Drill the Holes
Use a drill bit that matches your wall type. Brick, wood, drywall, and siding may need different bits, so check before drilling.
Drill slowly and keep the camera base marks lined up. Add wall anchors if the surface needs extra support for a firm hold.
Step 4: Run the Cables
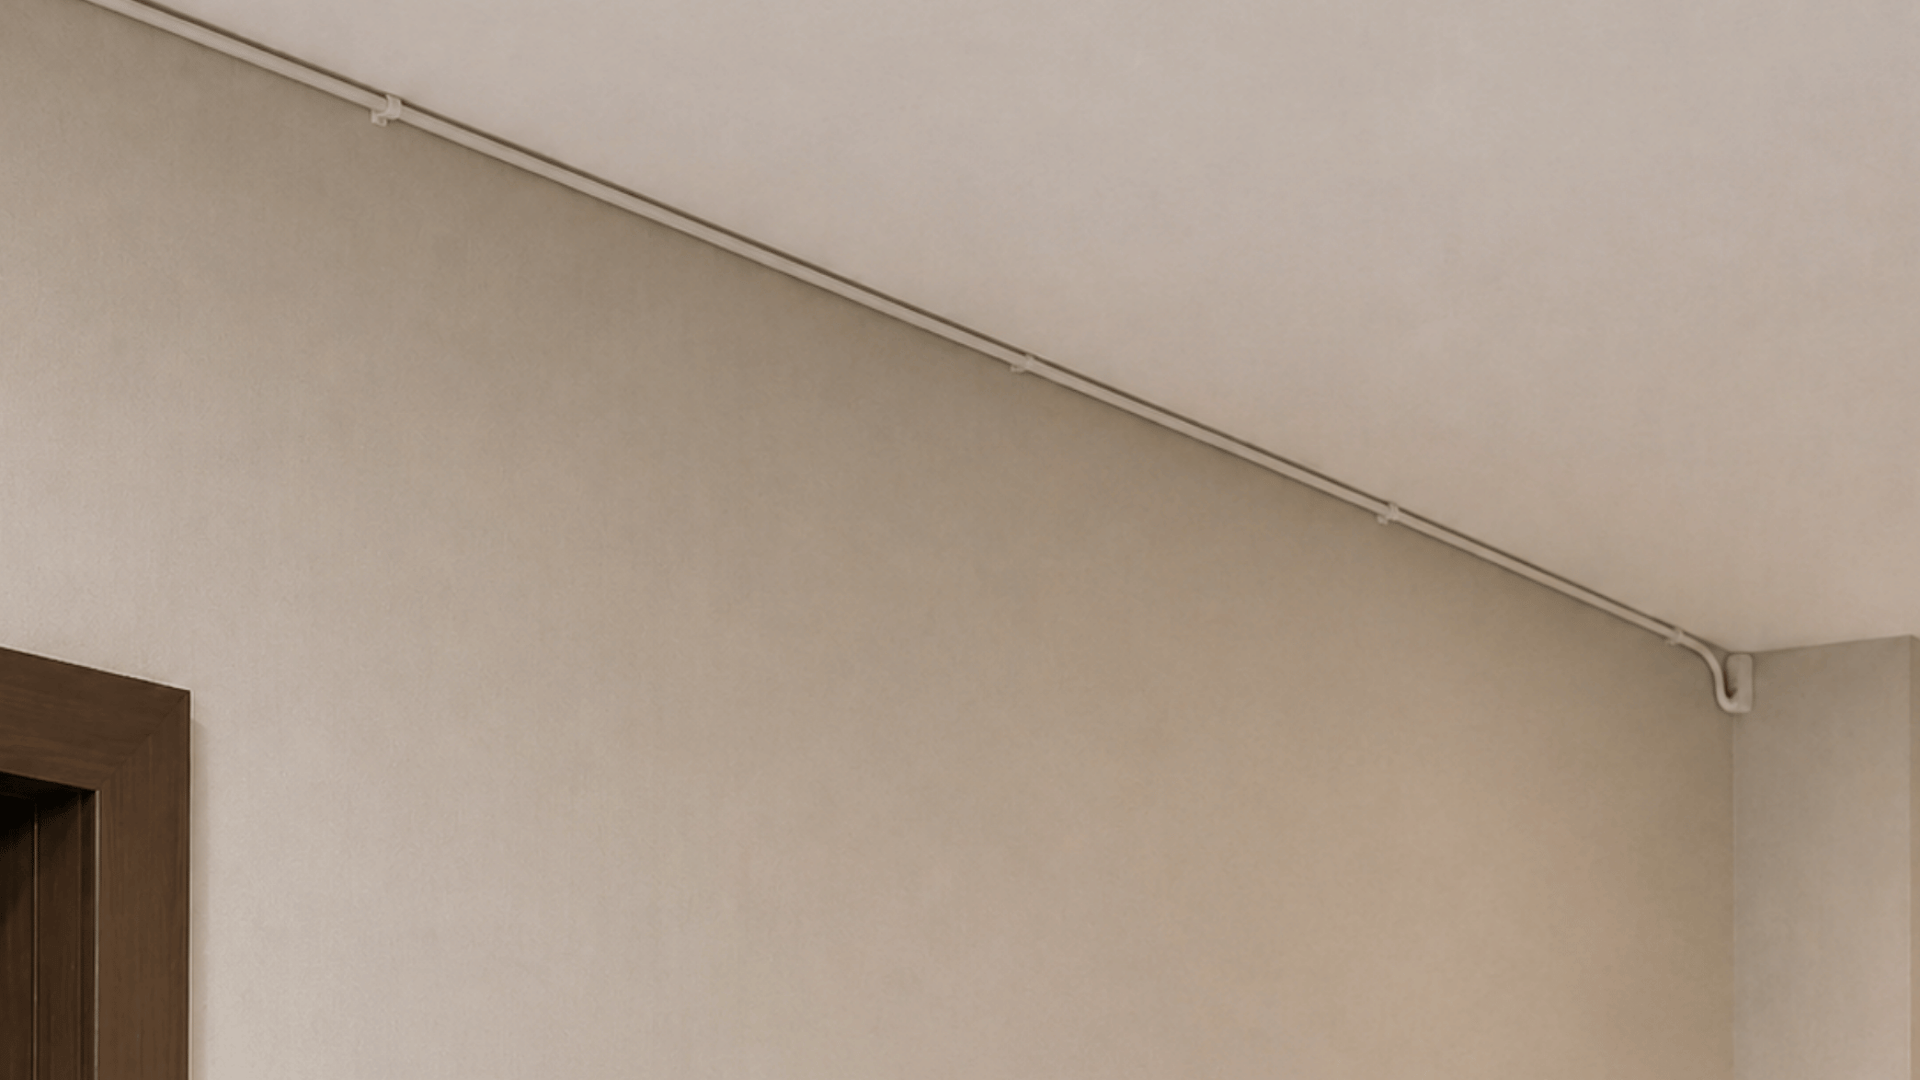
Run the camera cable through the wall, attic, or along a safe outdoor path. Keep the wire away from sharp edges, heat sources, and places where people may trip.
Use cable clips to keep wires neat and secure. For outdoor areas, use weather-rated cable and seal any wall holes to help block water.
Step 5: Mount the Camera
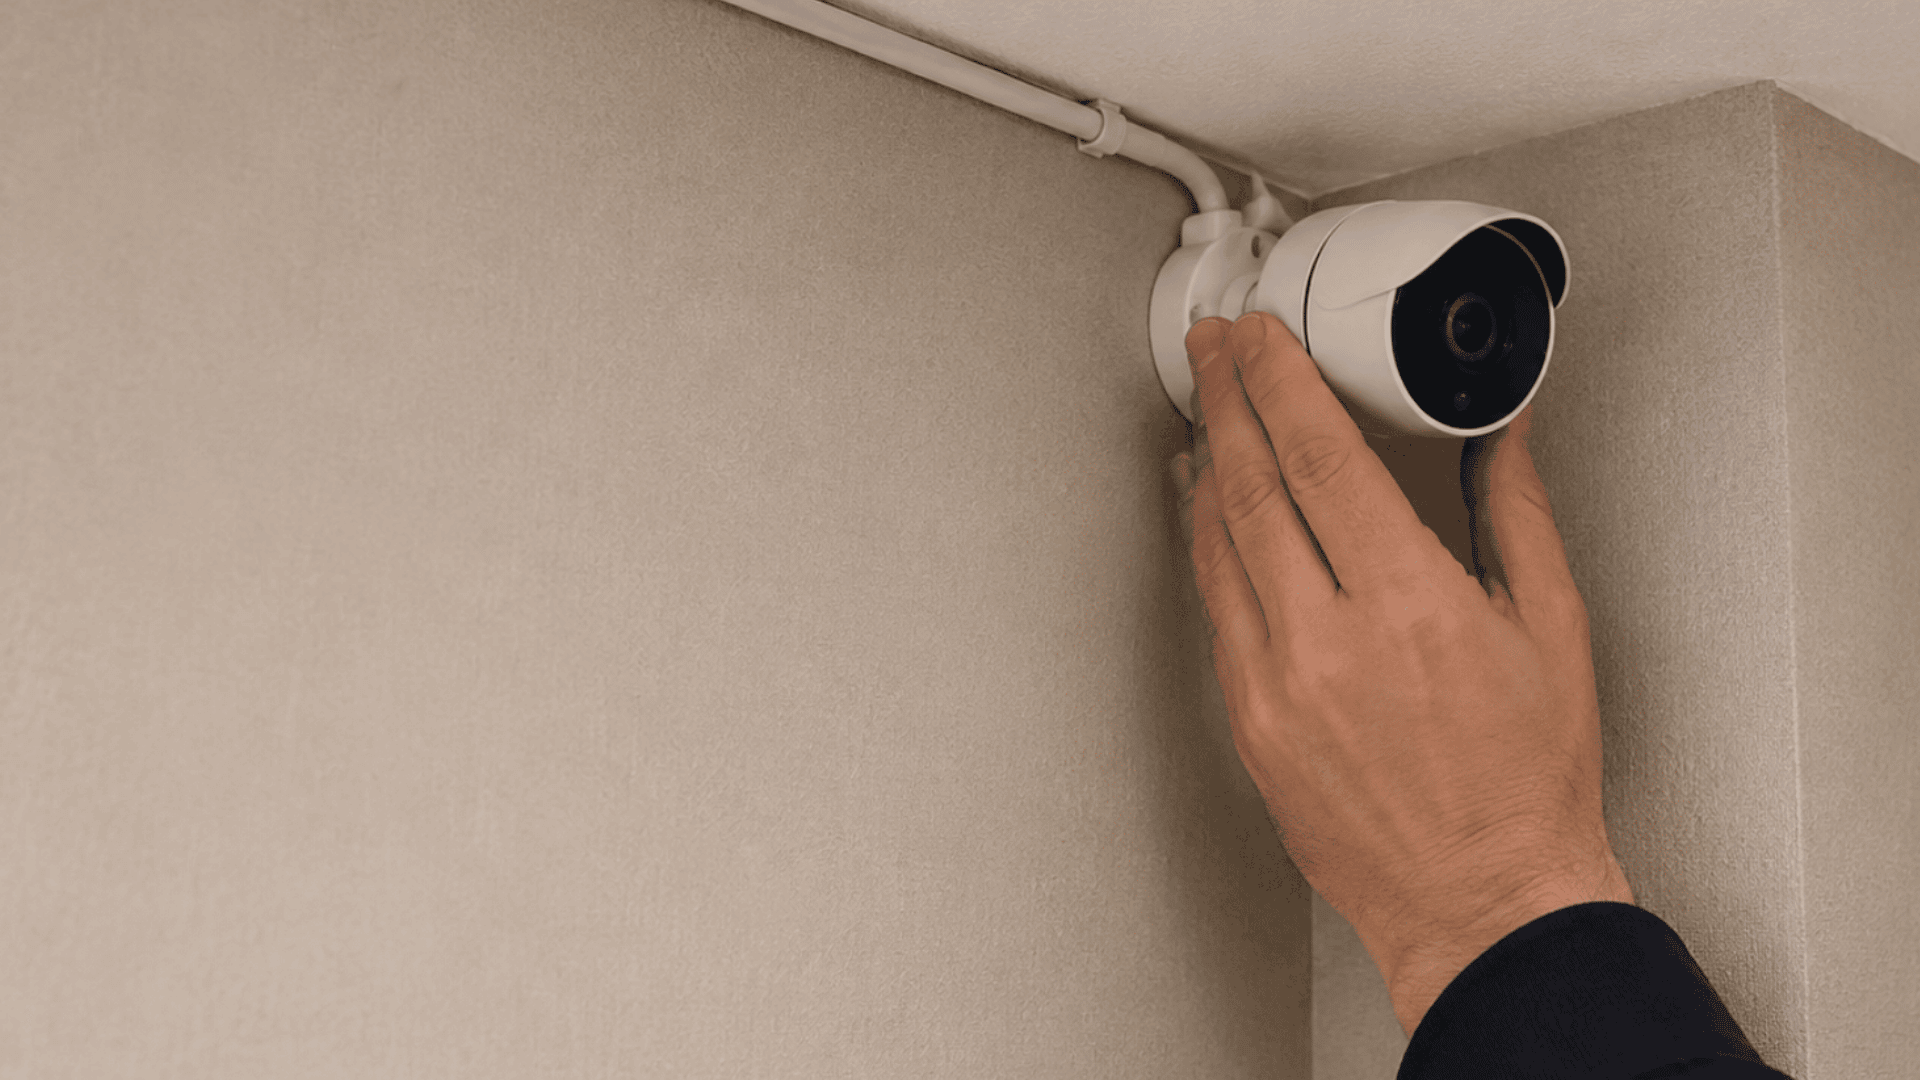
Place the camera base over the drilled holes and attach it with screws. Tighten the screws enough so the camera does not shake or shift.
Once mounted, check that the camera feels steady. A loose camera can lead to blurry footage, poor angles, and more adjustments later.
Step 6: Connect the System
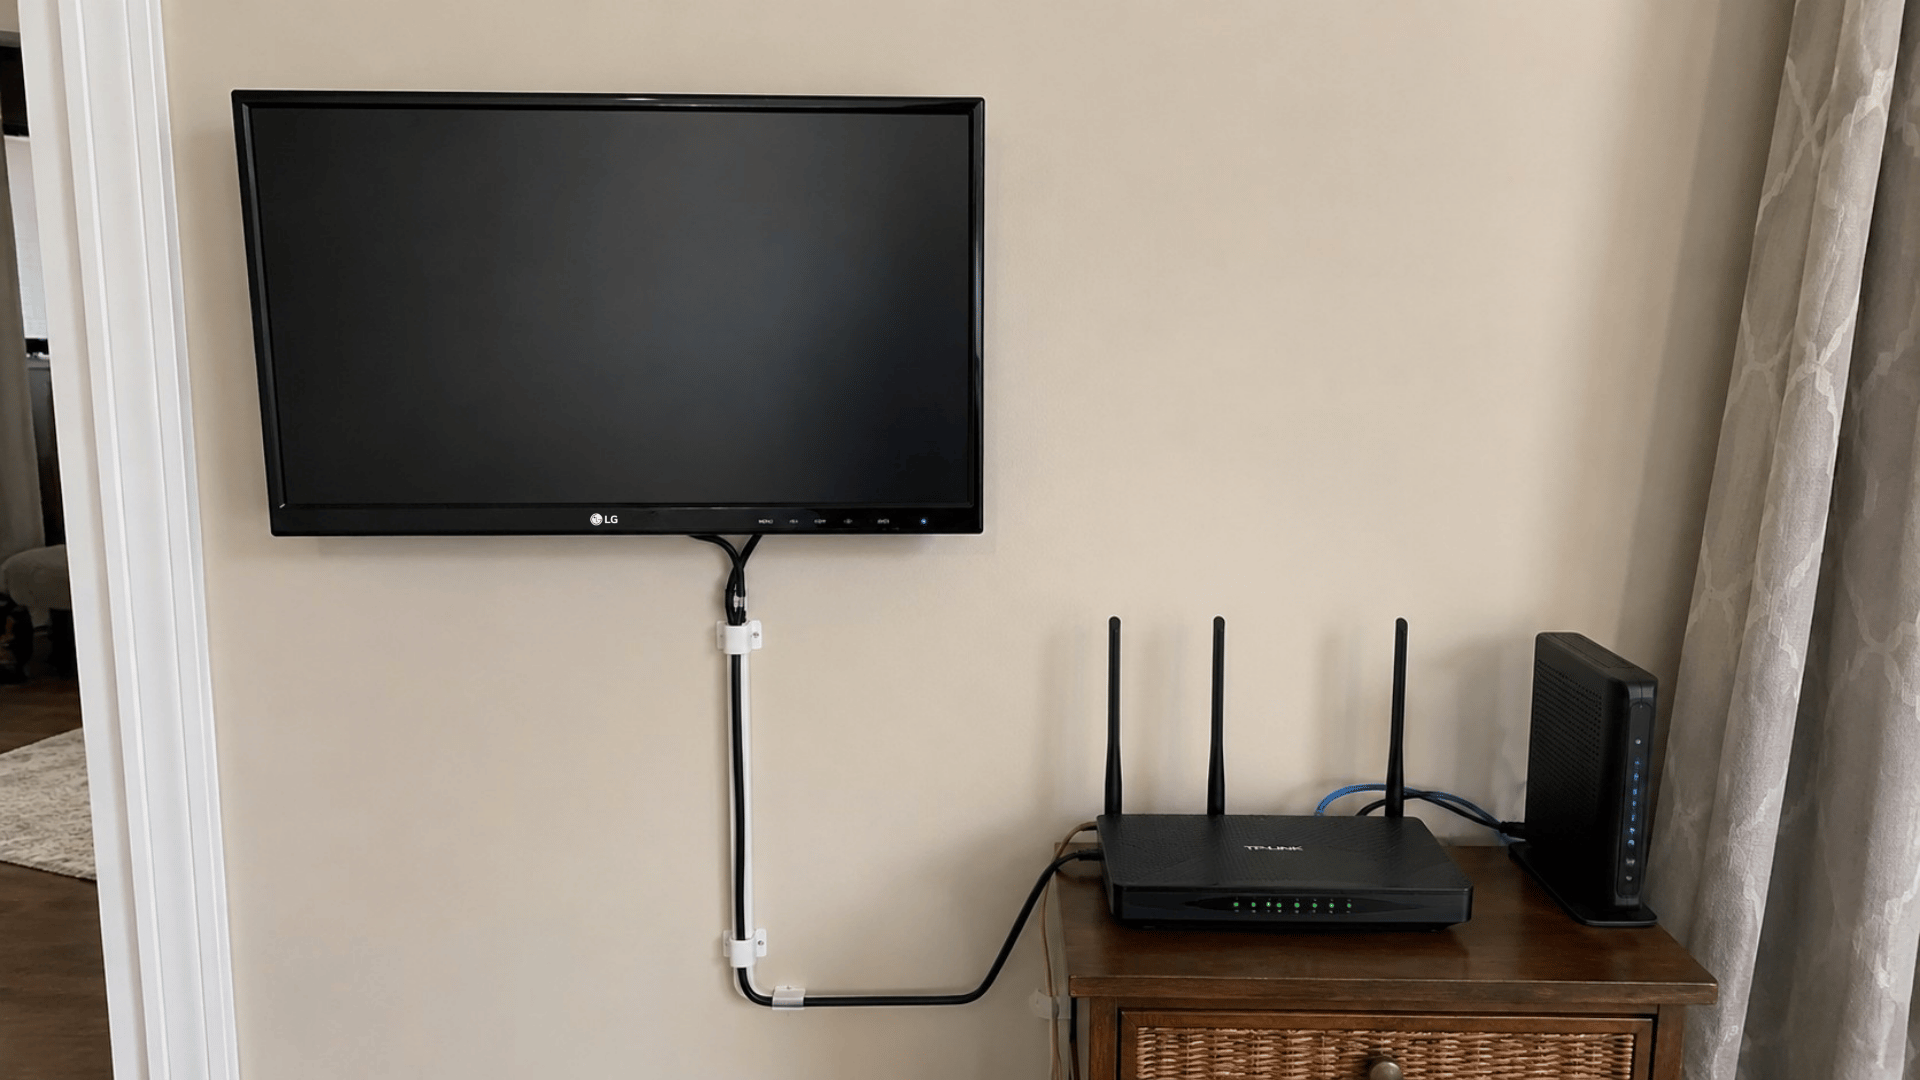
Connect each camera cable to the DVR, NVR, or PoE switch based on your system type. Then connect the recorder to a monitor so you can view the camera feeds.
Next, connect the recorder to your router if you want app access or remote viewing. Make sure the power supply is plugged in and the system turns on properly.
Step 7: Test the Footage
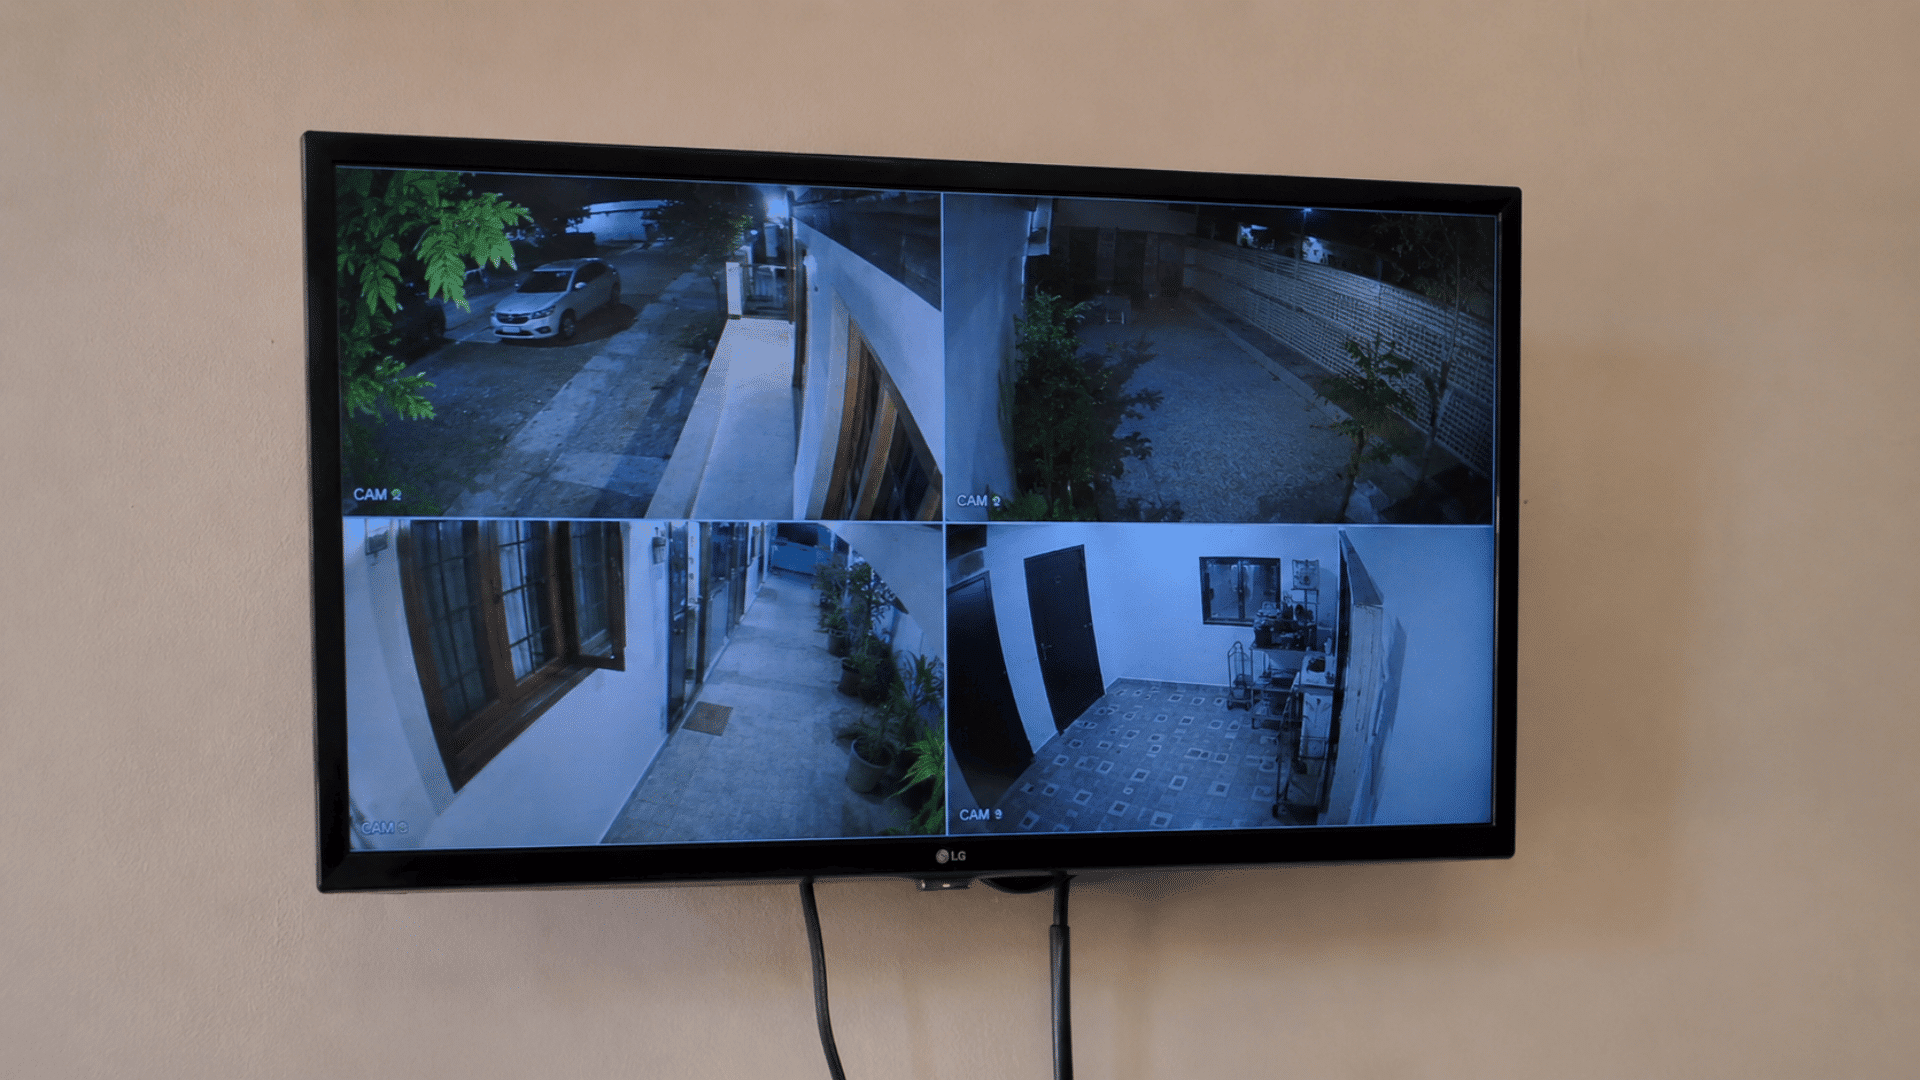
Test each camera during the day and again at night. Night footage can look different due to glare, shadows, porch lights, or infrared reflections.
Walk through each camera area and review the recording. This helps you make sure motion alerts, video quality, date, time, and storage are working correctly.
Installation Tips That Save You Time and Trouble
Getting the placement right from the start makes everything easier. A few simple habits during installation can prevent weak footage, loose fittings, and frustrating do-overs.
- Test each camera before mounting it permanently
- Always check for blind spots before drilling
- Mount cameras at eight to ten feet high
- Angle cameras slightly downward for better coverage
- Keep cables away from direct sunlight exposure
- Use weatherproof cameras for all outdoor spots
- Label every cable before connecting to the DVR
- Seal all outdoor holes with waterproof sealant
- Avoid pointing cameras directly into bright light
- Check the night vision range before finalizing placement
- Use a cable tester before closing walls
- Keep the DVR or NVR in a ventilated spot
- Secure all brackets tightly to prevent the camera from shifting
- Review live footage before finishing the full setup
- Install cameras covering all entry and exit points
Wrapping It Up
A CCTV camera installation is one of those things that feels unnecessary, right up until the moment it is not. And by then, having one already in place makes all the difference.
The blind spots around a home are easy to ignore. But they are also exactly where problems tend to happen. Getting cameras in the right spots and setting them up the right way changes that completely.
And now that everything is laid out from placement to testing, the only thing left is to actually get it done. Start with one camera. The rest follows naturally.
Frequently Asked Questions
What is the Best Pixel Option for CCTV Cameras?
Most homes find a 2MP or 4MP CCTV camera sufficient for daily monitoring.
How Often Should CCTV Cameras Be Checked?
Check your cameras at least once a month. Look at video quality, recording status, storage space, app access, and lens condition.
Can CCTV Cameras See License Plates?
Some cameras can capture license plates, but only with the right angle, lighting, distance, and video quality.