

Ever booted up Minecraft and thought the game could just look better? A lot of players feel that way at some point. Mods promise all sorts of upgrades, but figuring out where to start isn’t always obvious.
One missed step, and suddenly nothing works the way it should. I agree that it gets frustrating. The truth is, most setup struggles come down to a few small details getting overlooked along the way.
Nothing complicated, just easy to miss if no one points them out first. So instead of guessing or hoping it works out, let’s walk through how to install OptiFine, one simple step at a time.
Is OptiFine Safe to Install in Minecraft?
Yes, OptiFine is a popular Minecraft modification that adds extra graphics options and customization features. You can download it safely from the official OptiFine website.
OptiFine is designed for Minecraft Java Edition, so make sure you are using the Java version before starting the installation.
Before downloading OptiFine, check the Minecraft version you want to use. Matching both versions helps prevent installation issues.
How to Install OptiFine in Minecraft Step by Step
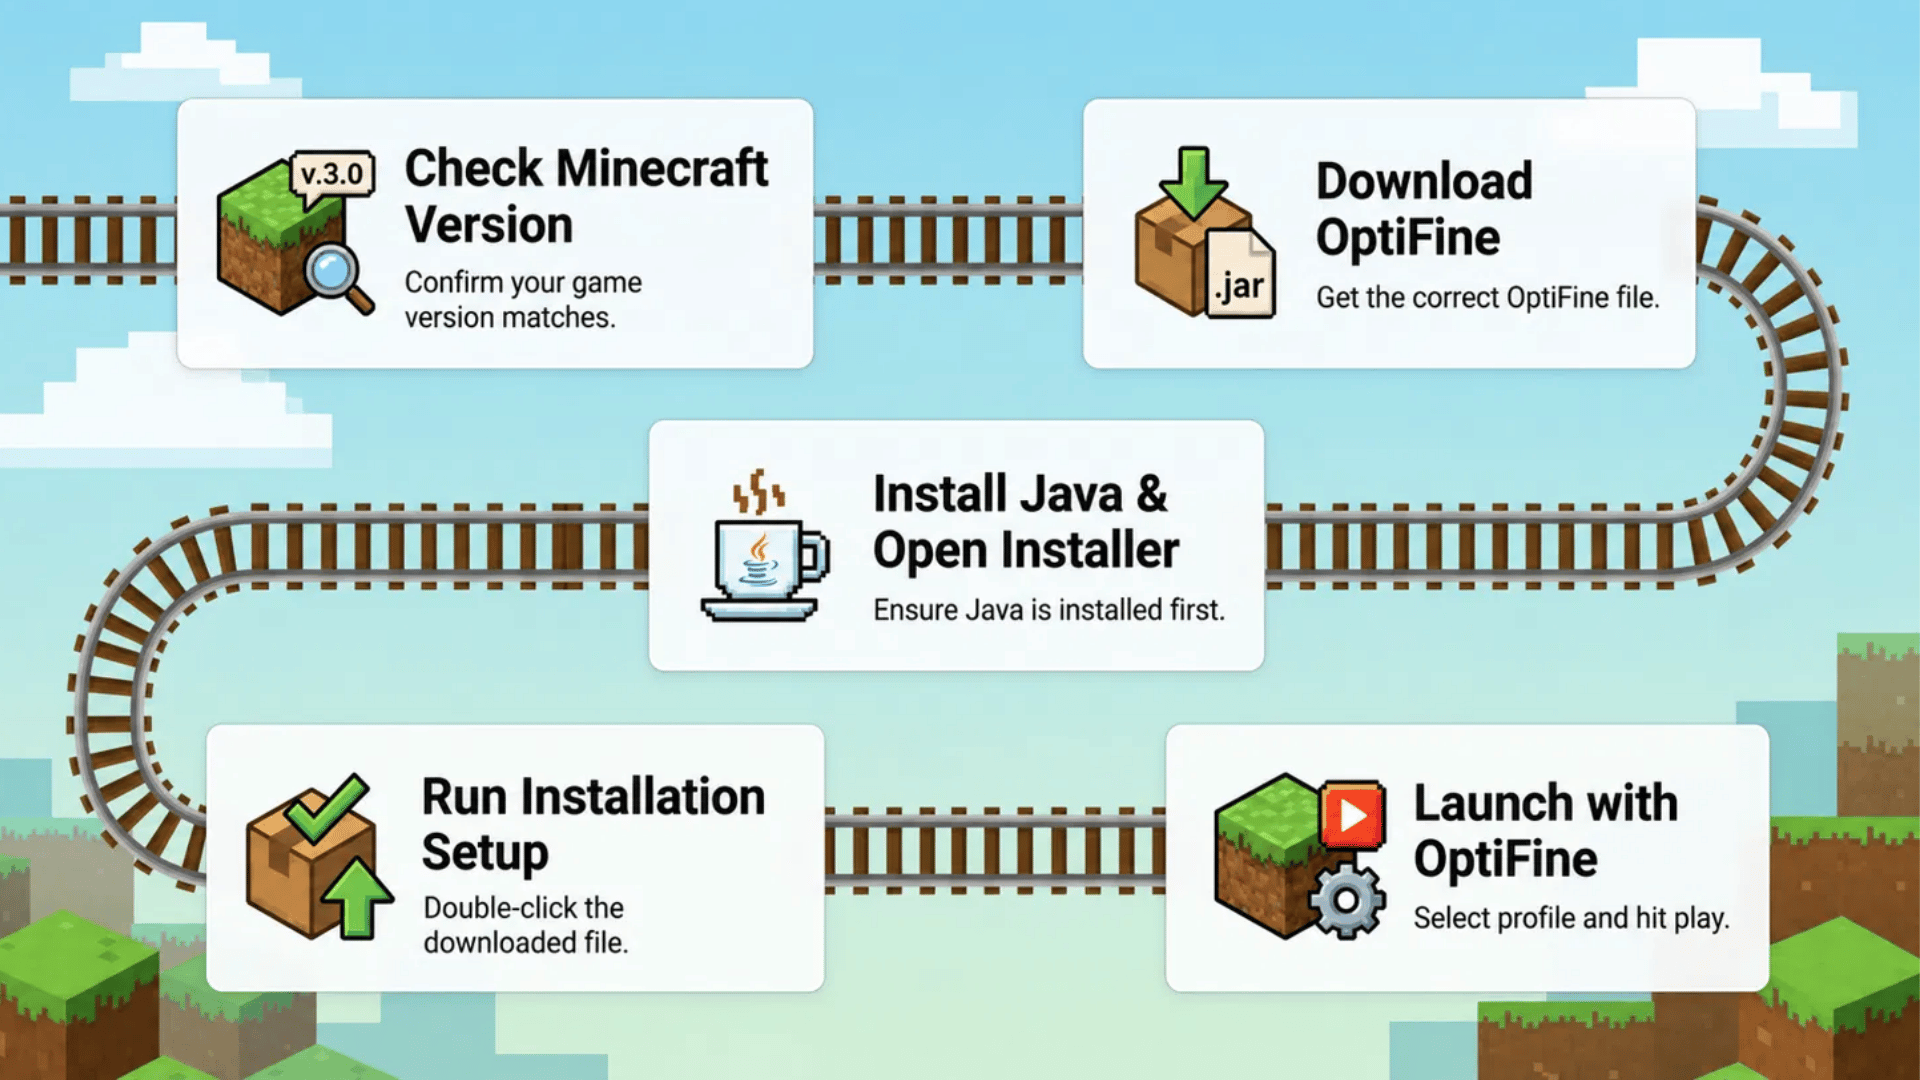
Installing OptiFine becomes easier when you follow each step in the correct order. This section covers everything from preparing Minecraft to completing the setup.
If you are looking for how to download OptiFine, these steps will help you install the file and launch Minecraft with the mod enabled.
Step 1: Check Your Minecraft Version Before Installing OptiFine
Before installing any mod, always download files from trusted sources and avoid unofficial versions that may contain unwanted software changes.
- Open the Minecraft Launcher and go to the installations section to view your available game versions.
- Select the Minecraft version you want to use and launch it once to confirm it works correctly.
- Wait until you reach the main menu, then note the exact version number displayed.
- Close Minecraft and the launcher completely before starting the OptiFine installation process.
- Keep the version details saved somewhere so you can compare them while downloading OptiFine.
My tip: Double-check your Minecraft version before downloading OptiFine to avoid installing the wrong file.
Step 2: Download the Correct OptiFine Version
The next step is finding the right OptiFine file for your Minecraft version. Choosing the matching version helps prevent compatibility issues during installation.
- Visit the official OptiFine download page and look through the available Minecraft versions.
- Select the OptiFine release that matches the Minecraft version you checked earlier.
- Click the download option and wait for the OptiFine installer file to save on your computer.
- Make sure the downloaded file ends with the .jar extension before opening it.
- Save the installer file in a location where you can easily find it during setup.
My tip: Create a separate folder for Minecraft files and mods. Keeping everything organized makes future installations much easier.
Step 3: Install Java and Open the OptiFine Installer
OptiFine uses Java to run its installer, so your computer needs the correct Java setup before you can continue. This helps the installer open smoothly and work properly.
- Check your computer to confirm if Java is already installed and ready to use.
- Install a compatible Java version if your system does not have one available.
- Locate the OptiFine .jar installer file you downloaded earlier.
- Double-click the file to open the OptiFine installation window.
- Use a Java repair tool if your computer cannot open the installer file.
My tip: Check Java before trying other solutions. A missing or outdated Java setup is a common reason why OptiFine files do not open.
Step 4: Complete the OptiFine Installation Setup
After opening the installer, you can add OptiFine to Minecraft through a quick setup process. The installer will create the required profile for you.
- Confirm that the installer shows the correct Minecraft folder location.
- Click the Install button to begin adding OptiFine to your game.
- Wait for the confirmation message that appears after successful installation.
- Open the Minecraft Launcher once the setup is complete.
- Select the newly created OptiFine profile from the available versions.
My tip: Keep the default installation folder unless you have changed your Minecraft location manually. This helps the installer find the correct files.
Step 5: Launch Minecraft with OptiFine Enabled
The final step is to open Minecraft with OptiFine enabled and confirm that the installation worked correctly.
- Open the Minecraft Launcher and select the OptiFine profile from the version menu before launching the game.
- Click Play and wait for Minecraft to start with the OptiFine modification enabled.
- Open the Video Settings menu to check that OptiFine features are available in the game.
- Adjust graphics, performance, animations, and shader settings according to your system and preferences.
- Save the changes and start playing Minecraft with OptiFine enabled.
My tip: Change one setting at a time after installation. This makes it easier to identify which options improve your gameplay performance.
What are the Best OptiFine Settings for Minecraft?
After learning how to install OptiFine, adjusting the right settings can help you get smoother gameplay and better visuals. These settings help you adjust Minecraft’s visuals and performance based on your gameplay needs.
| Setting | Recommended Option | Best For |
|---|---|---|
| Render Distance | Lower on slower PCs | Higher FPS and smoother gameplay |
| Smooth Lighting | On | Better lighting with minimal performance impact |
| Graphics | Fast or Fancy | Fast = better FPS; Fancy = better visuals |
| Fast Render | On (if supported) | Improves rendering performance |
| Shaders | Enable only on powerful PCs | Upgraded lighting and visual effects |
| Dynamic Lights | On | Better visibility while holding light sources |
| Animations | Disable unnecessary effects | Extra FPS on lower-end systems |
| Chunk Updates | Adjust based on performance | Balance chunk loading and smooth gameplay |
Adjust these OptiFine settings based on your system to improve gameplay performance while keeping the visuals you enjoy.
Benefits of Using OptiFine in Minecraft
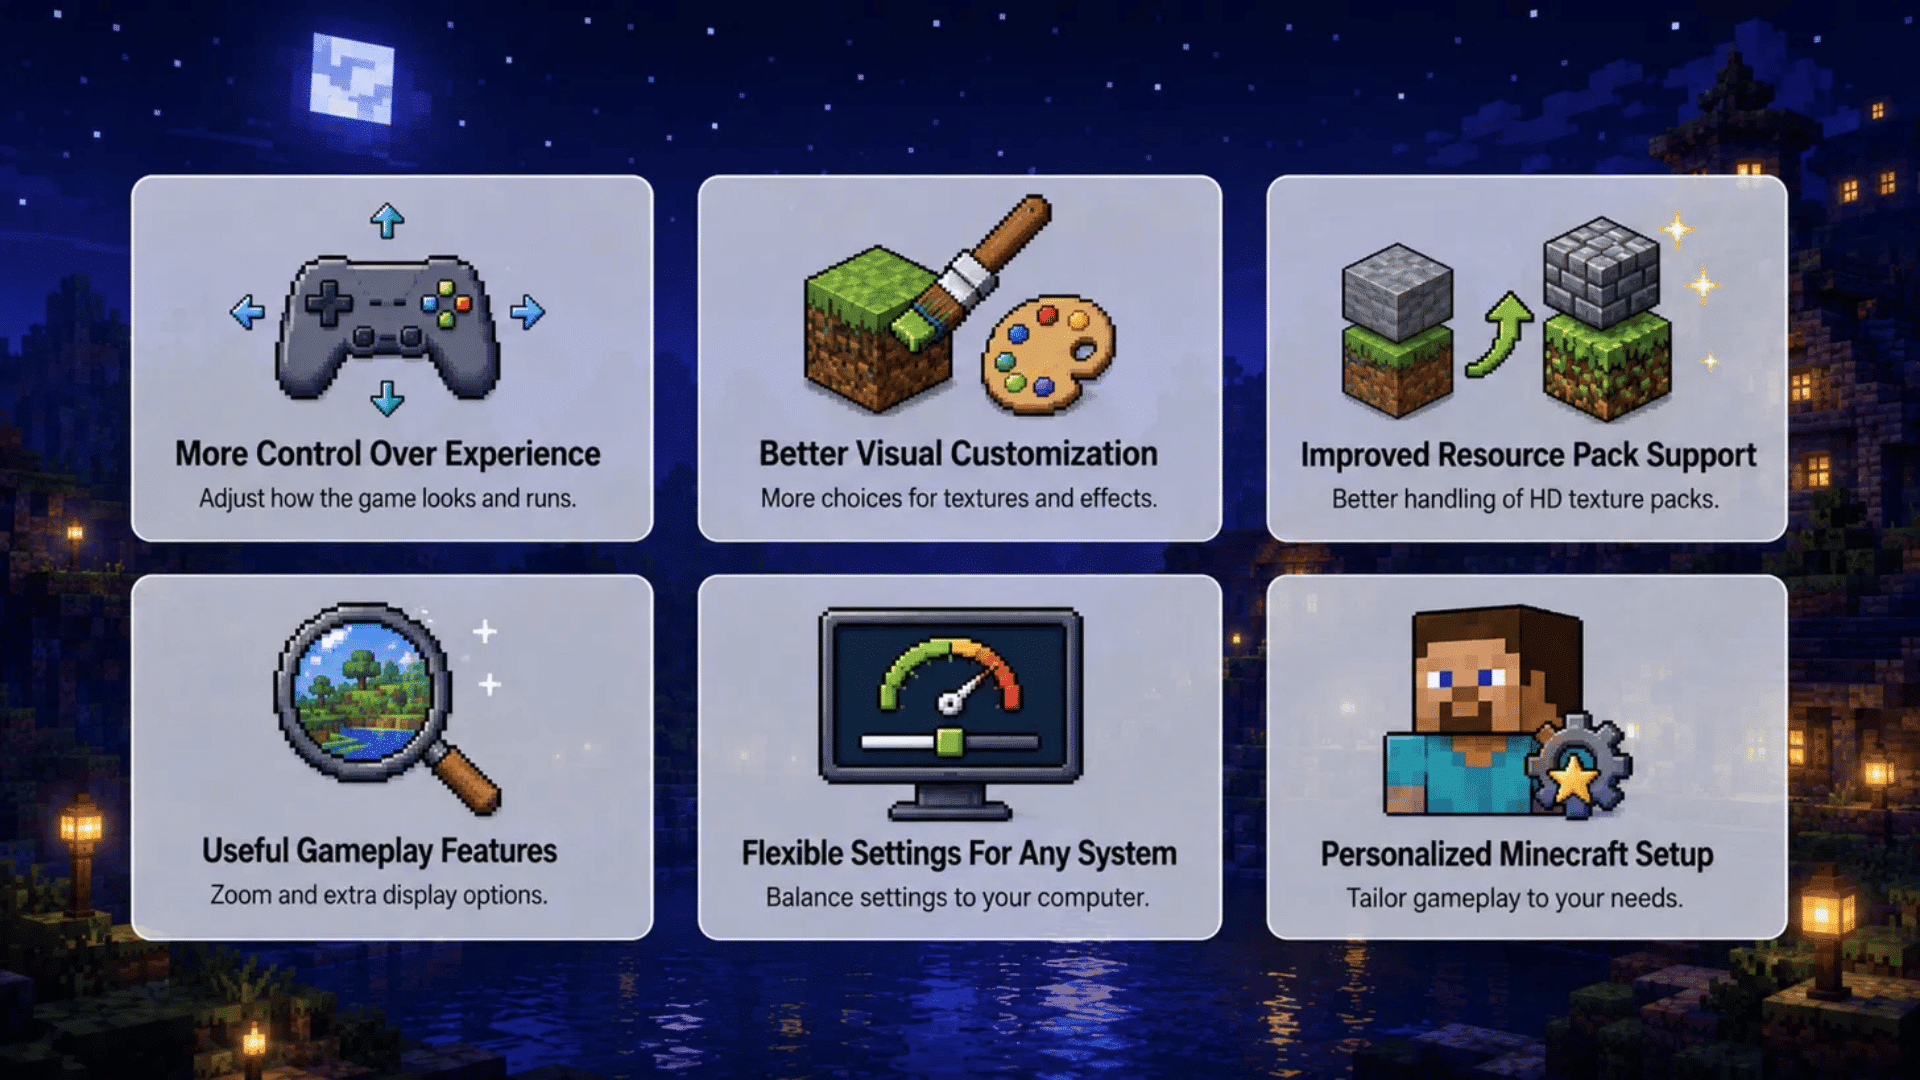
OptiFine adds several features that improve Minecraft’s graphics, performance, and customization options. These benefits make the game smoother and give players more control over their settings.
- More Control Over Minecraft Experience: OptiFine gives players extra options to adjust how Minecraft looks and runs based on their preferences.
- Better Visual Customization: It adds more choices for adjusting textures, effects, animations, and other visual elements in the game.
- Improved Support For Resource Packs: OptiFine helps players use high-resolution resource packs with better texture handling.
- Useful Features For Gameplay: Features like zoom and additional display options can make certain tasks easier while playing.
- Flexible Settings For Different Systems: Players can adjust options based on their computer’s capabilities to find a suitable balance.
- Personalized Minecraft Setup: OptiFine allows users to create a gameplay experience that feels more suited to their needs.
With these added features, OptiFine gives players more control over how Minecraft looks and performs. The right settings can help create a smoother experience based on your system.
Common OptiFine Installation Problems and Their Solutions
Even after following the installation steps, you may run into small issues while setting up OptiFine. The table below covers common problems and quick fixes.
| Problem | Cause | Fix |
|---|---|---|
| Profile missing | Launcher not refreshed | Restart the launcher. |
| OptiFine not loading | Wrong profile selected | Choose the OptiFine profile. |
| Game crashes | Mod or shader conflict | Remove conflicting mods/shaders. |
| Shaders not working | Version mismatch | Use a compatible shader pack. |
| Low FPS | Settings too high | Lower render distance and animations. |
| Settings reset | Profile or files changed | Reapply and save your settings. |
| Installer won’t open | Java missing or outdated | Install or update Java. |
| Installation fails | Wrong OptiFine version | Download the matching version. |
| Black screen | Shader or graphics issue | Disable shaders and restart. |
| Mods not working | Mod loader conflict | Install the correct OptiFine build. |
| Texture pack issues | Unsupported resource pack | Switch to a compatible pack. |
| Missing OptiFine options | Wrong Minecraft version | Launch the matching game version. |
These quick fixes can help solve common OptiFine problems and get Minecraft running properly after installation.
Can You Use OptiFine with Minecraft Mods?
Yes, OptiFine can work with many Minecraft mods, but compatibility depends on the mod type and Minecraft version you are using. Checking a few details before combining mods can help prevent conflicts.
- Works With Forge Modpacks: OptiFine can be added to many Forge-based setups when the Minecraft and mod versions match.
- Can Be Used With Shader Packs: OptiFine supports shader packs that change lighting and visual effects in Minecraft.
- Requires Version Matching: Minecraft, Forge, and OptiFine versions should align for a smoother setup.
- Add Mods Carefully: Installing additional mods gradually makes it easier to manage your setup.
- Keep Game Files Backed Up: Saving your Minecraft folder helps protect worlds and settings before making changes.
Using OptiFine with mods can add more features to Minecraft, but checking compatibility first helps keep your game running smoothly.
Final Thoughts
Installing OptiFine isn’t nearly as scary as it looks from the outside; once Java’s sorted, the right version’s downloaded, and the installer does its thing.
Trust me, with just a few clicks and a profile check, Minecraft suddenly runs smoother with way more room to play around with settings. No need to overthink it.
And if something doesn’t work right away, that’s usually just a small mismatch somewhere, nothing a quick fix can’t handle.
So next time the game feels a little flat, there’s no reason to just live with it. Just download, install, and enjoy a better-looking world.
Frequently Asked Questions
Can You Install OptiFine Without Minecraft Forge?
Yes, OptiFine can be installed separately without Forge by using its official installer file.
Does OptiFine Affect Minecraft Worlds?
No, OptiFine does not change your saved worlds and only modifies graphics and performance settings.
Does OptiFine Work With Minecraft Realms?
Yes, OptiFine can be used while playing Minecraft Realms as it mainly changes client-side graphics and performance settings.
Do You Need A Powerful Computer To Use OptiFine?
No, OptiFine works on different systems and lets you adjust settings based on your computer’s performance.