




Phone cases pick up fingerprints, oils, dust, makeup, food residue, and dirt from daily handling. After a while, even a good case can start looking dull or grimy. Learning how to clean a phone case properly can help keep it fresh without damaging its surface or finish.
I usually start with mild soap because it works well for many washable materials. Still, the right method depends on what the case is made from. If I need to know how to clean a clear phone case or how to clean a silicone phone case, I first check the material before using alcohol, baking soda, or stronger cleaners.
The same patience pays off when choosing phone accessories wisely in the first place, since picking materials that suit your habits makes them far easier to maintain long term.
Check Your Phone Case Before Cleaning
Not every phone case handles water, scrubbing, or cleaning products in the same way. Silicone, rubber, and many plastic cases tolerate gentle washing, while leather, fabric, and wood require much less moisture.
Remove the case from your phone first. Check for cracks, peeling finishes, loose decorations, printed graphics, worn adhesive, and damaged edges before adding water or cleaning products.
Manufacturer care instructions should take priority when available, especially for cases with painted details, fabric panels, leather sections, or special coatings. It’s the same principle you’d follow when setting up iPhone features for the first time, checking official guidance up front saves you from avoidable mistakes later,
When trying an unfamiliar cleaner, test a small hidden area first. Stop if the material fades, softens, peels, or changes texture.
What You Need to Clean a Phone Case

Basic cleaning usually requires only a few mild supplies. Start with gentle products before trying anything stronger.
- Mild Dish Soap: Breaks down fingerprints, body oils, and everyday grime.
- Lukewarm Water: Cleans washable materials without exposing them to excessive heat.
- Microfiber Cloth: Wipes smooth surfaces with less risk of visible scratches.
- Soft Toothbrush: Reaches textured areas, corners, buttons, and narrow edges.
- Cotton Swabs: Help clean small openings and difficult corners.
- Baking Soda: May remove stubborn surface grime from suitable plastic or silicone cases.
- 70% Isopropyl Alcohol: Can disinfect some compatible materials when applied carefully.
Avoid using every product on every case. Leather, wood, fabric, printed designs, soft coatings, and glued decorations often need gentler treatment. This mindset carries over when picking essential tech accessories in general, since not every product suits every device the same way.
How to Clean a Phone Case Step by Step
The cleaning method should match both the material and the type of dirt. These steps work as a safe starting point for many common cases.
Step 1. Remove the Phone and Loose Dirt
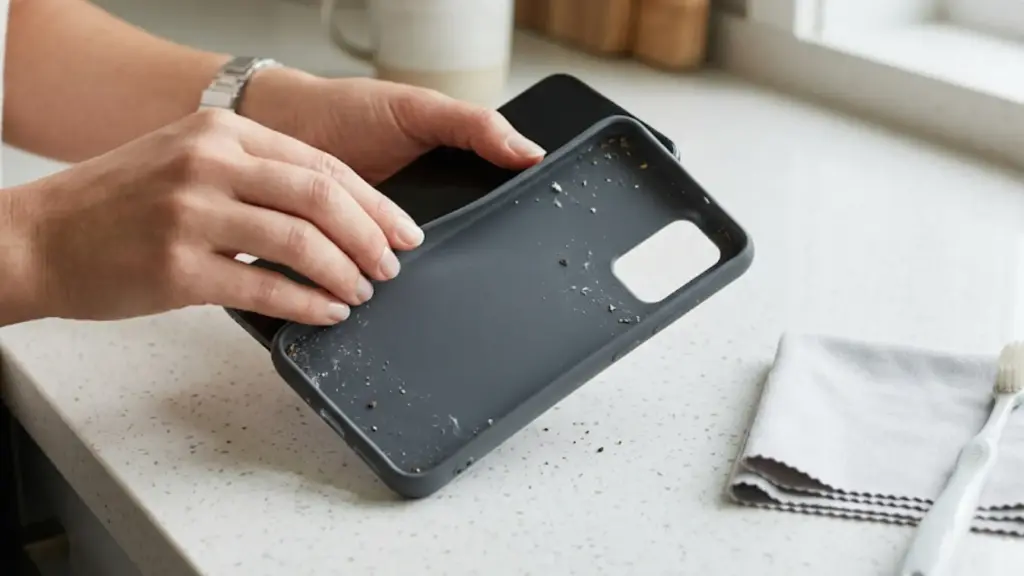
Take the phone completely out of its case before using water or cleaning products.
Check the inside for sand, lint, crumbs, dust, and other small particles. Wipe them away with a dry microfiber cloth or soft toothbrush.
Spend extra time around the camera opening, button covers, corners, and edges. Removing grit before washing also reduces the chance of scratching the case during cleaning.
Step 2. Wash With Mild Soap and Lukewarm Water
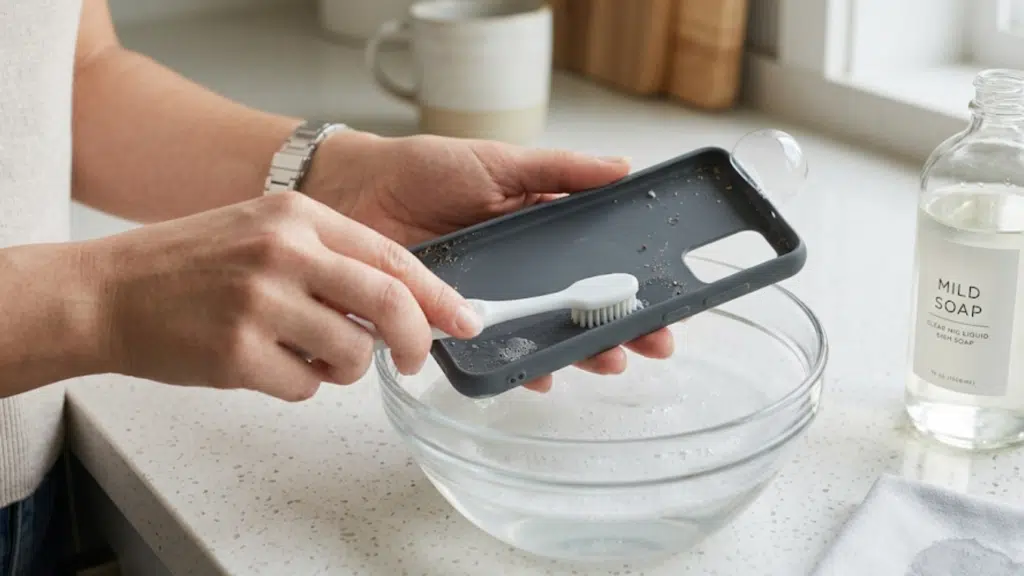
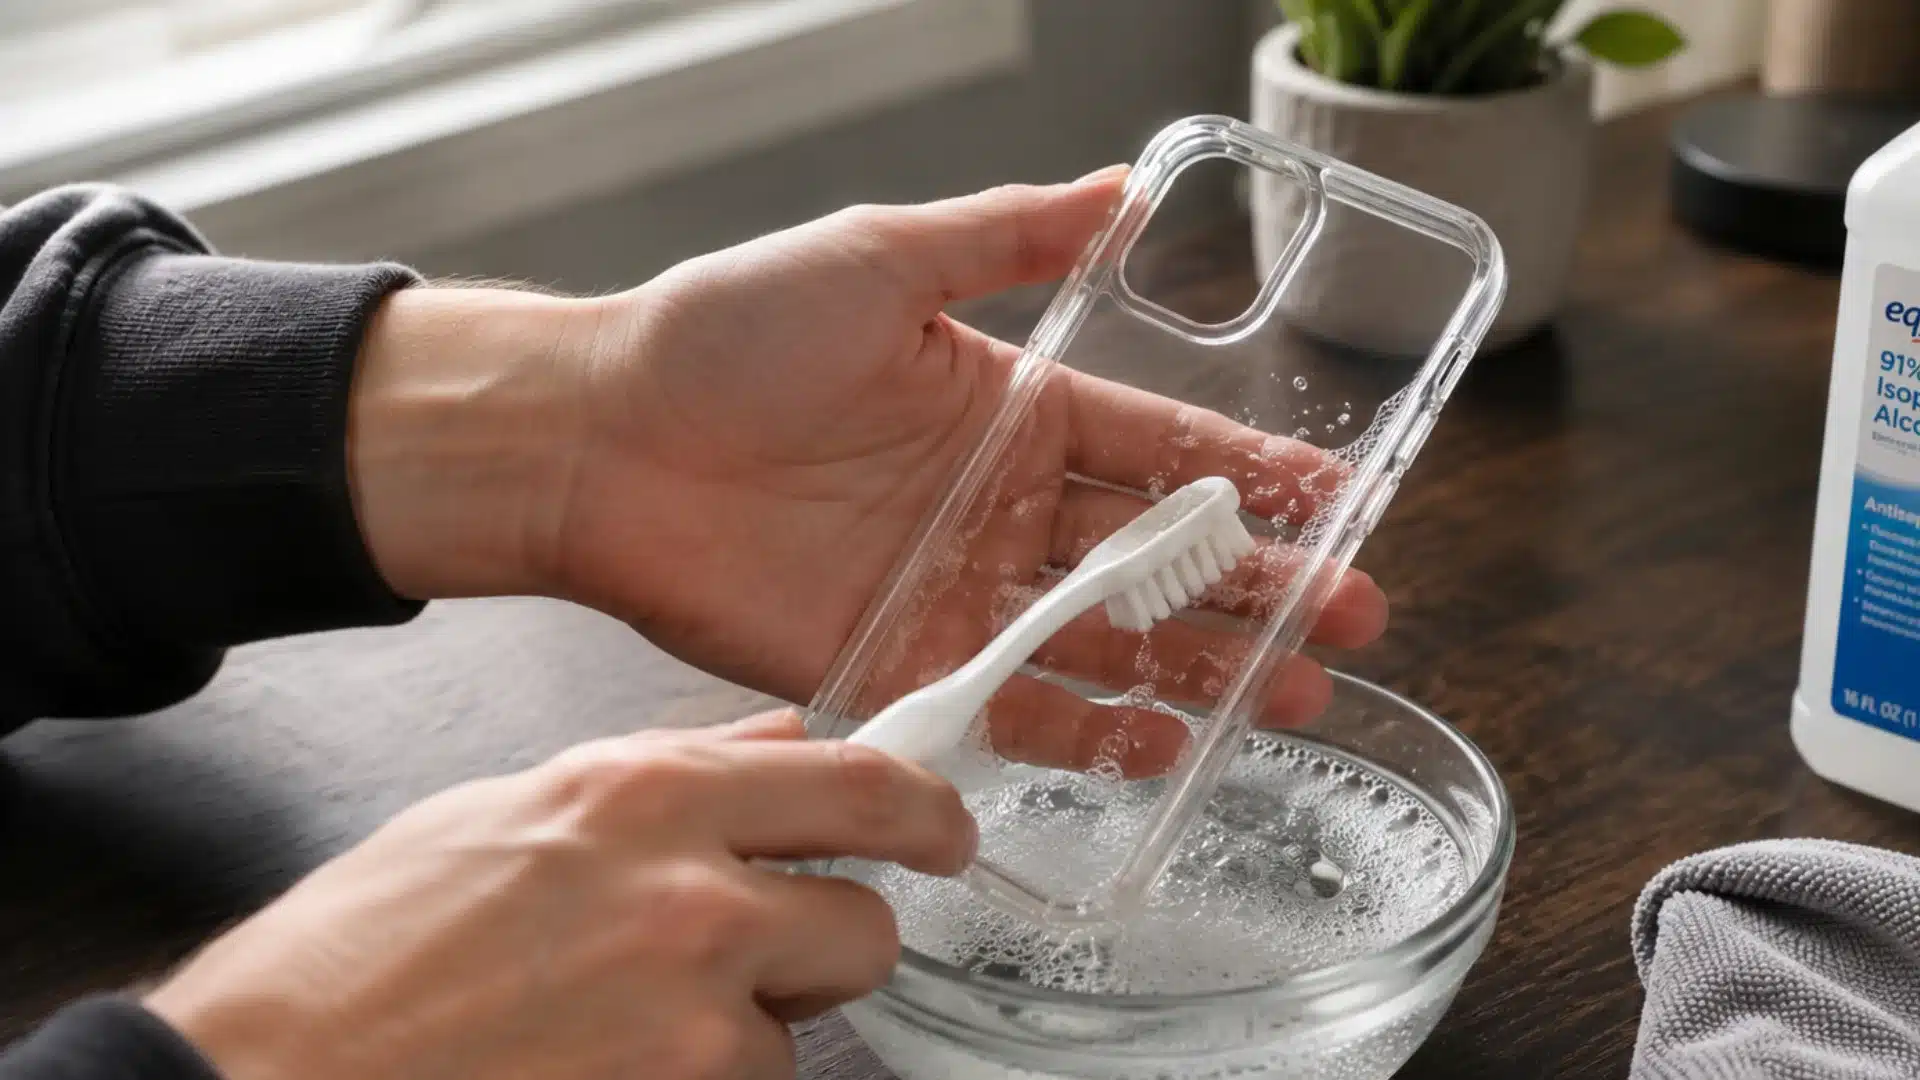
For silicone, rubber, clear plastic, and many hard plastic cases, mix a few drops of mild dish soap with lukewarm water.
Dip a microfiber cloth or soft toothbrush into the mixture and gently clean the inside and outside. Work over corners, textured sections, and raised edges where oils often collect.
Rinse washable cases afterward to remove soap residue.
Avoid very hot water and rough scrubbers because they may affect plastic, glossy surfaces, coatings, or printed details.
Step 3. Clean According to the Material
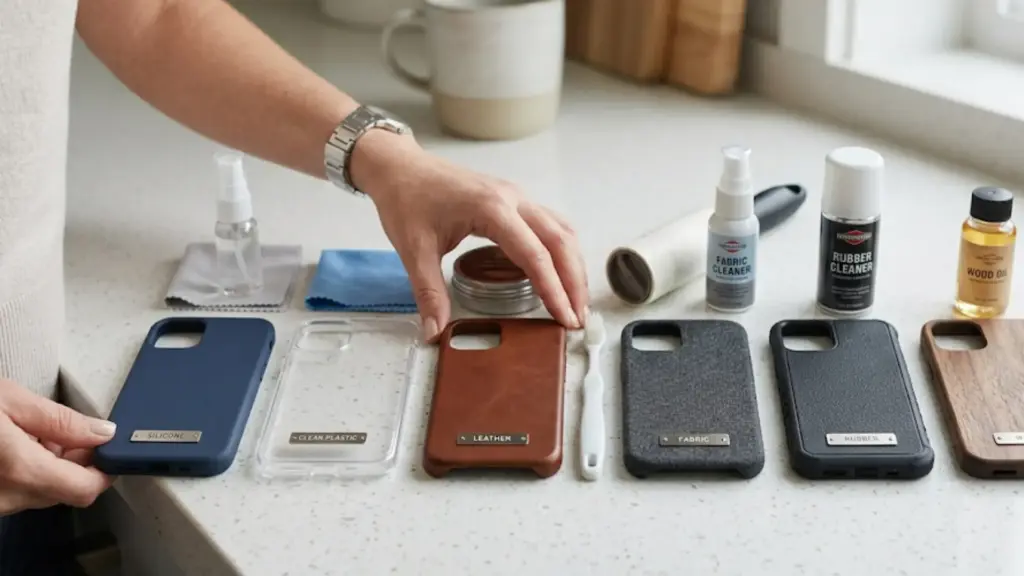
Different materials need different levels of moisture and scrubbing.
- Silicone Cases: Wash with diluted dish soap and lukewarm water. Use a soft toothbrush on grooves and dirty edges, then rinse and dry completely.
- Clear Cases: Start with mild soap and water. Baking soda may help remove stubborn surface buildup, but use light pressure because abrasive cleaning can leave small scratches.
- Plastic Cases: Wipe or wash with diluted dish soap. Use a soft cloth on glossy or printed plastic to reduce scratching and fading.
- Rubber Cases: Use mild soap and water with a soft brush for textured areas. Avoid strong solvents that can dry or weaken the material.
- Leather Cases: Never soak leather. Remove dust with a dry cloth, then wipe gently with a slightly damp lint-free cloth. A suitable leather cleaner can be used if the manufacturer allows it.
- Fabric Cases: Apply a small amount of diluted mild detergent using a well-wrung cloth. Avoid saturating the fabric or inner layers.
- Wood Cases: Use a dry or barely damp microfiber cloth with very little soap. Remove remaining moisture quickly to reduce swelling or warping.
Start with the mildest suitable method. Stronger cleaning is rarely the best first option.
Step 4. Treat Stubborn Marks Carefully
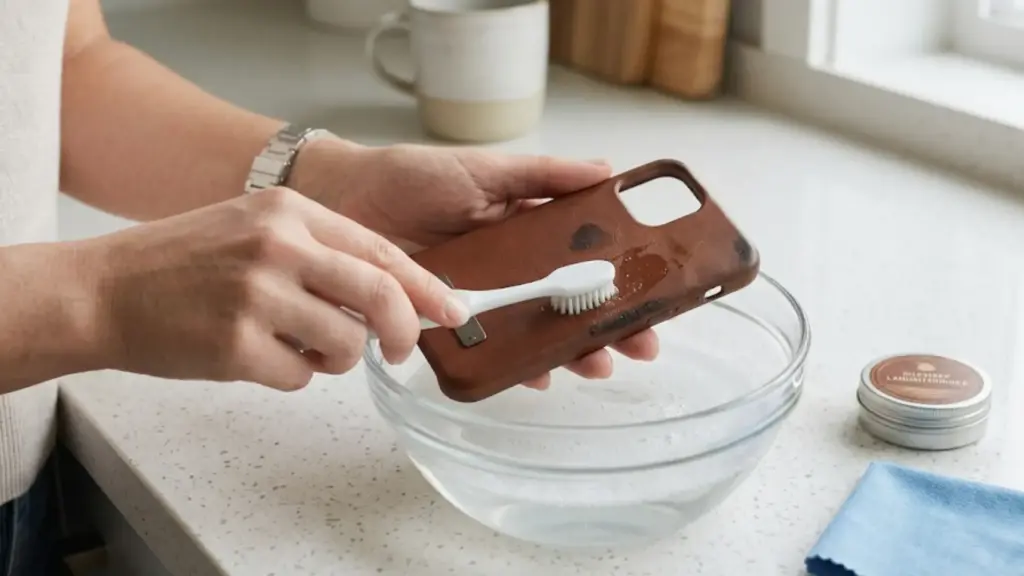
If normal washing leaves a mark behind, consider what caused the stain before changing cleaners.
- Brown Marks: Body oils, makeup, dirt, and dust may create brown areas. Work diluted dish soap over the spot with a soft toothbrush.
- Grease and Fingerprints: Mild dish soap can usually loosen oily residue. Wipe away remaining soap afterward.
- Ink or Dye Transfer: Start with soap and water. Check the manufacturer’s instructions before trying alcohol or another spot treatment.
- Dark Edge Marks: Gently brush raised edges and corners. Marks that remain may be discoloration or surface wear rather than dirt.
- Yellowing: Washing can remove surface buildup, but permanent material discoloration usually remains.
Avoid aggressive scrubbing when a stain does not move. Extra friction can damage the surface without fixing permanent discoloration.
Step 5. Use Baking Soda Only on Suitable Cases
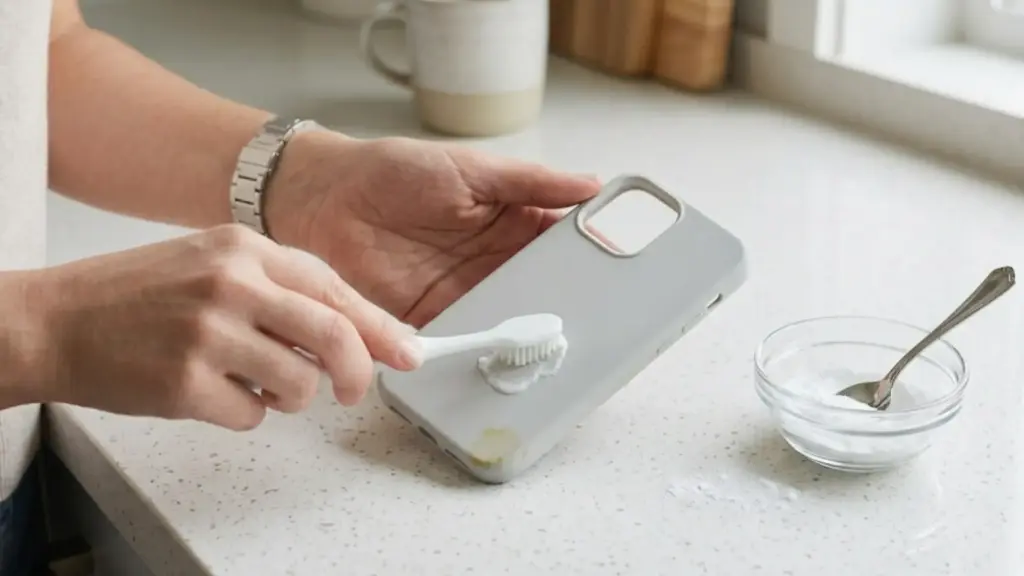
Baking soda can help loosen stubborn grime on some plain silicone and plastic cases.
Lightly wet the dirty area and apply a small amount of baking soda. Rub gently with a soft toothbrush using small circular movements, then rinse thoroughly.
Avoid this method on leather, fabric, wood, printed artwork, glossy finishes, and easily scratched coatings.
Baking soda may improve surface dirt, but it cannot reliably restore a clear case that has permanently changed color with age.
Step 6. Disinfect Compatible Materials
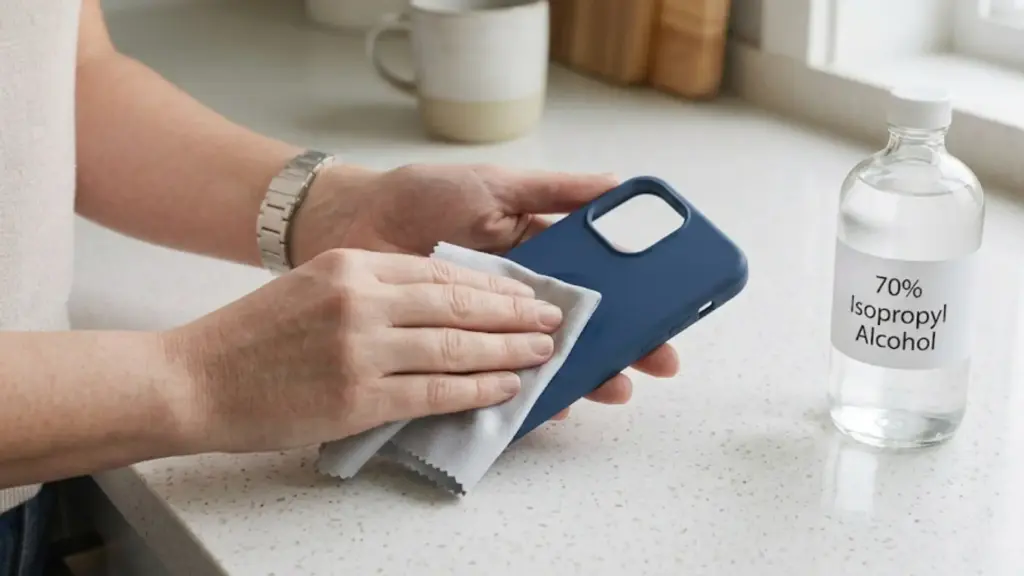
Some silicone, plastic, and rubber cases can be wiped with 70% isopropyl alcohol, depending on their finish and manufacturer instructions.
Apply a small amount to a microfiber cloth rather than pouring or spraying alcohol directly onto the case. Wipe gently and allow the surface to dry.
Use extra care around:
- Printed designs
- Painted surfaces
- Leather
- Fabric
- Soft-touch coatings
- Glued decorations
Alcohol may cause dryness, fading, or surface damage on sensitive materials.
Step 7. Rinse and Dry Completely
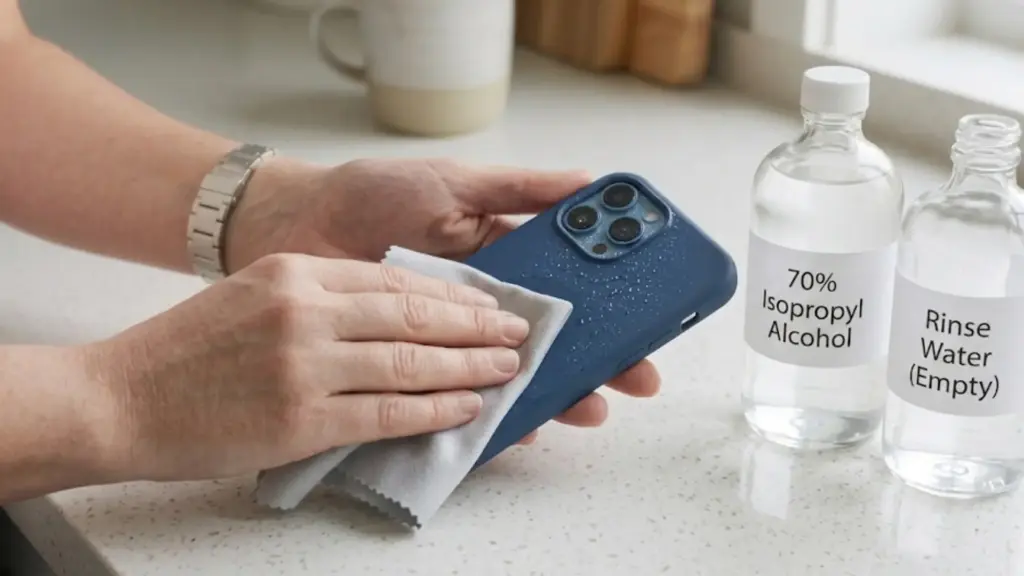
Rinse washable cases to remove any remaining soap or baking soda.
Dry the surface with a clean microfiber cloth, then leave the case in a ventilated place until all moisture is gone. Check button covers, camera openings, corners, and inner grooves carefully.
Never put the phone back into a damp case. Hidden moisture can remain in small spaces even when the outer surface looks dry.
Can You Clean a Clear Phone Case That Turned Yellow?
Sometimes cleaning helps, but the result depends on what caused the yellow color.
Surface oils, smoke residue, makeup, dirt, and everyday buildup can make a clear case appear yellow or cloudy. Mild soap or suitable spot cleaning may improve that type of discoloration.
Clear materials can also change internally as they age and react to light, heat, oxygen, and normal use. Cleaning products cannot reliably reverse this type of material change.
If the case looks clean but remains strongly yellow, replacing it is usually more practical than repeatedly using stronger cleaners.
Phone Case Cleaning Mistakes to Avoid
Some cleaning methods can create more damage than the original dirt. Keep these common mistakes in mind.
- Using Strong Bleach: It may discolor materials, affect coatings, or weaken some rubber and silicone cases.
- Applying Harsh Solvents: Acetone and similar chemicals can soften plastic or remove printed finishes.
- Using Boiling Water: High temperatures may deform plastic or affect adhesives.
- Scrubbing Too Hard: Rough brushes and scouring pads can leave permanent scratches.
- Soaking Sensitive Cases: Leather, wood, fabric, and cases with glued pieces may absorb water or lose their shape.
- Cleaning Only the Outside: Dust and grit can collect between the phone and case and rub against the device.
- Reinstalling While Damp: Remaining moisture may sit against the phone or collect near openings.
Gentle cleaning protects both the appearance and fit of the case.
How Often Should You Clean Your Phone Case?
Cleaning frequency depends on how the phone is used.
A light wipe every few days can help if the case regularly picks up fingerprints, dust, or food residue. A deeper clean every few weeks may be useful for cases that receive heavy daily handling.
I also like removing the case occasionally to check the inside. Fine dust and grit can collect between the case and phone even when the outside looks clean.
Clean spills as soon as possible, especially coffee, sauces, makeup, oils, and strongly colored liquids. Fresh residue is usually easier to remove than a stain that has been sitting for several days.
When Should You Replace a Phone Case?
Cleaning can fix dirt, but it cannot repair physical damage or every type of discoloration. Consider replacing the case when:
- Clear plastic remains heavily yellow after cleaning.
- Cracks expose part of the phone.
- Corners have stretched and no longer fit tightly.
- Rubber feels sticky or begins breaking apart.
- Buttons stop lining up correctly.
- Leather or fabric has serious permanent damage.
- Strong odors remain after suitable cleaning.
- The case has become loose enough to affect protection.
A clean case should still fit securely and protect the phone properly.
Keep Your Phone Case Clean Without Damaging It
A clean phone case is easier to maintain when you match the method to the material instead of reaching for the strongest cleaner. Mild soap and lukewarm water work for many washable cases, while leather, fabric, and wood need much less moisture.
I recommend treating stubborn stains gently, using baking soda only on suitable surfaces, and checking manufacturer instructions before applying alcohol. Knowing how to clean a phone case properly can help protect its finish, fit, and feel while keeping dirt away from your phone.
If yellowing, cracks, stretching, or sticky areas remain after cleaning, replacement may be the better choice. Try these methods on your case, then share which one worked best for you.
Frequently Asked Questions
Can I wash my phone case with dish soap?
Yes, mild dish soap works well for many silicone, rubber, and plastic cases. Mix a few drops with lukewarm water and rinse thoroughly. Avoid soaking leather, wood, fabric, or cases with sensitive finishes.
Can I put my phone case in the dishwasher?
It is generally safer to wash a phone case by hand. Dishwasher heat, strong detergent, and water pressure may warp plastic, damage printed designs, weaken adhesives, or affect decorative parts.
Can I use hand sanitizer to clean a phone case?
Hand sanitizer contains alcohol and other ingredients that may affect certain coatings or finishes. Mild soap is usually a safer starting point. Check the case manufacturer’s care instructions before applying sanitizer.
Why does dirt collect inside my phone case?
Small gaps around buttons, ports, camera openings, and case edges allow dust and grit to enter. Normal movement can then spread those particles between the phone and the case.
Should I clean the inside of my phone case?
Yes. The inside can collect dust, oils, lint, and small particles. Regular wiping helps prevent grime from building up against the phone and keeps both surfaces cleaner.
How long should a phone case dry before I put it back on?
Wait until every surface is completely dry, including corners, button areas, and inner grooves. Drying time varies by material and airflow, so checking for remaining moisture is more useful than following a fixed time.