


Headphones collect more than you’d expect. Skin oils, sweat, and ear wax build up faster than they show, and by the time something looks dirty, the material underneath is often already affected.
Knowing how to clean headphones correctly means understanding that the method changes depending on what your pads are made of, and what “dry enough to reassemble” actually looks like.
Get those things right and your headphones last significantly longer. Get them wrong and the damage is gradual, quiet, and permanent. Let’s start with what you need.
What You Need Before You Start Cleaning
Before you touch your headphones, turn them off and unplug them. If they’re wireless, power them down completely.
This isn’t just a precaution; moisture and an active electrical current are a bad combination. Even a small amount of water near a live charging port or contact point can cause corrosion that’s invisible until something stops working.
Here’s what you need:
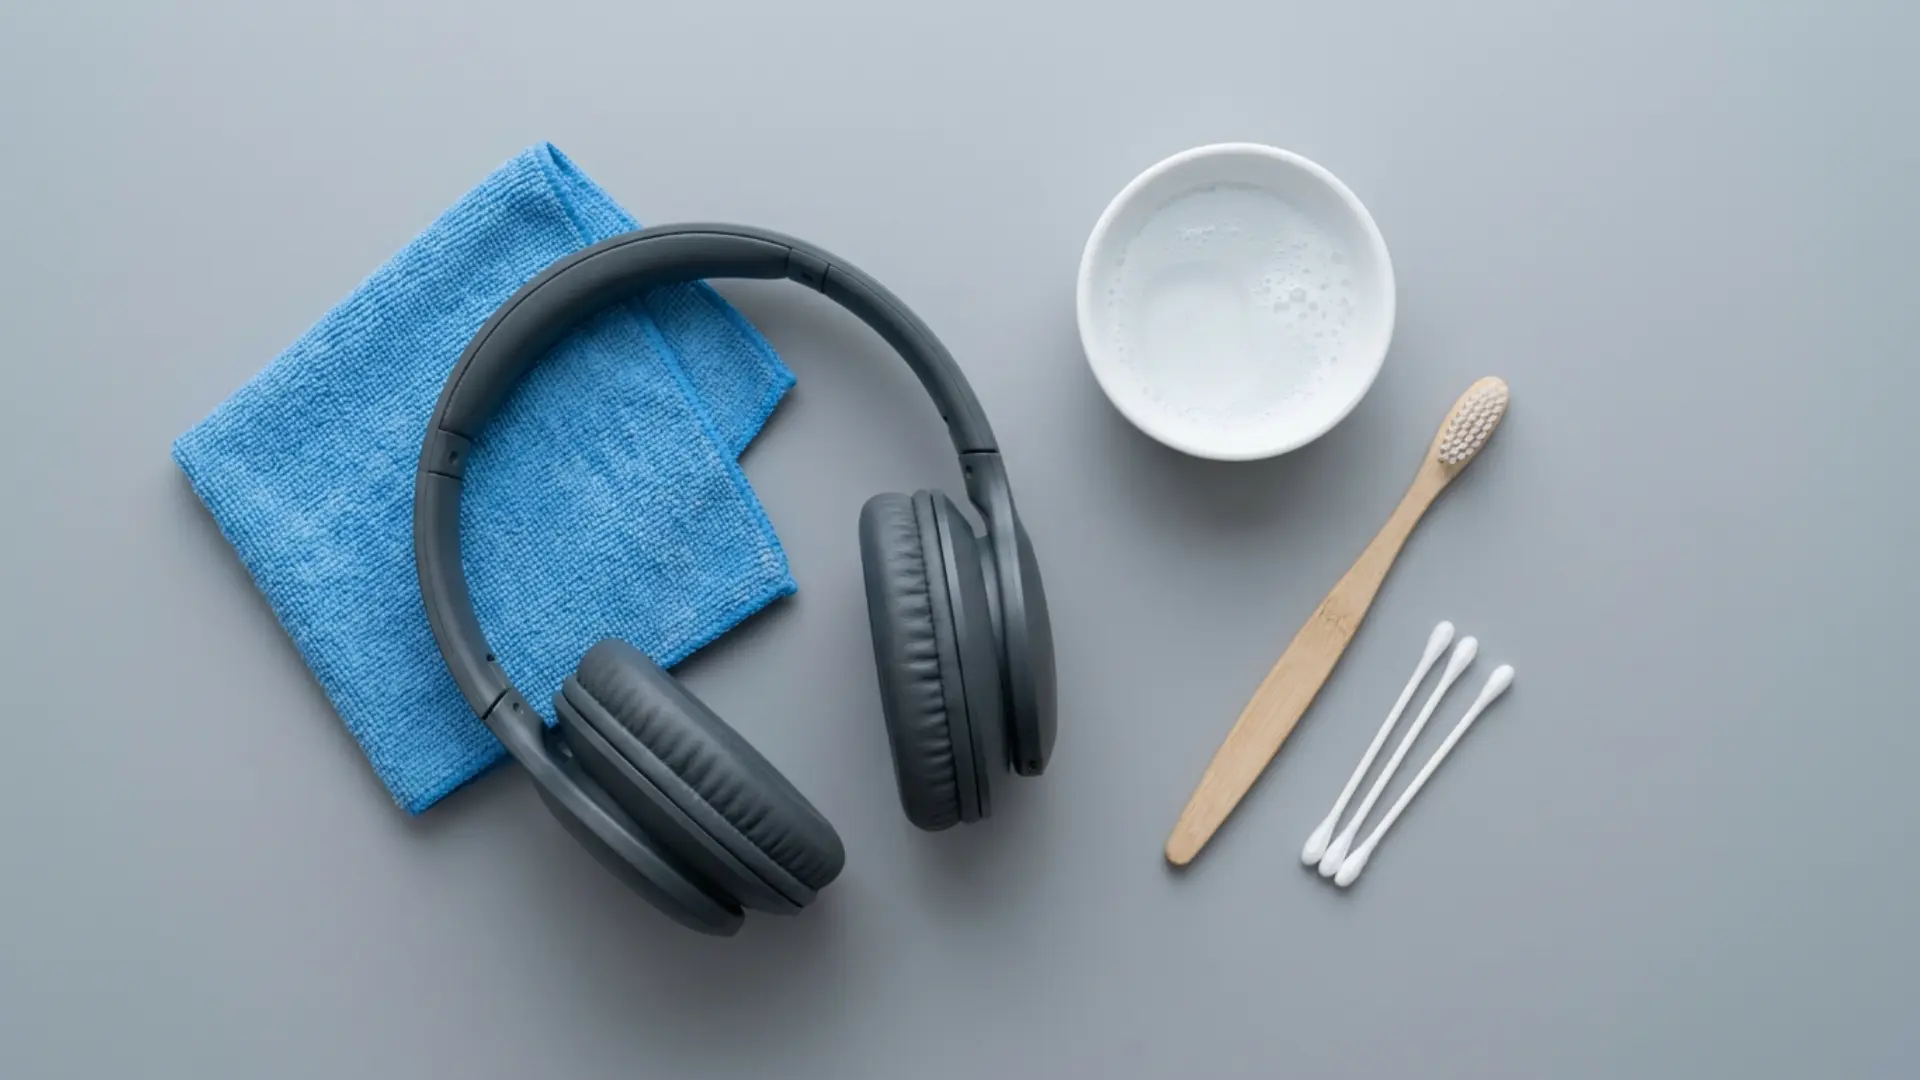
- Microfiber cloth: soft enough not to scratch hard surfaces, and it won’t leave fibers behind in the mesh. A paper towel feels soft, but it’s abrasive at the fiber level and sheds. Use it once on a grille, and you’ll spend the next ten minutes picking lint out.
- Mild dish soap: a drop in warm water is all you need. Nothing antibacterial, nothing scented.
- Distilled water: tap water works in most cases, but hard water leaves mineral residue on dark surfaces and inside mesh. Distilled removes that variable.
- Soft toothbrush: for getting into grilles and seams without pushing debris further in. Old is fine. Clean it first.
- Cotton swabs: for tight corners and areas that the cloth can’t reach flat.
Before you start, check whether your ear pads are removable. Press around the edge, most snap or twist off. If they come off, the cleaning method is more thorough and easier.
If they’re fixed in place, you’re working more carefully with less moisture. The next sections cover both, so knowing which type you have now saves you from stopping halfway through.
Avoid: “Electronics-safe” or “screen-safe” wipes with alcohol, fragrance, or unknown ingredients, as they can damage foam seals and ear pads over time.
How to Clean Each Part of Your Headphones
Clean in stages: pads first, outer surfaces second, and the grille last with a dry brush to avoid spreading buildup or forcing moisture into delicate areas.
1. Cleaning Removable Ear Pads
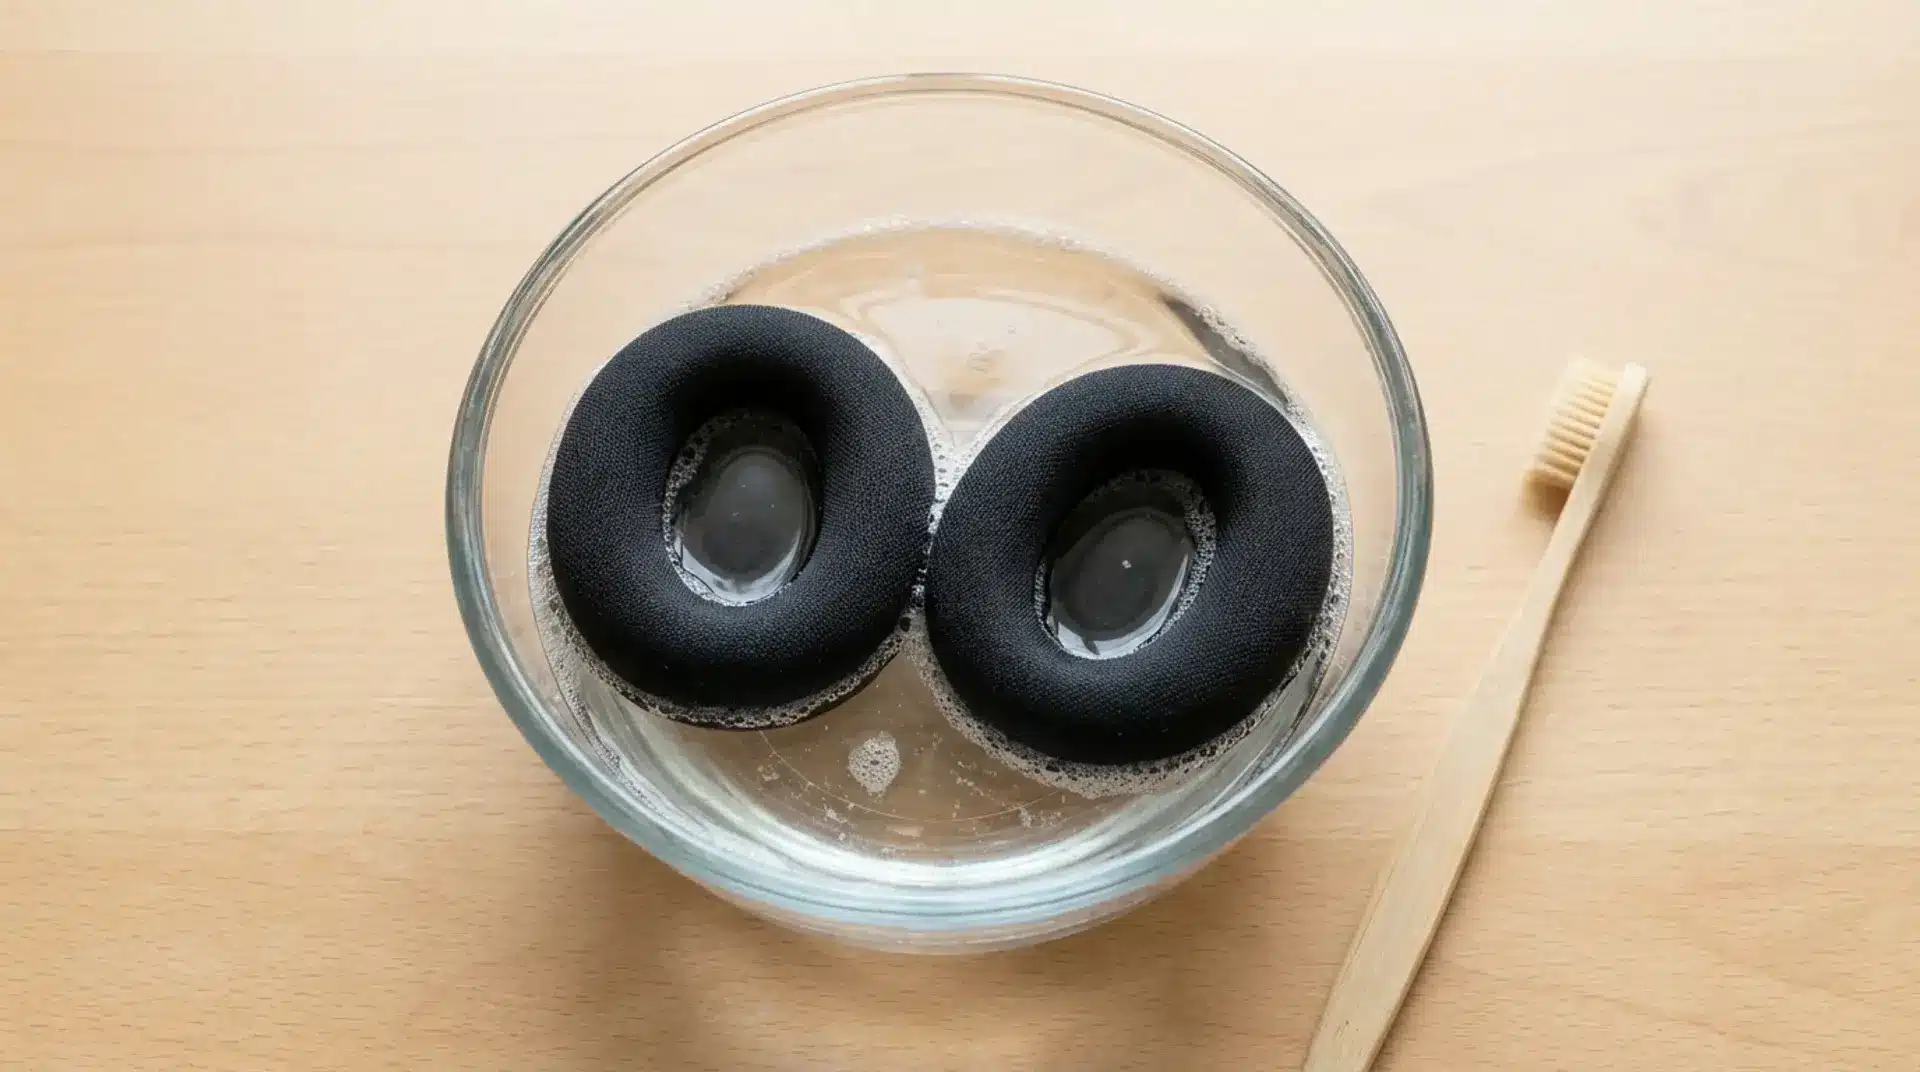
If your ear pads twist or snap off, remove them before you start. Cleaning them separately makes the process safer and much easier.
Fill a small bowl with warm water and add one drop of dish soap. Place the pads in the water, then gently scrub them with a soft toothbrush using small circles. Focus on the seam around the edge, since sweat and oil collect there first.
Rinse the pads under cool water until no soap remains. Press them between two dry microfiber cloths to remove extra moisture without twisting or squeezing them.
Set the pads aside and let them air-dry fully before reattaching them. They often stay damp inside longer than expected.
2. Cleaning Non-Removable Ear Pads
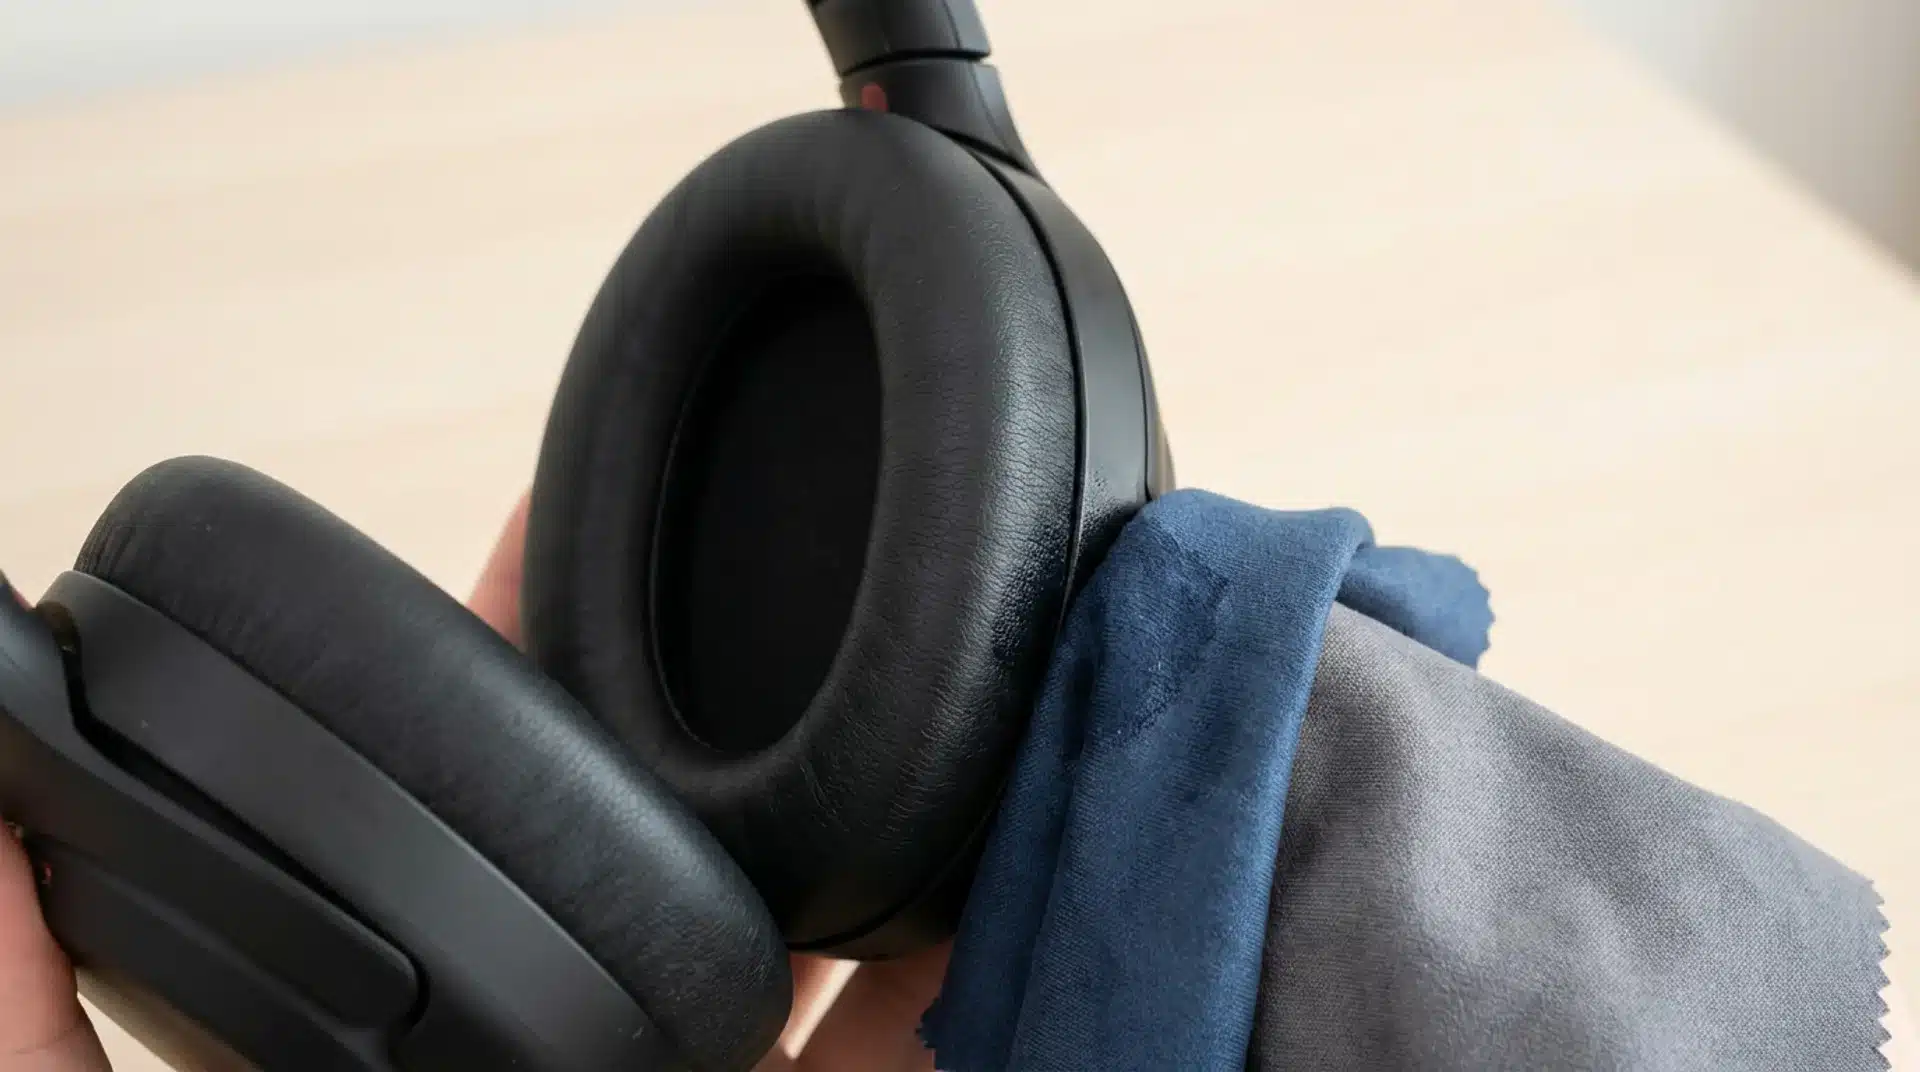
You’re working with less room for error here. The goal is to clean the surface without letting moisture reach the foam underneath.
Dampen a microfiber cloth wrung out, not dripping. Wipe in the direction the pad seam runs, not across it. Immediately follow with a dry cloth pressed firmly over the same area. You’re pulling the moisture back out before it has a chance to sink in.
Don’t go over the same spot repeatedly with a damp cloth. One pass, one dry press, move on.
3. Cleaning the Headphone Exterior and Headband
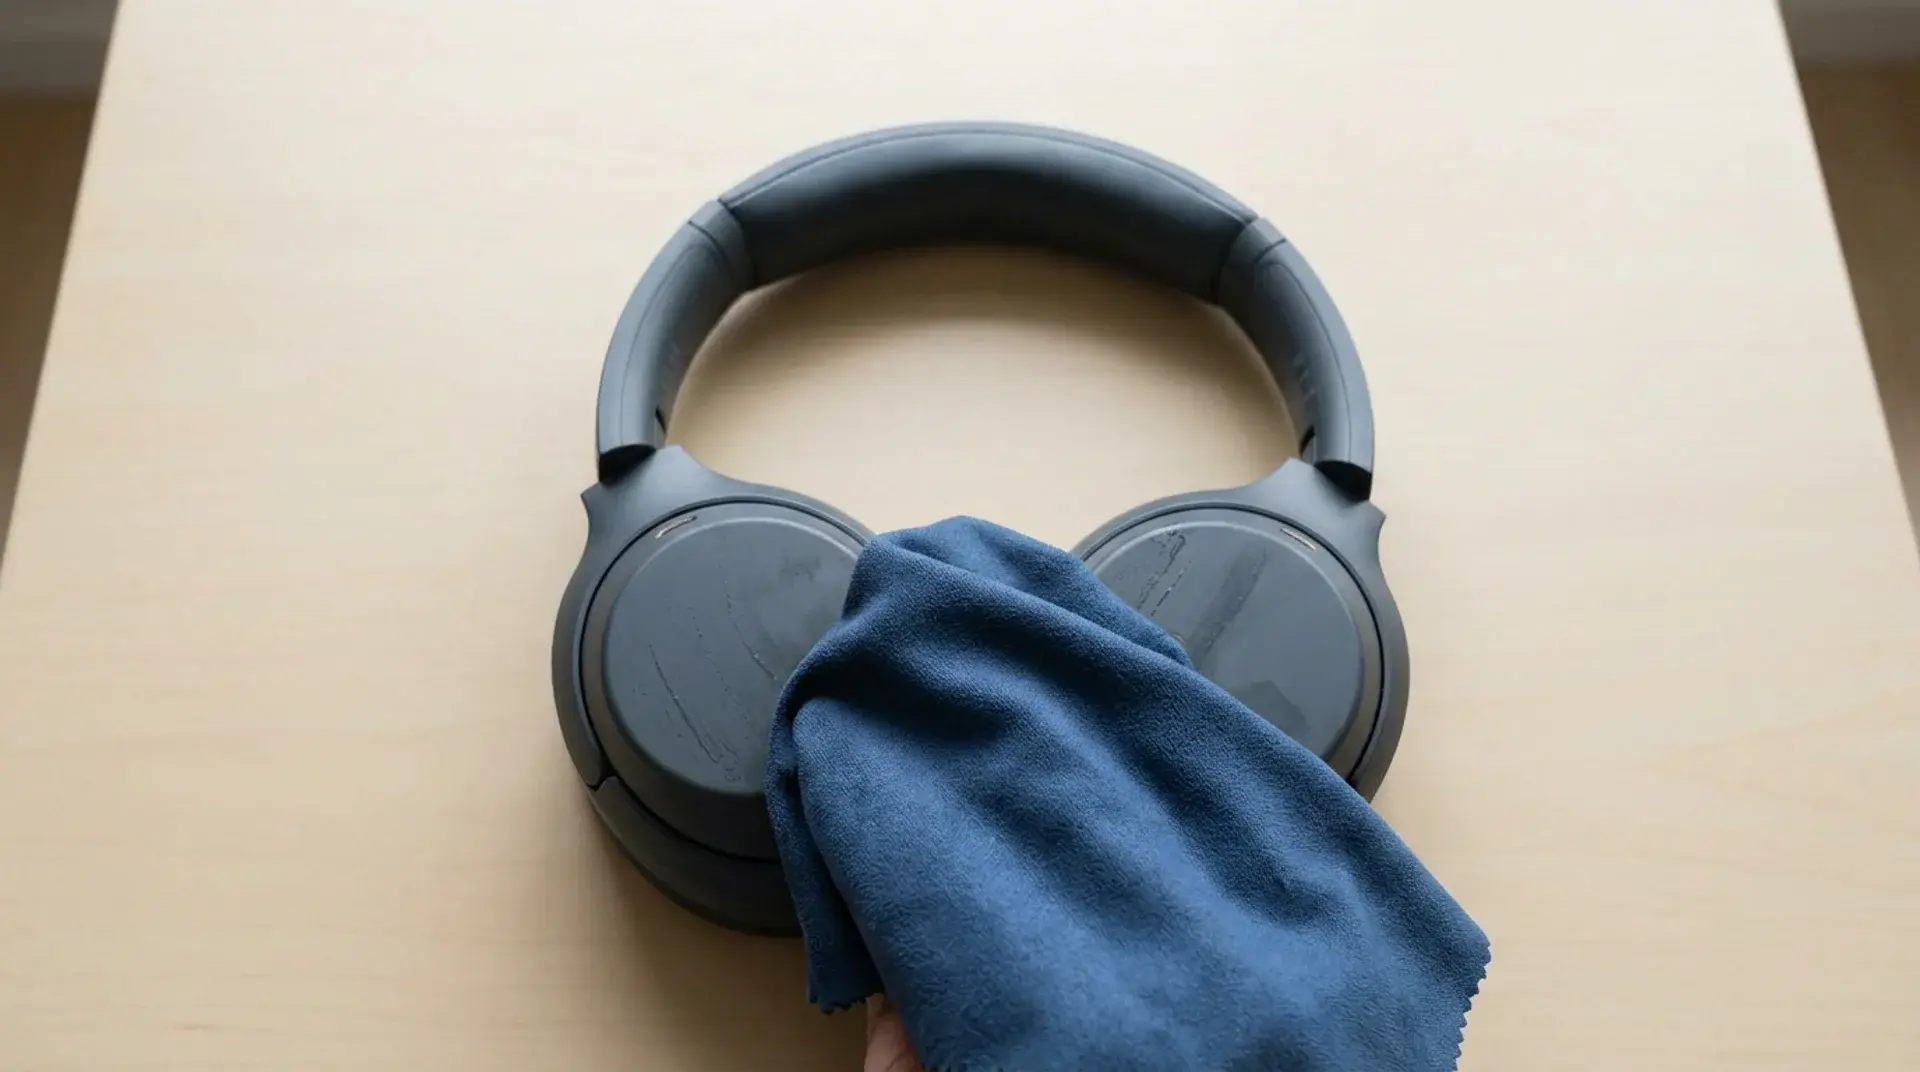
Dampen a microfiber cloth with the same soap and water mix. Wipe the outer plastic surfaces using small circular motions. This lifts skin oil and fingerprints better than long wiping strokes.
Use the same method on the headband, but inspect the stitching first. Exposed seams can pull moisture inside the padding. If you see stitching along the edges, keep the cloth lightly damp and dry the area immediately with a clean microfiber cloth.
4. Cleaning the Mesh Grill and Driver Area
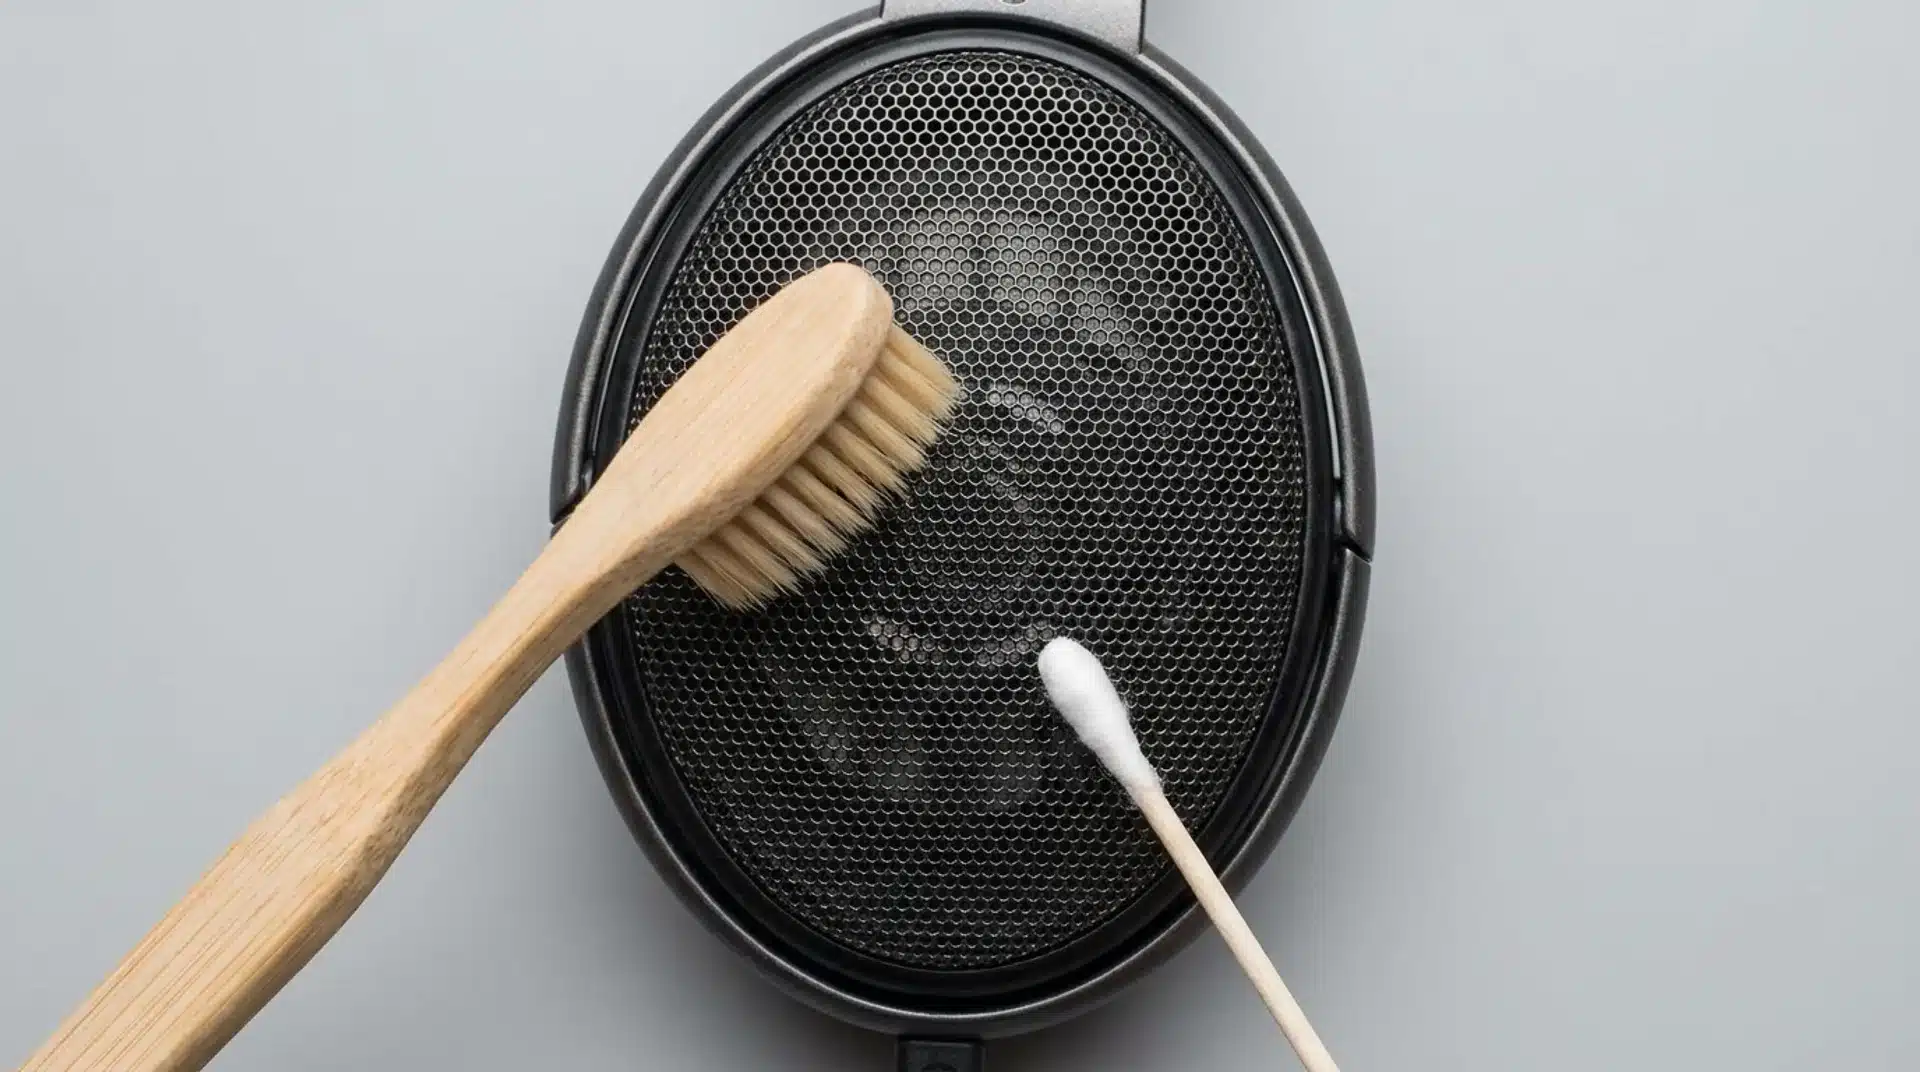
Keep all moisture away from the mesh grille and driver area. Don’t use wet cloths, damp cotton swabs, or cleaning sprays here. The speaker parts sit directly behind the grille, and moisture can damage them permanently.
Take a soft, dry toothbrush and gently brush the grille in small circles. Start around the outer edge first. This loosens wax and dust without pushing debris deeper inside.
If you notice buildup around the rim, use a dry cotton swab to clean it carefully. Move outward from the center instead of pressing inward toward the driver.
If dirt stays trapped in the mesh, don’t scrub harder. I’ve seen more headphones damaged by pressure than by dirt itself. Use several gentle passes instead of one forceful one.
Best Cleaning and Drying Method for Each Ear Pad Type
Different ear pad materials need different care. Using the wrong cleaner or drying method can damage the pads permanently.
If you’re unsure about the material, do a quick touch test first. Pleather feels smooth, fabric feels soft, and foam compresses slowly under pressure.
| Pad Material | How to Identify It | Cleaning Method | Drying Method | Avoid |
|---|---|---|---|---|
| Pleather / Faux Leather | Smooth and cool to the touch. | Wipe with a damp microfiber cloth and mild soap. Dry immediately. | Face-down on a towel for 12 hours. | Alcohol, cleaning wipes, and hairdryers. |
| Real Leather | Natural grain with a softer feel. | Clean with saddle soap and a soft cloth. | Air-dry away from heat or sunlight. | Soaking or repeated dish soap cleaning. |
| Fabric / Velour | Soft, warm, and textured. | Use a lint roller first. Hand wash gently with mild detergent if needed. | Lay flat on a towel for 24 hours. | Brushes, hanging while wet, or direct heat. |
| Exposed Foam | Compresses easily and rebounds slowly. | Wipe with an almost dry microfiber cloth. | Face-down with indirect airflow for 24 hours. | Excess moisture, repeated wiping, or early reattachment. |
Before reattaching the pads, press a dry microfiber cloth against them for a few seconds. If moisture transfers, let them dry longer.
When to Replace Ear Pads Instead of Cleaning Them
Cleaning helps with buildup and odor, but some ear pads eventually wear out beyond repair. These signs usually mean replacement is the better option.
- Peeling or Flaking Pleather: Run your fingernail lightly across the surface. If material lifts or flakes away, the outer layer has started separating from the foam underneath. Cleaning will not fix it.
- Foam That Stays Compressed: Press the pad firmly and release it. Healthy foam should bounce back within about 30 seconds. If it stays flattened, the foam structure has worn out and the seal will no longer fit correctly.
- Persistent Odor After Cleaning: If the smell remains after a full clean and complete drying cycle, moisture has likely caused mold growth inside the foam core. Surface cleaning cannot reach it.
- Discontinued or Hard-to-Find Replacements: If original pads are unavailable, look for third-party replacements made for your headphone model. Brands like Wicked Cushions offer compatible options for many headphones, but always check fit notes before ordering.
Using damaged pads for too long affects comfort, sound quality, and hygiene. Replacing them early often saves more frustration than trying to clean failing material repeatedly.
How Often to Clean Your Headphones
How often you clean your headphones depends on where and how you use them. Casual home use usually needs a quick microfiber wipe once a month and a deeper clean every few months.
Gym use needs more attention because sweat and salt wear down pleather and foam much faster. Wipe the pads after every workout to stop buildup before it causes odor or surface damage.
If multiple people use the same headphones, fully clean and dry the pads between users. A quick surface wipe is not enough in shared-use situations.
I’ve found that small, regular cleaning sessions work much better than waiting until the pads already look dirty or start smelling.
Conclusion
A clean pair of headphones isn’t just about hygiene it’s about not replacing something expensive before you have to. The material your pads are made of determines the method.
The order you work in prevents cross-contamination. Drying fully before reassembly is the step most people skip, and the one that causes the most long-term damage.
Cleaning headphones is a short process when done right, but the right approach depends on how often you use them and under what conditions.
Start with a microfiber cloth and a drop of dish soap that handles most of it. If you found this useful, share it with someone who’s been putting off cleaning theirs.
Frequently Asked Questions
Can headphones cause lightheadedness?
Headphones don’t directly cause lightheadedness, but prolonged use at high volumes can cause ear fatigue and pressure buildup. If you experience dizziness regularly while wearing them, have your ears checked.
How do you clean headphones after the gym?
Wipe the pads with a dry microfiber cloth immediately after every session. For a deeper clean, follow the method for your pad material every two weeks. Sweat salt damages pleather and foam faster than regular use.
How do you clean headphones that smell?
Persistent odor usually means moisture was trapped inside the foam before reassembly. Clean the pads fully, dry them face-down for 24 hours, and check for moisture transfer before reattaching. If the smell remains, the foam may need replacing.