

Finding the right microphone stand can completely change your recording or performance setup. The right one keeps your mic steady, your hands free, and your sound clean.
I’ve compared different types and tested how they perform in different situations. From boom arms for desks to floor stands for stages, each one fits a specific need.
In this guide, you’ll learn what to look for before buying and how to choose the best option. You’ll also find quick tips to keep your stand stable and long-lasting.
What to Look for in a Microphone Stand
Choosing the right stand depends on your setup and use. Keep these quick points in mind before buying.
- Build and Stability: Metal stands are sturdier and hold heavy mics better. Weighted bases or tripod legs prevent tipping.
- Adjustability: Smooth height and angle changes make recording easier. Look for tight locks that hold firm.
- Compatibility: Most mics use 5/8″ threads; some use 3/8″. Keep an adapter handy to fit any mic.
- Portability: Foldable or lightweight stands are great for travel. Heavy stands suit studios for better stability.
- Price and Warranty: Midrange stands around $40–$80 and lasts longer. Many brands offer a one-year warranty.
Once you know these basics, finding the right microphone stand becomes much simpler.
Microphone Stand Types Explained
Every type of stand offers different advantages. Knowing how they differ helps you buy with confidence.
1. Tripod Floor Stands

Tripod stands are versatile and great for vocals or instruments. Their three-legged base keeps them steady on uneven floors.
They adjust easily in height and reach, making them ideal for studios or live shows. They take more space, so they’re not best for small rooms.
2. Round-Base Stands
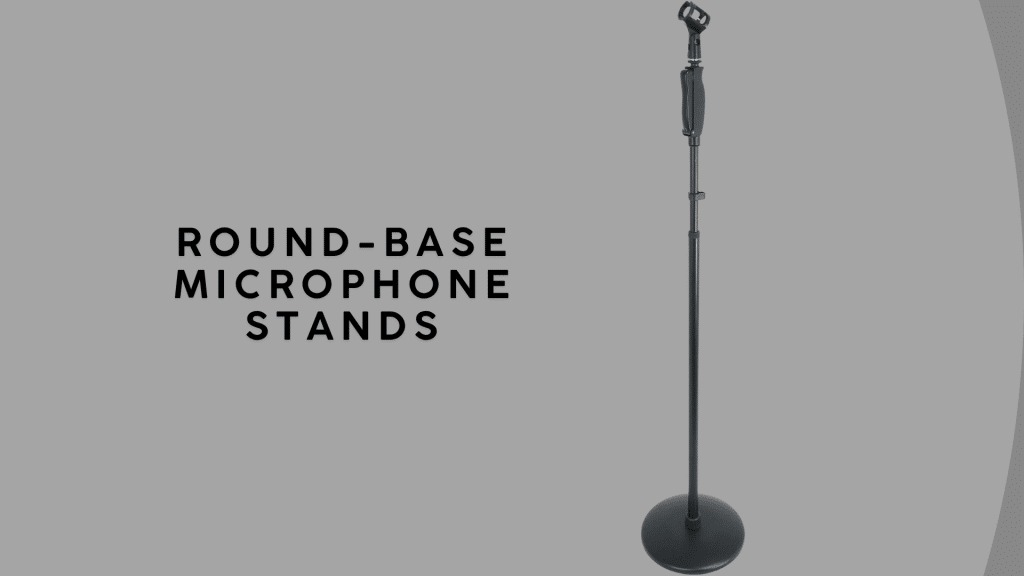
Round-base stands are compact and perfect for tight stages or crowded setups. Their weighted base gives a strong, reliable balance.
They fit close to walls or gear but have a smaller height range and less flexibility than tripods.
3. Boom Arms and Studio Mounts
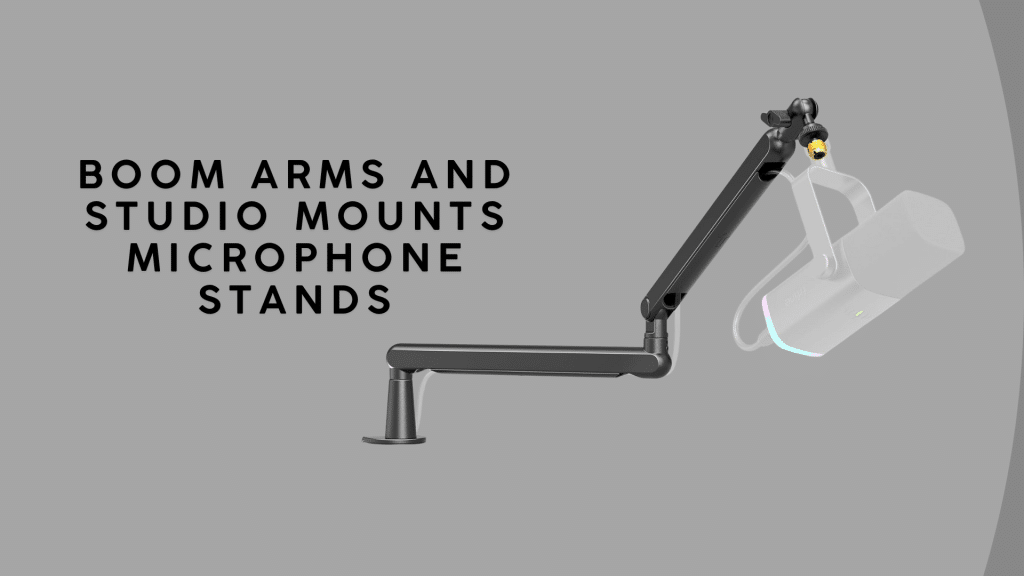
Boom arms work best for podcasters, streamers, and home studios. They clamp to your desk and move freely in any direction.
They save space and offer great positioning, but the clamp must fit your desk edge and support your mic’s weight.
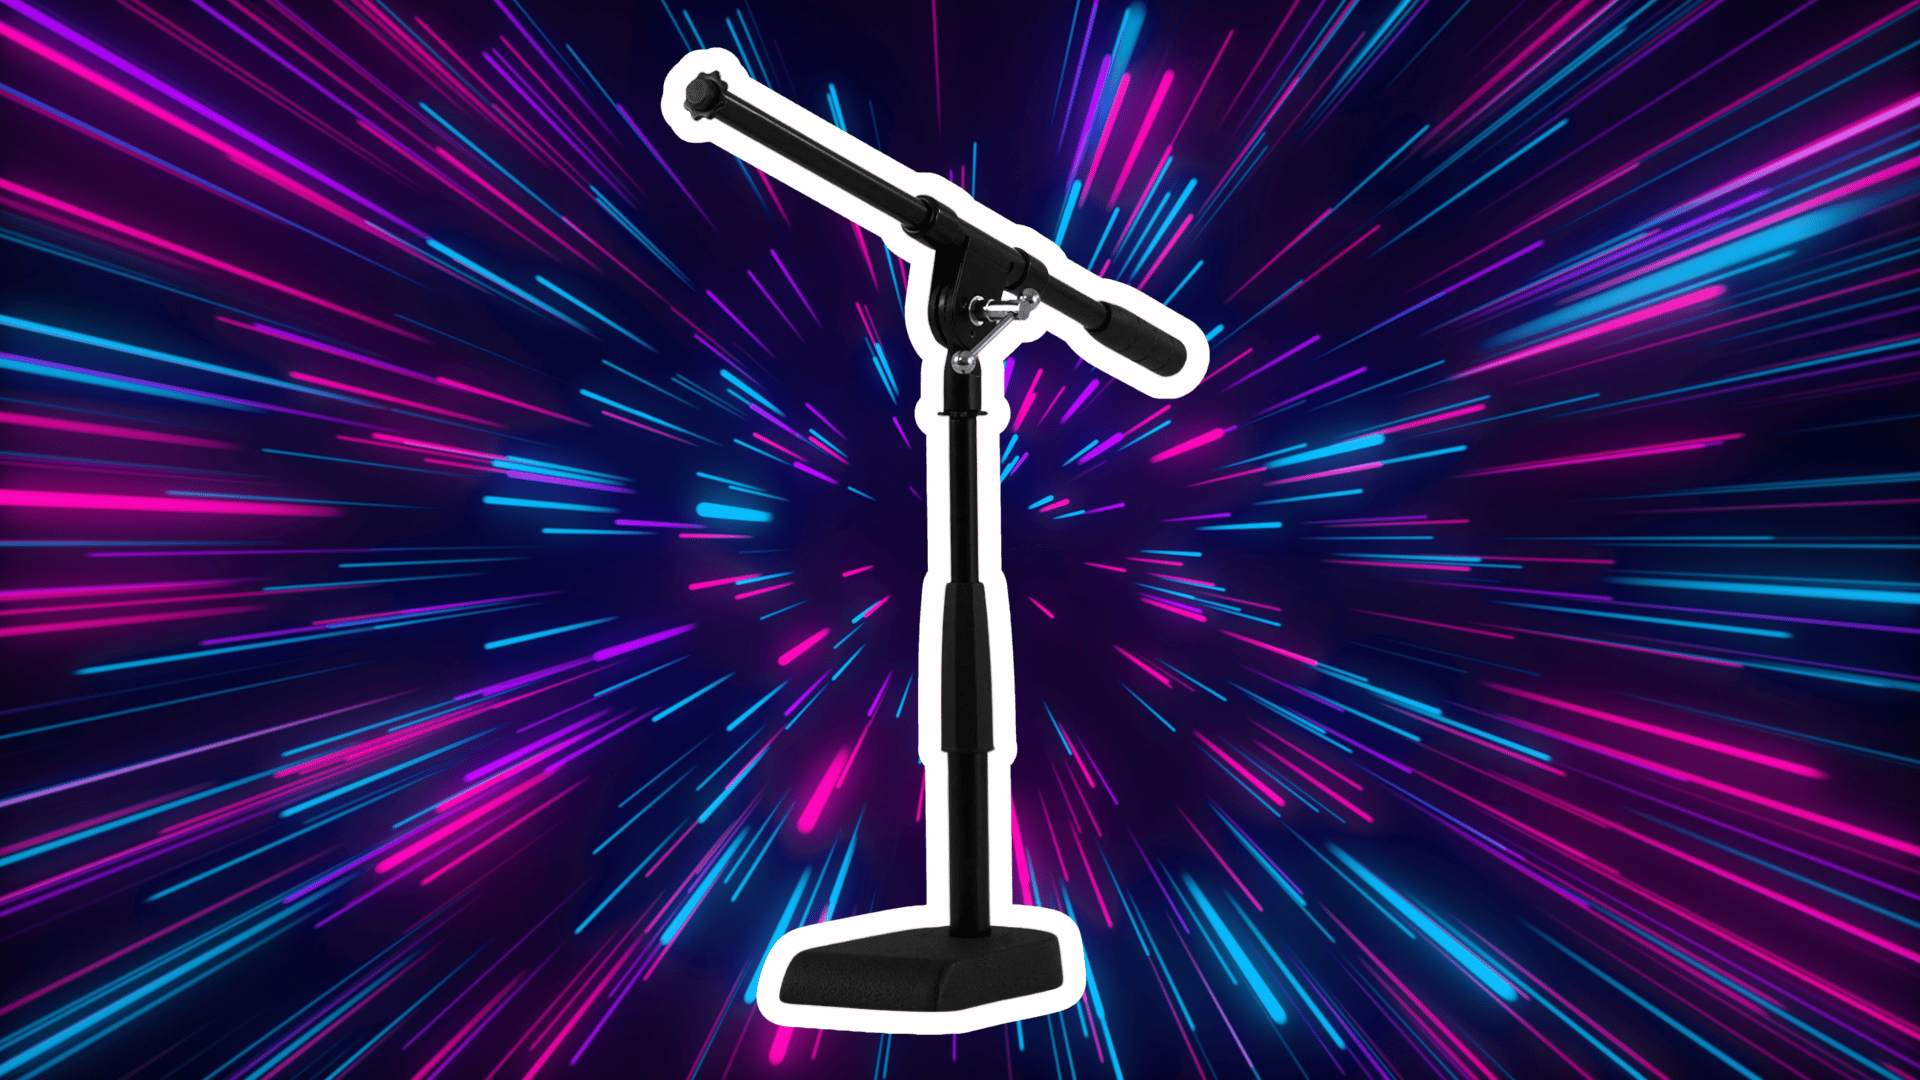
4. Desktop and Tabletop Stands
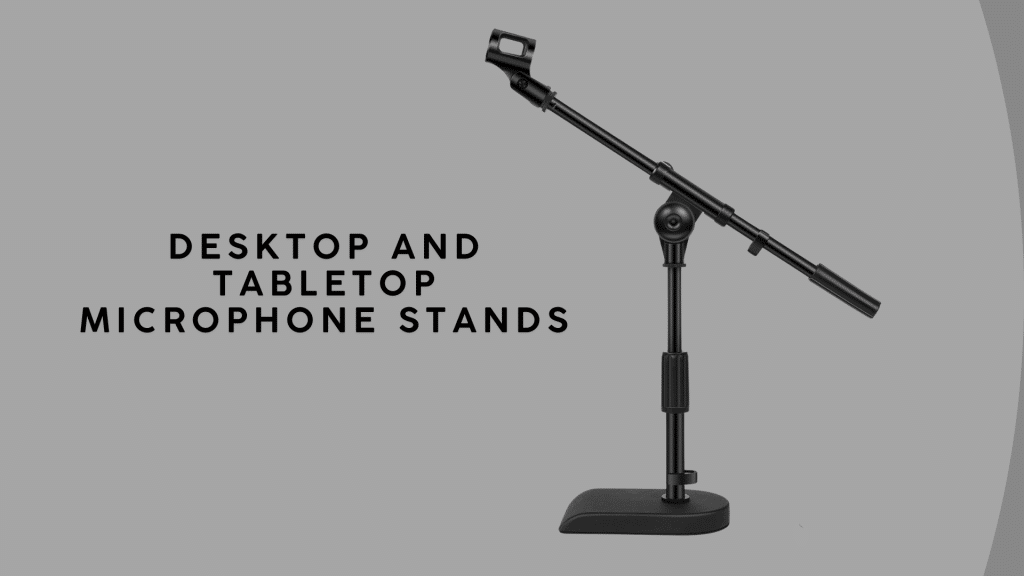
Desktop stands are small, light, and easy to set up. They’re ideal for quick recordings or stationary desk use.
They can pick up vibration from typing or desk movement, so use a foam pad or shock mount to reduce noise.
5. Low-Profile and Drum Stands
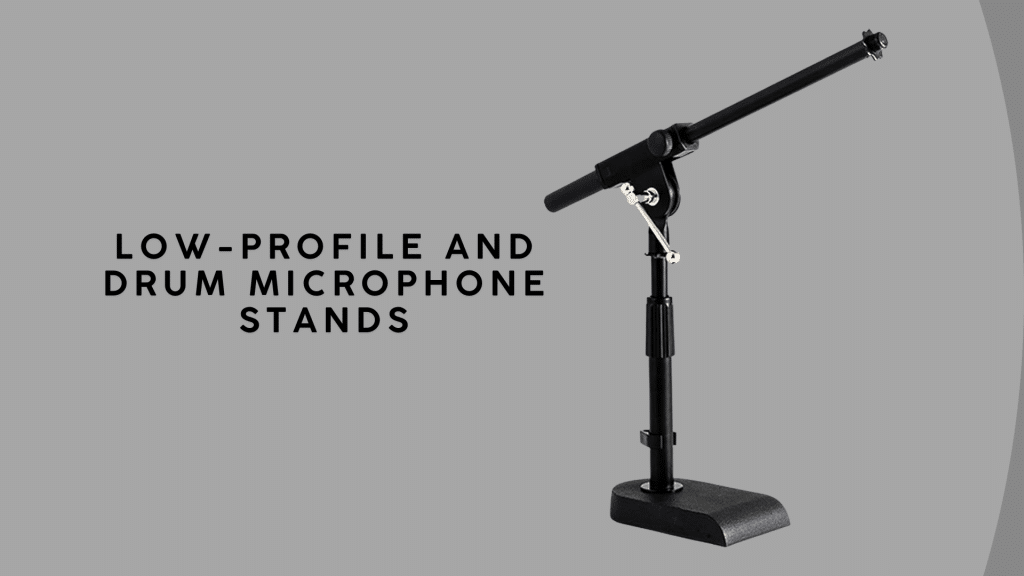
Low-profile stands suit instruments close to the floor, like drums or amps. They’re short, stable, and easy to reposition.
They slide under drum kits or fit near amps where taller stands don’t work. Their sturdy build makes them dependable for live or studio use.
6. Portable and Foldable Options

Portable stands are made for travel or mobile setups. They fold quickly and fit into carrying bags with ease. They’re light and handy for creators on the move, but not built for heavy mics or long recording sessions.
Each setup needs a different stand. Use this quick table to find which one fits your space and recording style.
| Stand Type | Best For | Key Features | Setup Tip |
|---|---|---|---|
| Tripod Floor Stand | Stage vocals, instruments | Tall, stable, adjustable height | Great for stage or studio; needs extra floor space |
| Round-Base Stand | Tight stages, fixed mics | Weighted, compact, steady | Ideal for limited areas; less height range |
| Boom Arm / Studio Mount | Desks, streaming, podcasts | Adjustable arm, desk clamp | Keeps desk clear; positions the mic close with ease |
| Desktop / Tabletop Stand | Home or office recording | Small, affordable, easy setup | May pick up desk noise; use a soft pad |
| Low-Profile / Drum Stand | Drums, amps, instruments | Short, stable, space-saving | Fits under drum kits; easy to reposition |
| Portable / Foldable Stand | Travel, mobile setups | Lightweight, collapsible, quick setup | Great for on-the-go use; not for heavy mics |
Each type serves a specific setup, so choose based on your mic weight, space, and recording routine.
Fit and Compatibility Check
A stand that doesn’t fit your mic can waste money and cause instability. Check these points before buying:
- Thread Sizes and Adapters: Most stands use 5/8″ threads, while some use 3/8″. Keep an adapter handy so your mic always fits securely.
- Mic Weight and Boom Reach: Heavy mics need stronger booms and weighted bases. Avoid extending arms too far to prevent tipping or drooping.
- Clamp, Base, and Desk Thickness: Check your desk’s edge width and surface type. Use a rubber pad for thin or glass surfaces to protect and stabilize the clamp.
Testing your setup before recording ensures your mic stays secure and performs its best.
Stability and Noise Control
A stable stand keeps your mic steady and sound clear. Follow these quick tips to avoid noise and movement:
- Prevent Desk Vibrations: Use soft pads or mounts under the clamp. Avoid tapping or moving the desk while recording.
- Balance and Counterweights: Keep boom arms level and joints tight. Add counterweights to support heavy mics and prevent drooping.
- Cable Management: Secure cables with clips or ties. Keep them neat and off the floor to stop unwanted noise.
Small steps like these keep your setup steady and your recordings clean.
Best Microphone Stands by Budget and Use
| Category | Best For | Example Models | Key Features | Top Brands |
|---|---|---|---|---|
| Budget | Beginners, casual users | Pyle PMKS5X2, Musician’s Gear Tripod | Basic build, light materials, simple setup | Pyle, Musician’s Gear, On-Stage |
| Midrange | Podcasters, small studios | Elgato Wave Mic Arm LP, Gator Tripod Stand | Smooth movement, solid locks, good stability | Gator, On-Stage, Elgato |
| Premium | Professional studios, daily use | Rode PSA1+, K&M 210/9, Hercules MS401B | Pro durability, quiet motion, precise control | Rode, K&M, Hercules |
| Portable Options | Travel, outdoor recording | AirTurn GOSTAND | Lightweight, foldable, quick to set up | AirTurn, Rockville |
Each model suits a different setup and budget. Pick based on how often you record, where you use it, and the mic’s weight.
Setup and Safety Checklist
- Set height first: Adjust the height before tightening joints to avoid strain or bending.
- Route cables neatly: Run cables along the boom to prevent tangles or tripping hazards.
- Use counterweights: Balance large or heavy mics to stop the stand from tipping forward.
- Test stability: Give the stand a gentle shake before use to check for wobbling or loose joints.
- Release tension: Loosen tight joints after recording to prevent wear and extend the lifespan of the equipment.
These habits keep your stand stable, reduce wear, and make every session safer and smoother.
Troubleshooting and Quick Fixes
Even a good microphone stand can develop small issues over time. Here’s how to spot and fix common problems quickly.
Slipping Boom or Drooping Arm
If your boom arm keeps sliding down, tighten the clutch or knob that holds it in place. Make sure it’s firm but not over-tightened.
Adding a counterweight on the opposite end helps balance heavy mics. This prevents sagging and keeps the arm steady during long sessions.
Noisy Desk or Rumbles
Low vibrations from the desk can travel up the stand and into your mic. Place a foam pad, isolation mat, or shock mount under the stand or clamp.
Avoid touching or bumping the desk while recording. Keeping the stand slightly away from your workspace helps reduce noise, too.
Stripped Threads or Loose Collars
Worn threads or loose collars can make your mic unstable. Replace damaged parts early before they fail completely.
If the fit feels loose, use a thread adapter to tighten the connection. A snug fit keeps your mic safe and prevents rattling.
Mic Too Far or In Frame
If your mic shows up in video or feels out of reach, adjust your stand’s angle or boom arm length. Small tweaks often fix positioning.
For tighter spaces, switch to a boom arm or low-profile stand. They keep your mic close while staying out of the camera frame.
Conclusion
The right microphone stand keeps your mic secure, reduces noise, and makes recording easier. It’s a small tool that makes a big difference in every session.
Now that you know what to look for, pick a stand that matches your setup and mic weight. Check your space, compare models, and choose one built for stability and comfort.
Start now by reviewing your current stand or finding one that better fits your workflow. A reliable stand will keep your recordings smooth and your setup ready every time.