


Ever wondered how to use a 3D printer without losing your mind over it?
It’s simpler than it looks. Sure, there’s some setup involved, but once you get the hang of it, the whole process flows pretty naturally. You go from a digital design to a real, physical object sitting in your hands.
That’s honestly pretty cool. And you don’t need any special background or training to get started. Just the right steps, in the right order. Let’s walk through exactly that.
What to Know About 3D Printers
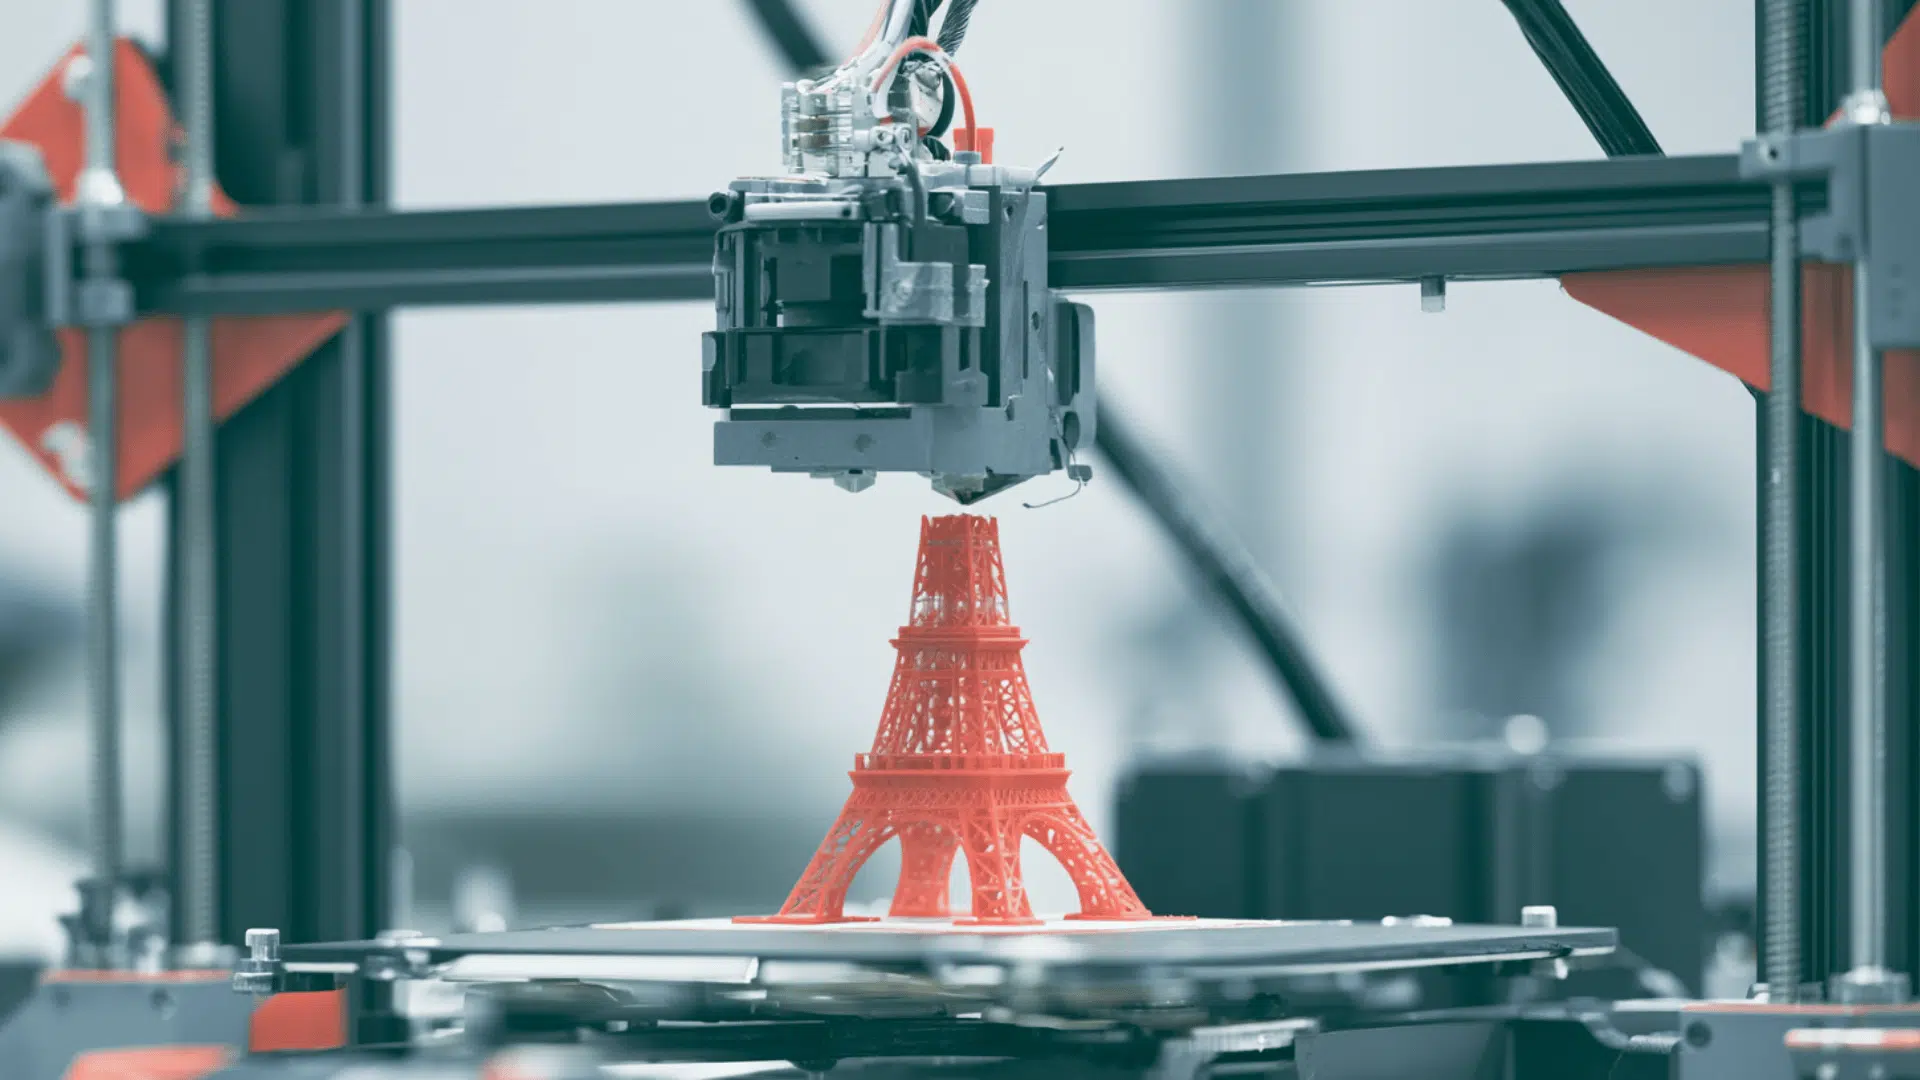
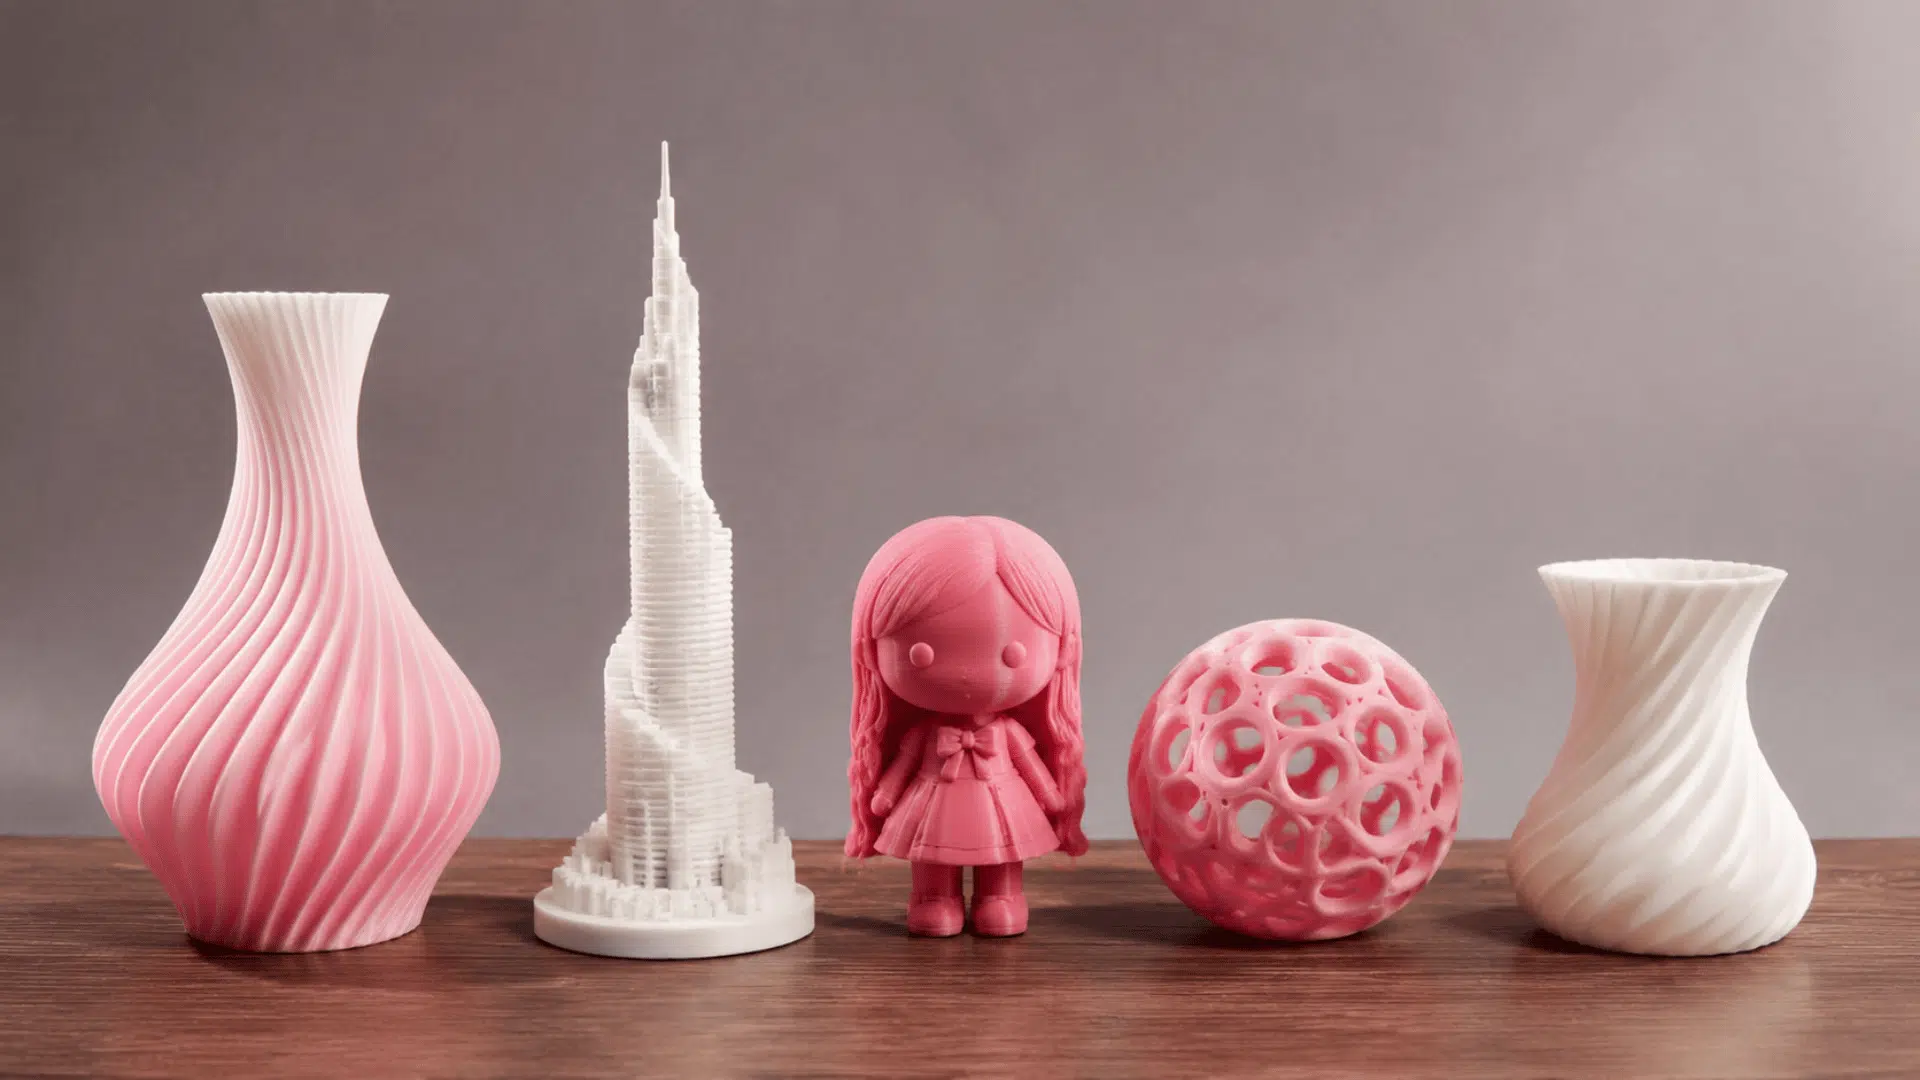
3D printers create physical objects from digital designs by depositing material in successive layers. They are commonly used for product development, educational projects, custom manufacturing, and rapid prototyping.
These machines make it possible to produce complex shapes and functional parts without many of the limitations associated with conventional manufacturing techniques.
Their effectiveness depends on factors such as material selection, machine calibration, and proper print settings.
Understanding the Basics of 3D Printing
The 3D printing process begins with a digital model that is prepared for production and converted into machine-readable instructions. A printer then follows these instructions to build the object one layer at a time:
- Layer-by-layer construction: The printer gradually forms the object by adding material in thin, controlled layers.
- Printing materials: Common options include plastic filaments such as PLA and ABS, as well as liquid resins used in resin-based printers.
- Model file formats: STL and OBJ files are widely used for storing and sharing printable 3D designs.
- Slicing software: Specialized software converts a 3D model into detailed printing instructions, including layer height, print speed, temperature, and tool paths.
A complete 3D printing system combines mechanical components, electronics, and software to accurately reproduce the digital design as a finished physical object.
How to Use a 3D Printer in a Step-By-Step Manner
A 3D printer works by turning a digital file into a physical object through layered printing. To ensure the process runs smoothly, each stage must be completed in order, starting with setup and ending with printing.
Let’s take a look at them:
Step 1: Printer Setup and Assembly
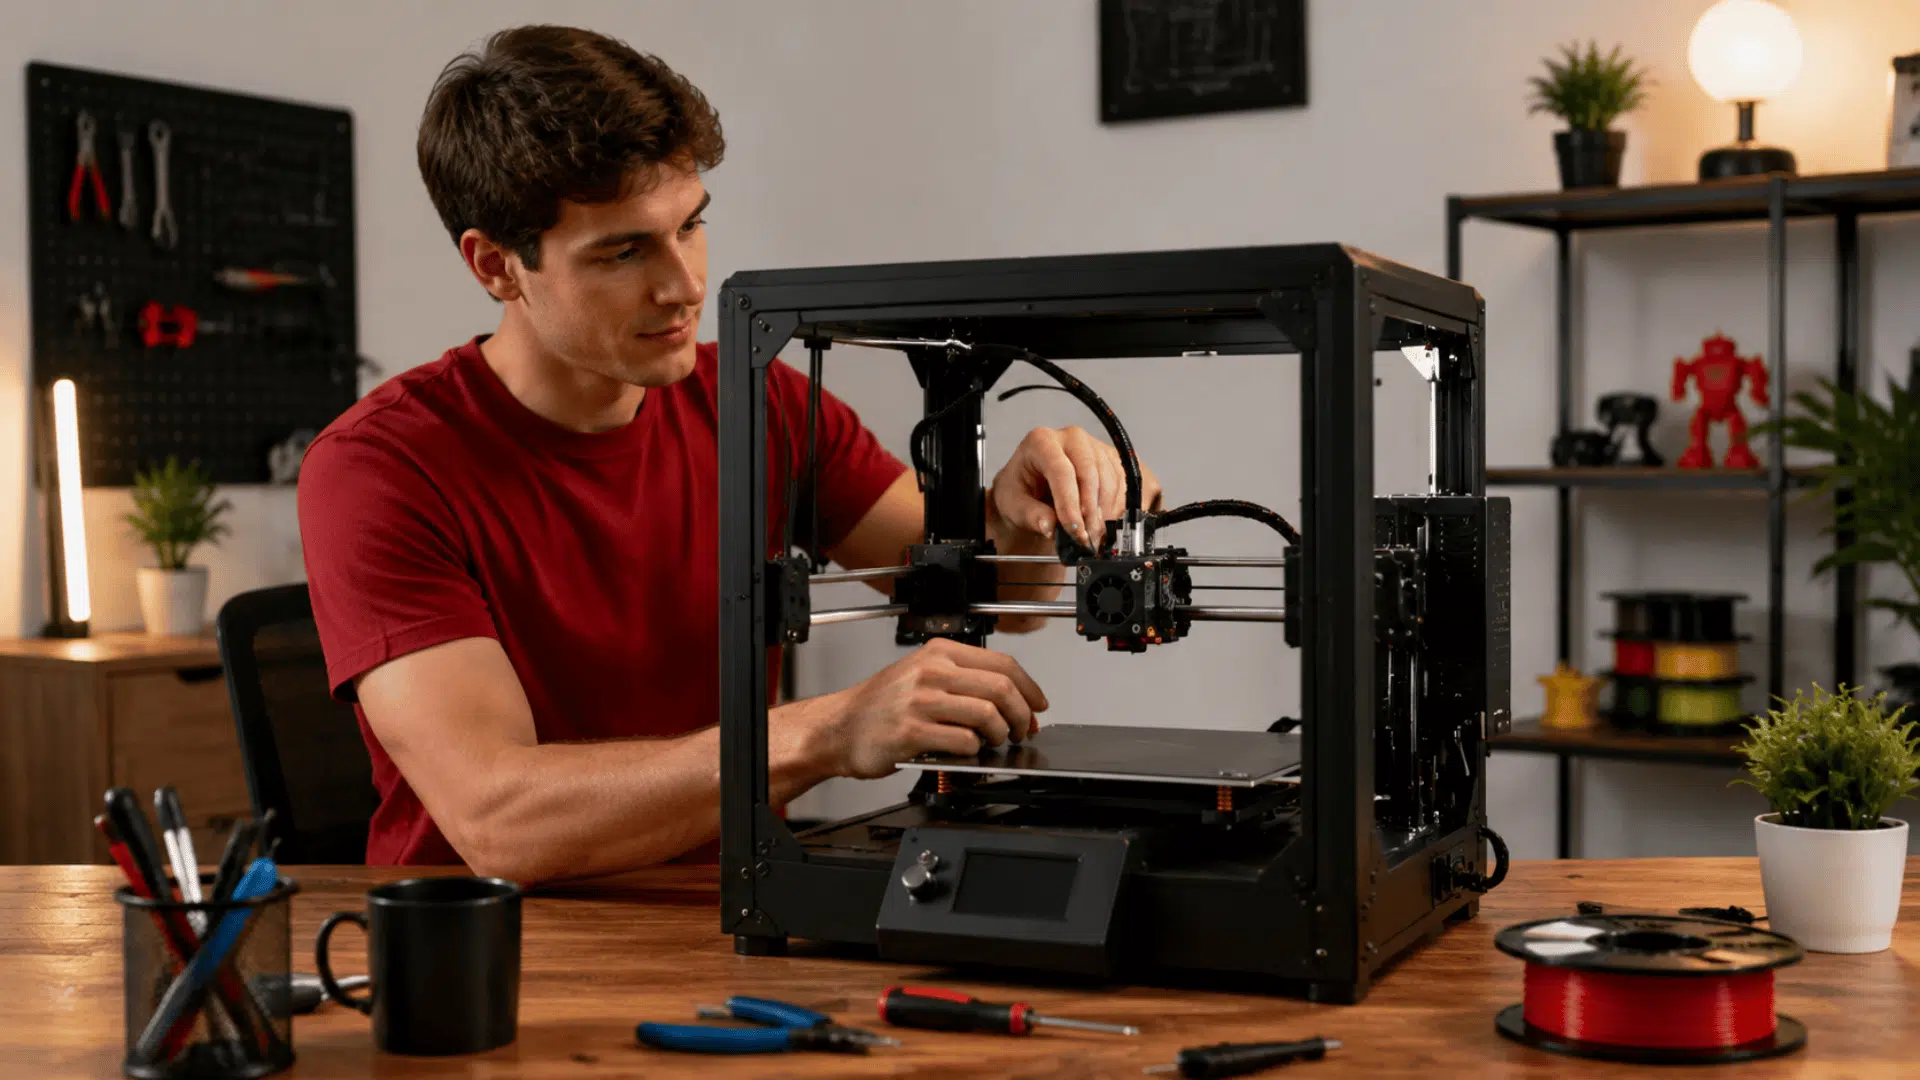
Start by unpacking the printer and checking all parts. Assemble the frame, print bed, and moving parts using the instruction manual. Make sure all screws are tight and the structure is stable.
Next, connect the printer to power and turn it on. Install any required software or drivers on the computer, keeping in mind the risks of unfamiliar software when downloading from third-party sources. This allows the printer to receive print instructions correctly.
Finally, level the print bed so the nozzle sits at the correct distance from the surface. Load filament into the extruder by heating the nozzle and feeding the material until it flows smoothly.
Step 2: Prepare the Digital Model
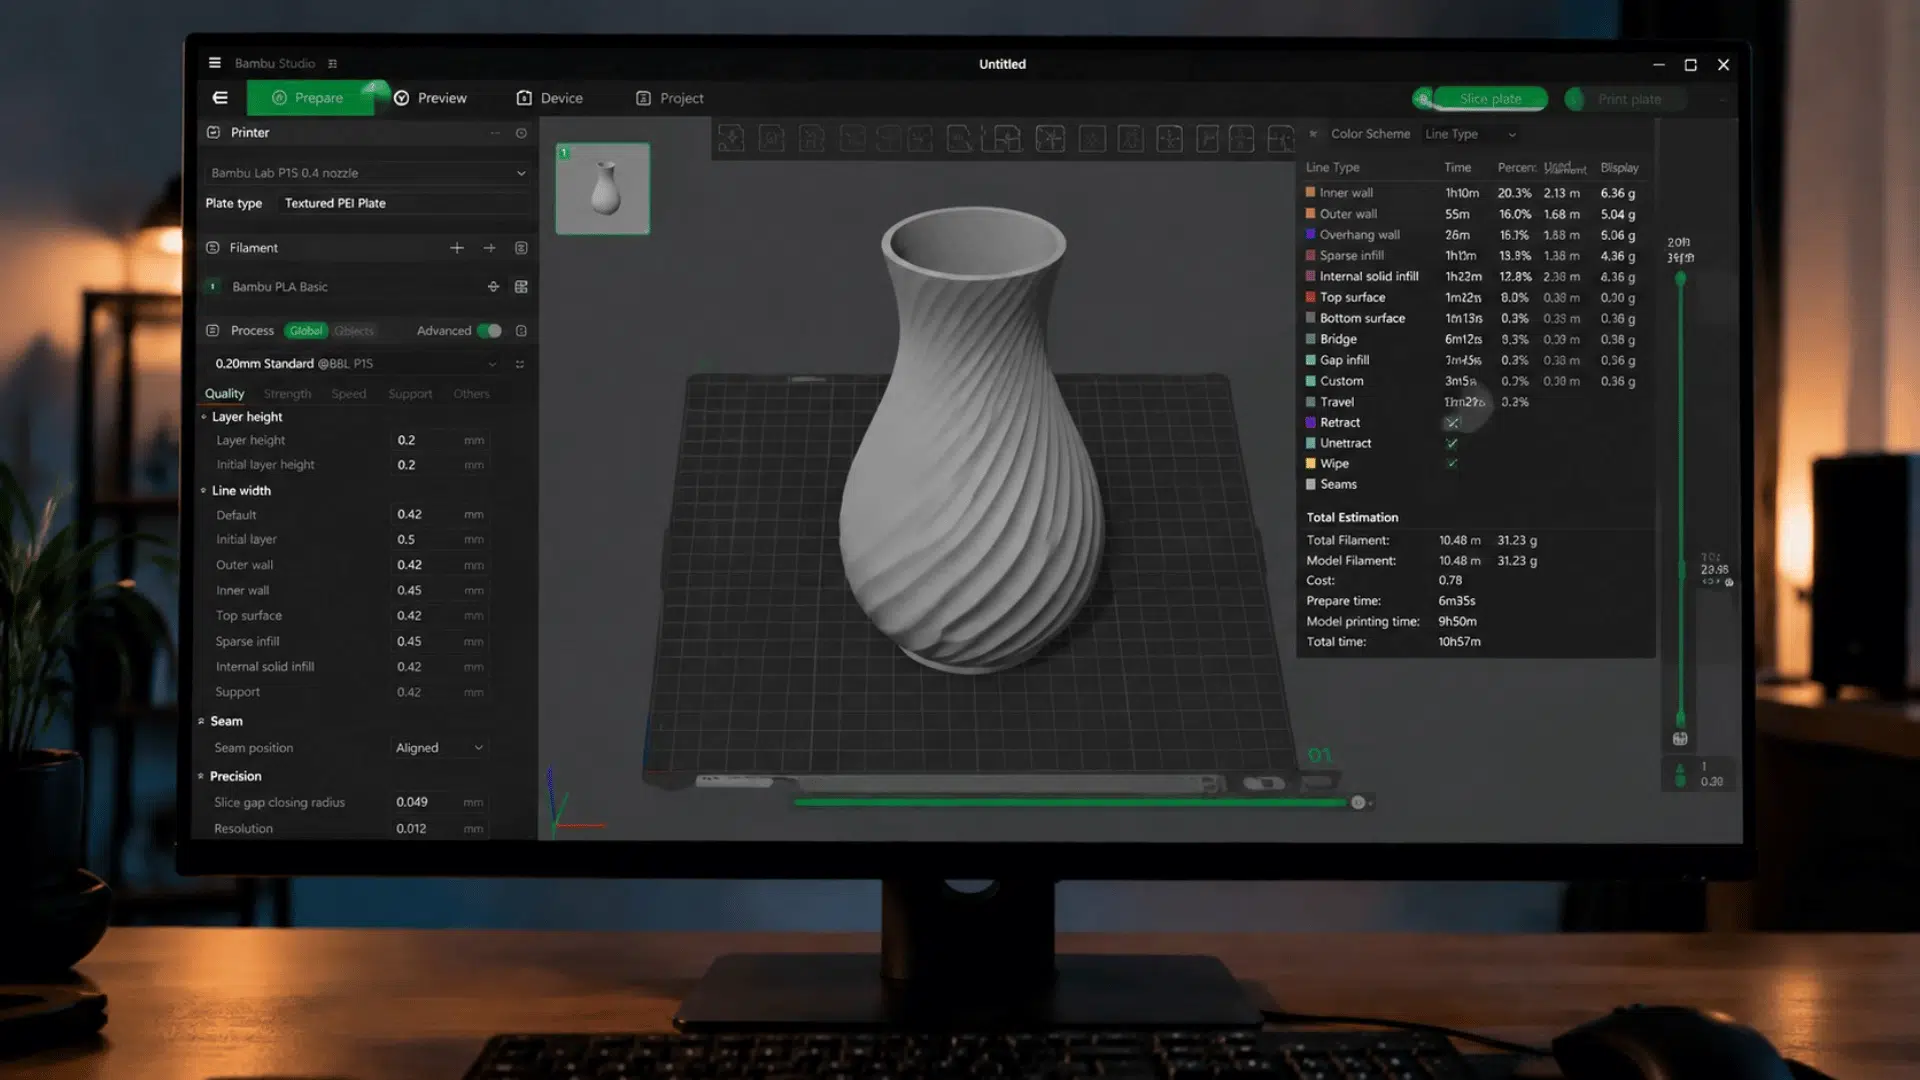
Import the 3D model into slicing software. This software converts the design into instructions the printer can understand.
Adjust settings such as layer height, print speed, and support structures based on the model. These settings control how the object will be printed.
Once ready, export the file as G-code and transfer it to a drive; the storage space needed depends on how many models you plan to keep on hand.
Step 3: Load File and Start Heating
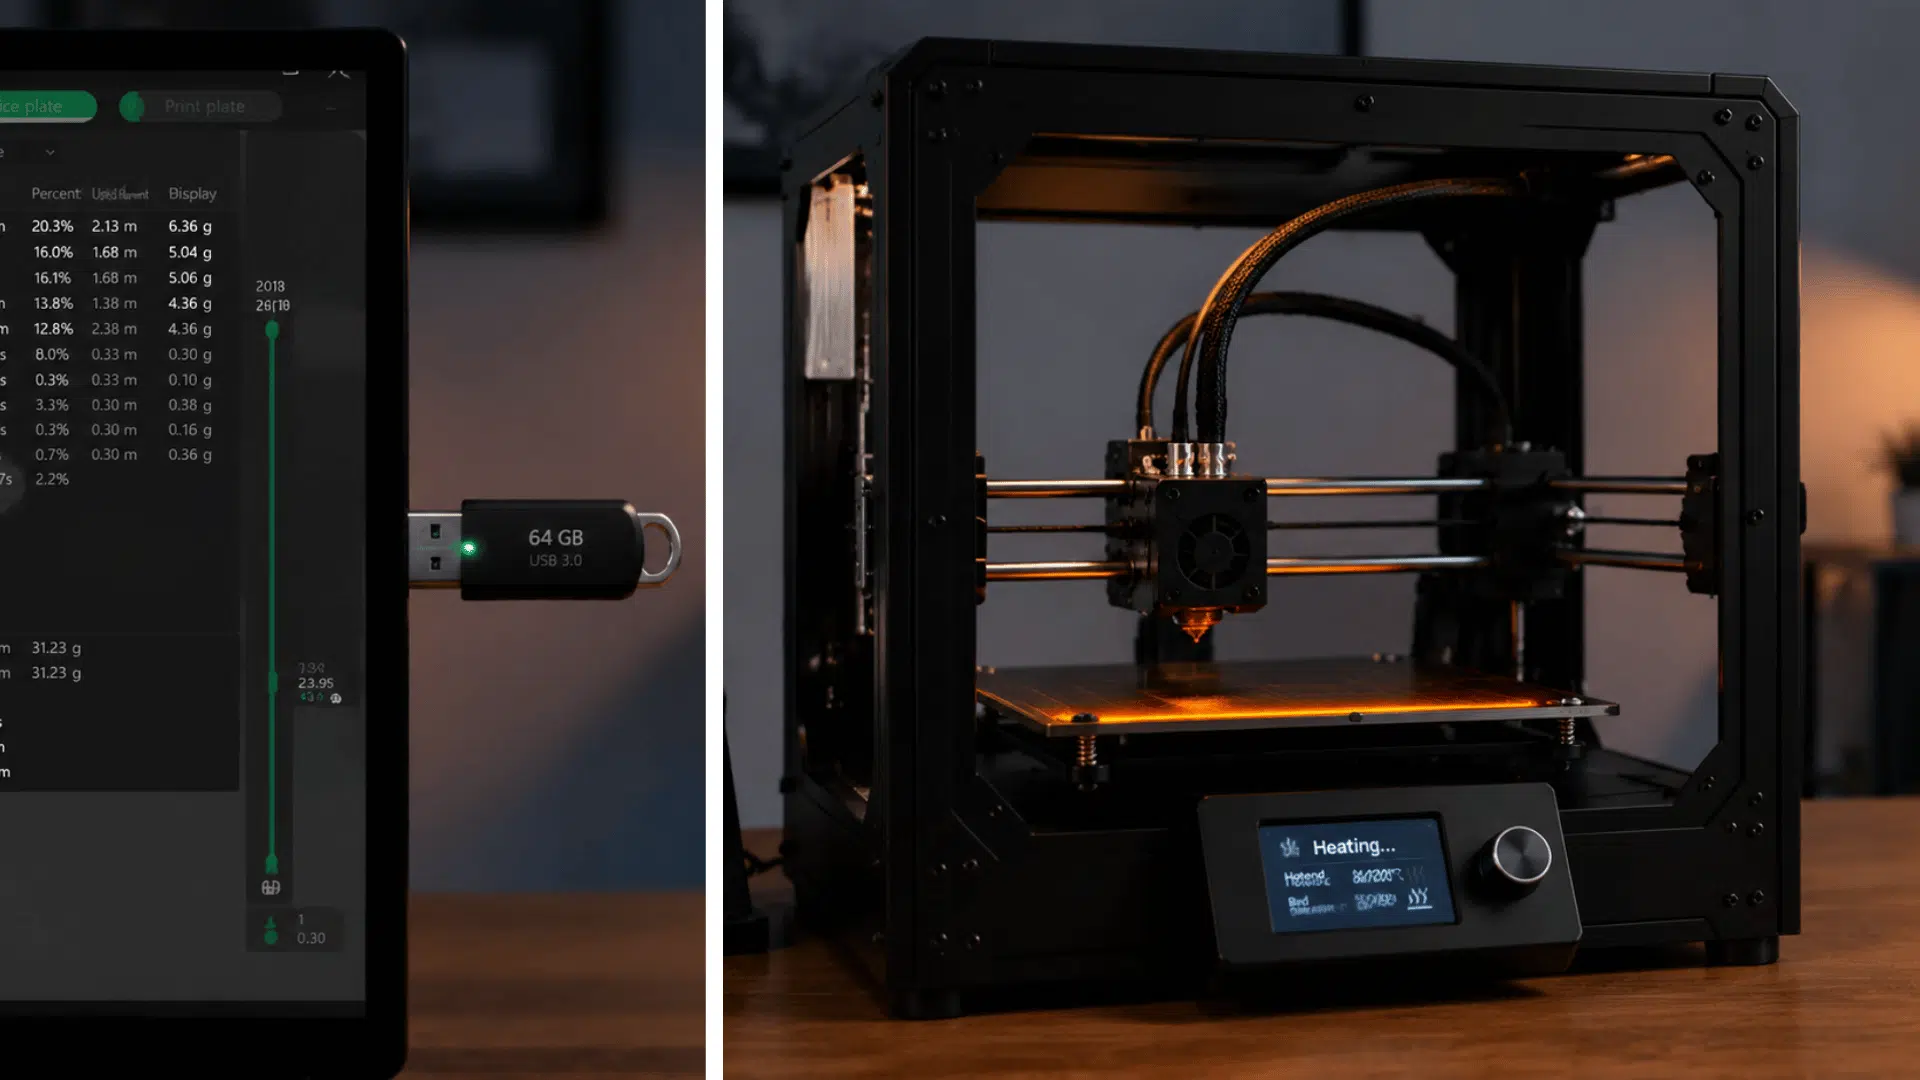
Insert the SD card or USB drive into the printer, then select the file from the menu. The printer will read the instructions and prepare for printing.
Set the nozzle and bed temperature according to the material being used. Wait until both reach the required heat level before starting.
This step ensures the material sticks properly and flows as needed during printing.
Step 4: Start Printing Process
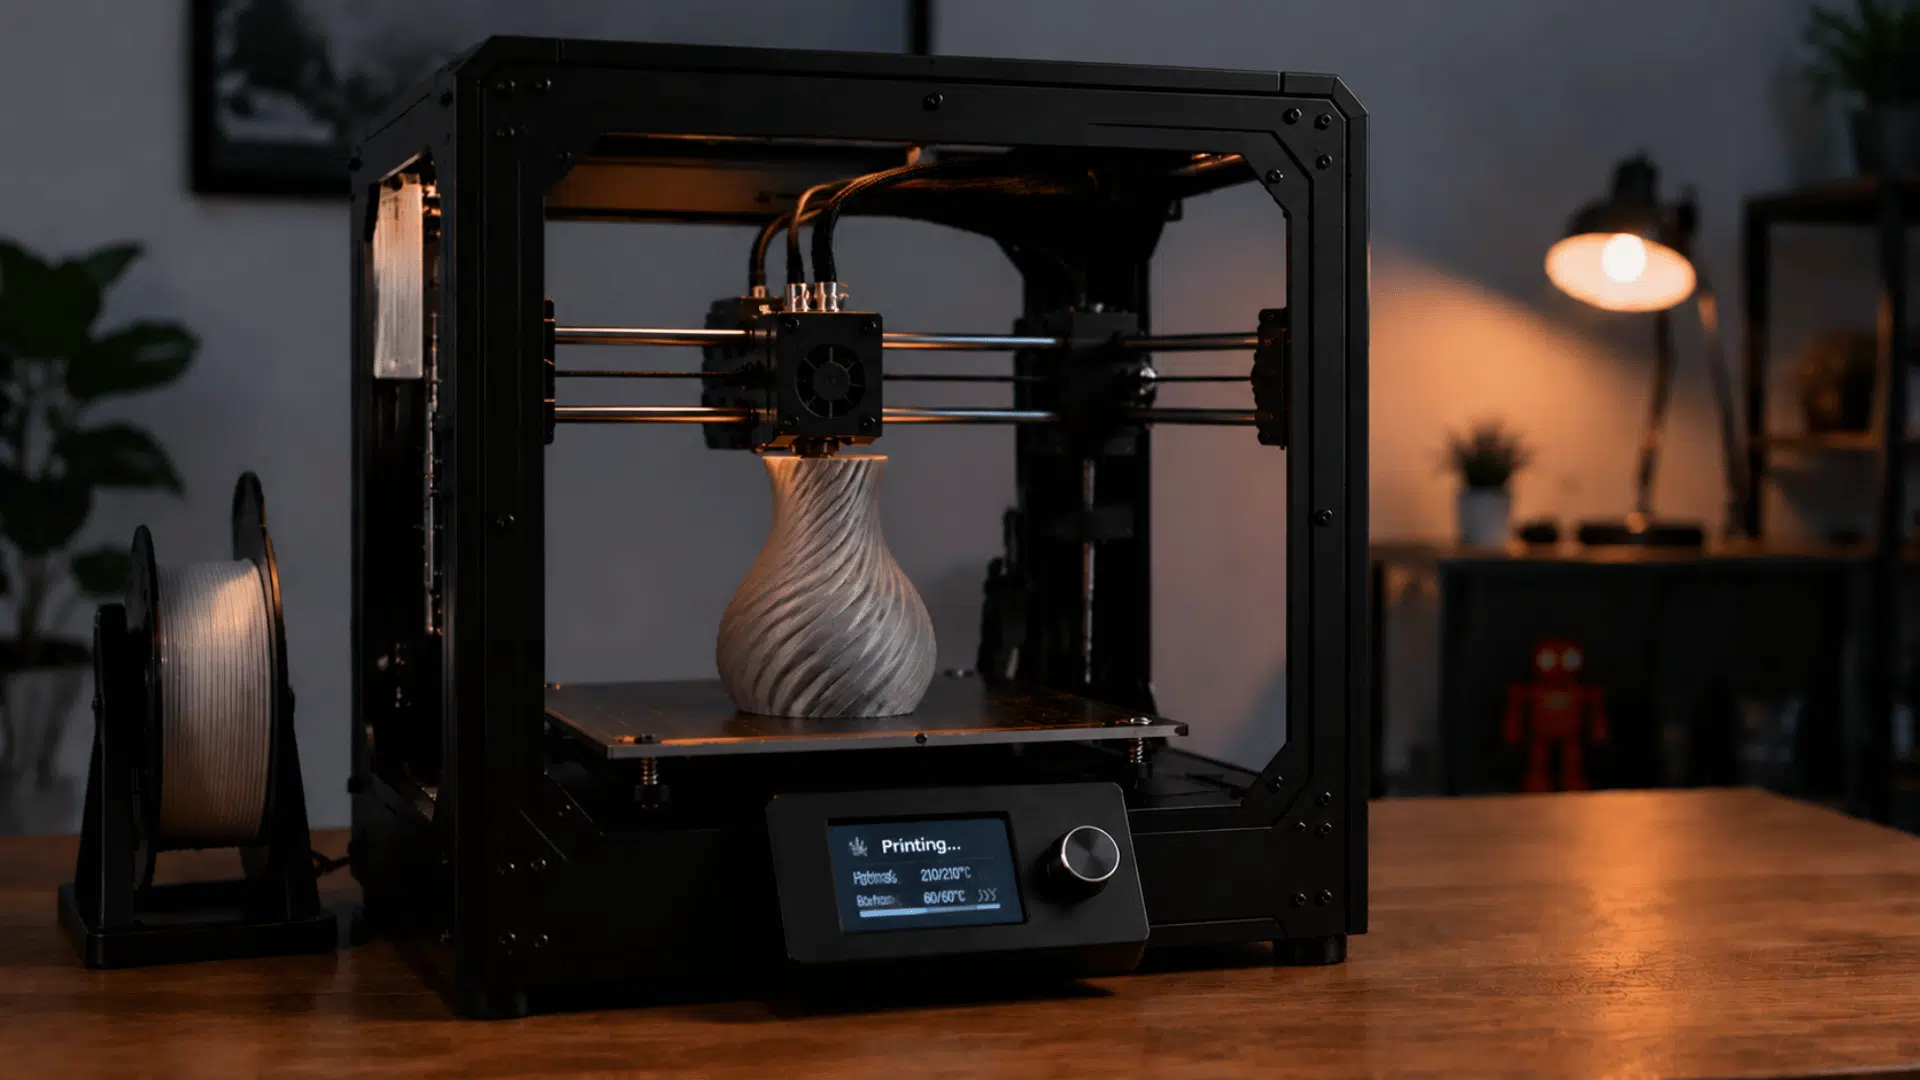
Begin the print job using the printer controls. The machine will start building the object layer by layer based on the file instructions.
Watch the first layer carefully to make sure it sticks evenly to the bed. This layer decides how stable the rest of the print will be.
Avoid touching the printer while it is running to prevent movement issues.
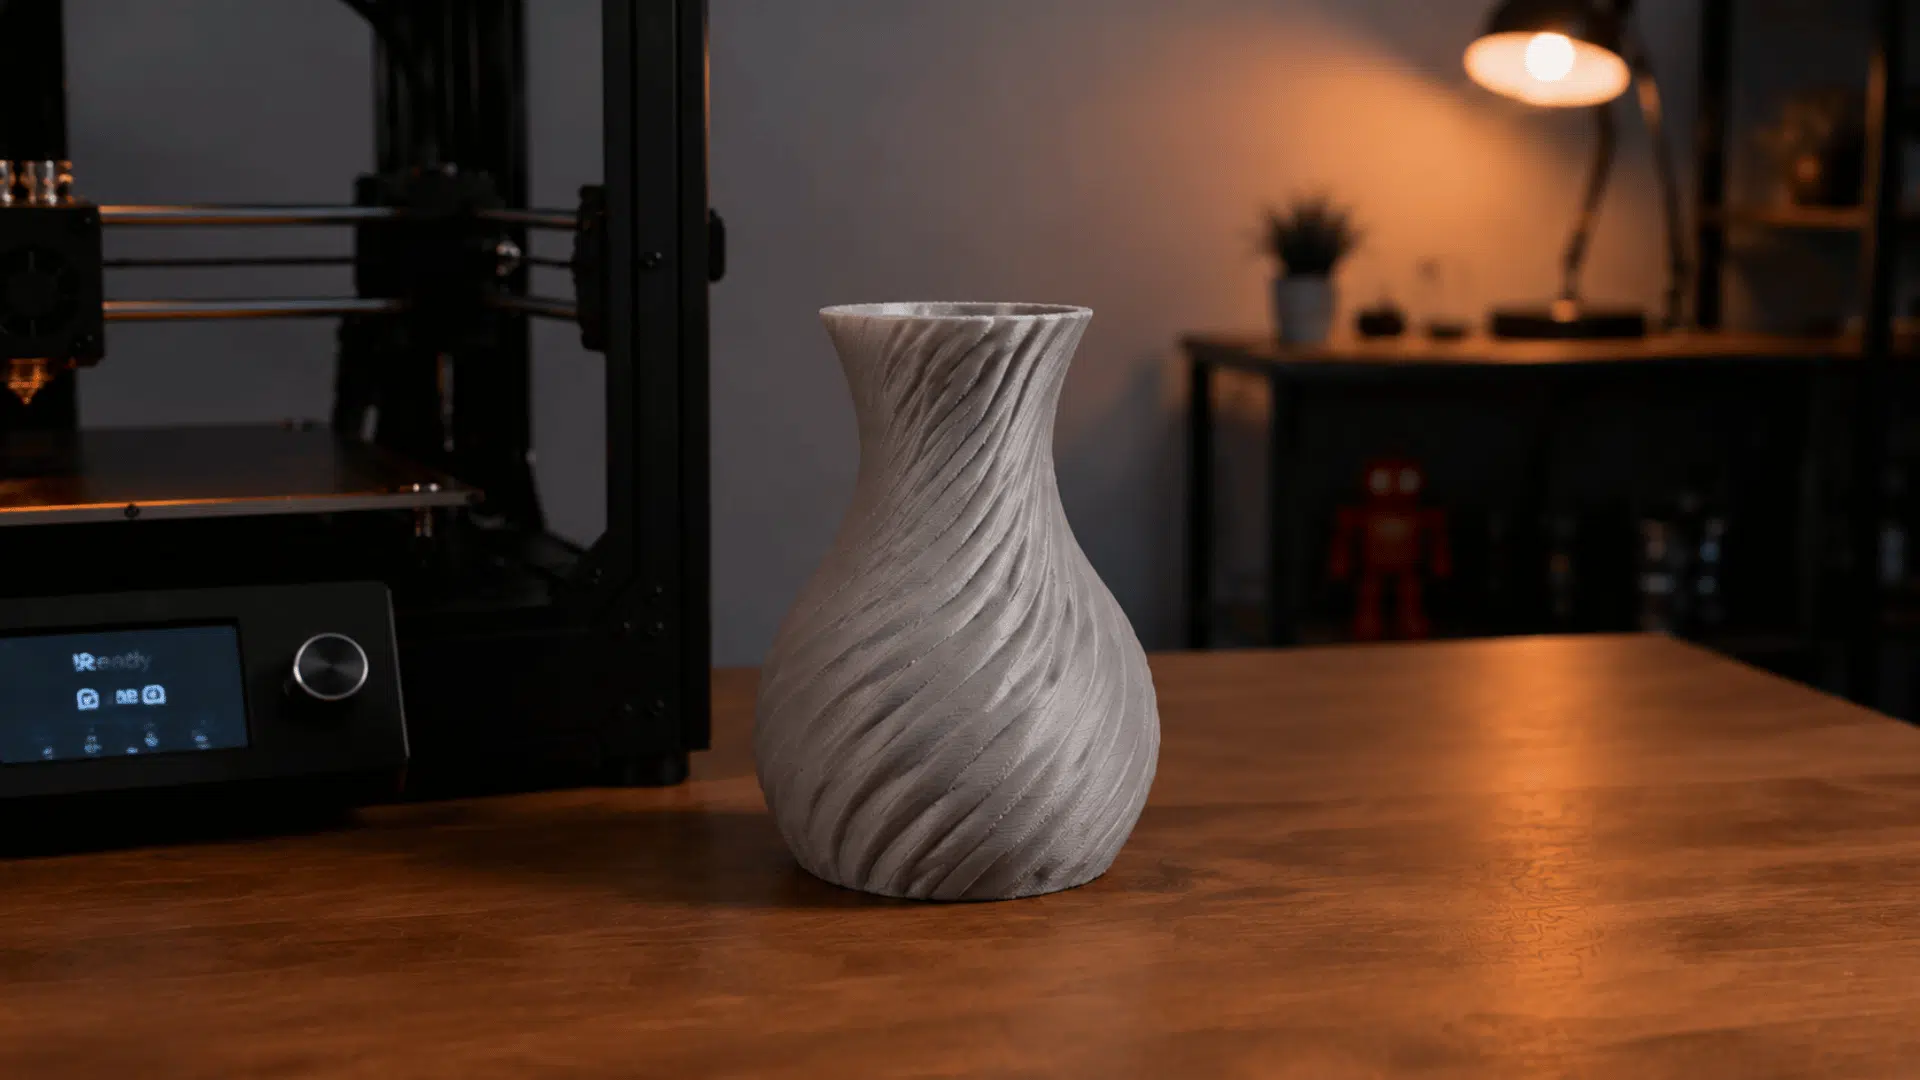
Step 5: Monitor and Finish Print
Continue monitoring the print throughout the process to ensure there are no errors such as shifting or poor adhesion.
Once printing is complete, let the object cool before removing it from the bed. Carefully remove any supports if used.
Check the final object for quality and clean the printer for the next use.
Things to Keep in Mind for Maintenance of a 3D Printer
Regular maintenance helps keep a 3D printer running smoothly and reduces common printing issues. Simple checks and cleaning routines improve consistency and help the machine perform reliably over time.
| Maintenance Task | What To Do | Recommended Frequency | Why It Matters |
|---|---|---|---|
| Nozzle Cleaning | Clean residue and remove blockages. | After several prints or when extrusion issues occur | Prevents clogs and improves print quality. |
| Print Bed Cleaning | Remove dust, grease, and leftover adhesive. | Before each print or after heavy use | Improves adhesion and reduces print failures. |
| Bed Leveling Check | Check and adjust bed alignment. | Weekly or when adhesion issues appear | Ensures accurate layer placement and consistent results. |
| Belt Inspection and Tensioning | Inspect belts and adjust tension if needed. | Monthly or after extended use | Maintains movement accuracy and print precision. |
| Filament Storage | Store filament in airtight, dry containers. | Continuously when not in use | Protects material quality and prevents defects. |
| Lubrication of Moving Parts | Lubricate rods, rails, and lead screws. | Every few months, depending on usage | Reduces wear and ensures smooth operation. |
| Fan and Vent Cleaning | Clear dust from fans and airflow paths. | Monthly | Prevents overheating and supports reliable performance. |
| Electrical Connection Check | Inspect cables and connectors for damage. | Every few months | Improves safety and reduces malfunctions. |
| Firmware Updates | Install recommended firmware updates. | When new stable updates are released | Enhances stability, features, and performance. |
| General Inspection | Check the frame, screws, and components. | Monthly | Identifies issues early and extends printer lifespan. |
Community Discussions and Group Insights About 3d Printing
This section compiles Reddit discussions on 3D printing, showcasing user experiences, feedback, and challenges. It highlights common issues, tips, and varied perspectives from active users.
Readers can find practical insights, shared mistakes, and small improvements suggested by others, which can help in understanding real-world usage beyond basic instructions.
“In the vaguest of terms I “understand” that consumer-grade 3D printing will either involve filament plastic or resin prints” – Swampspear, Reddit
“If you are willing to learn CAD, a 3D printer will become a tool instead of a gadget to print other gadgets.” – Rotary Design, Reddit
“When designing things, always keep how it will be printed in mind. Either stick with the supports or add some screw holes and cut it in half horizontally.” – hmseureka, Reddit
“Then step, it preserves the model mathematically instead of polygons. The slicer will convert it according to your settings.” – Screennametaken, Reddit
““It’s not a kitchen appliance, you don’t download the recipe from the internet, set the temperature and wait for it to ding”” – No-Newspaper, Reddit
Common Mistakes to Avoid While Using a 3d Printer
3D printing issues often come from small setup or setting errors that affect print quality. Knowing these problems helps spot them early and fix them before they ruin the final output.
Most of these issues can be handled with simple adjustments in machine settings:
- Poor first-layer sticking: Usually caused by incorrect bed leveling or dust on the print surface. Cleaning the bed and adjusting the leveling helps improve adhesion.
- Warping issues: Corners of the print lift due to uneven cooling or incorrect temperature settings. Adjusting bed heat and room conditions can reduce this problem.
- Stringing between parts: Thin strands appear when the nozzle temperature is too high or the filament absorbs moisture. Lowering the temperature and using dry filament helps.
- Layer shifting: Misaligned layers happen due to loose belts or unstable movement. Tightening belts and checking machine parts can fix this.
- Under-extrusion: Gaps in prints occur when filament flow is inconsistent or the nozzle is partially blocked. Cleaning the nozzle often solves it.
- Over-extrusion: Extra material builds up when too much filament is pushed out. Adjusting the flow rate in settings helps balance output.
- Nozzle clogging: Printing stops or weakens when the nozzle clogs. Regular cleaning and proper filament storage reduce this issue.
Final Thoughts
Learning how to use a 3D printer takes a little patience at first, but it’s absolutely worth it. Once you’ve gone through the setup, dialed in your settings, and watched that first layer stick properly to the bed, it only gets easier from there.
Keep your printer maintained, store your filament properly, and don’t panic when something goes wrong. Errors are part of the process; even experienced users deal with them.
So start simple, take it one step at a time, and enjoy the process. Before long, turning a digital idea into a real physical object will feel completely natural.
Frequently Asked Questions
Why do 3D prints fail at the beginning?
Most failures result from poor bed leveling, incorrect temperature settings, or dirty print surfaces.
Do all 3D printers work the same way?
No, different models use different methods and materials for printing.
Is special training needed to use a 3D printer?
No formal training is required, but basic knowledge of software and setup helps.
Can 3D printers print any shape?
They can print many shapes, but complex designs may need supports or adjustments.