





Sharing photos one by one can quickly become frustrating, especially when you’re trying to send dozens of pictures from a trip, family gathering, or special event.
Fortunately, iPhone users have several ways to keep their favorite memories organized and make them easier to share with others.
The process is generally straightforward, but a few settings and features can affect how smoothly everything works.
In this guide, you’ll learn what to check before getting started and discover the best ways to share albums from your iPhone.
Can You Share An Album On iPhone?
Yes, you can share an album on an iPhone, and Apple gives you two easy ways to do it.
The first is Apple Shared Albums, a built-in feature in the Photos app that lets you share photos and videos with other Apple users. The second is Google Photos shared albums, which work well if you’re sharing with people who use both iPhones and Android devices.
I’d pick Apple Shared Albums when everyone in the group is already on iPhone – it’s a couple of taps and it’s done. If even one person is on Android, Google Photos avoids the “sorry, I can’t open this” text you’d otherwise get back.
Both options let you add more photos and videos even after the album has been shared, so everyone can see new memories without receiving another link or separate messages.
The sections below explain how to set up each method, invite people, and manage your shared album with just a few taps.
What to Know Before You Share an Album
Before you start sharing photos or videos, take a minute to check a few settings. These quick steps can help avoid common problems, such as missing invitations, sync issues, or albums that won’t share properly.
- Update your iPhone to the latest version of iOS, if available.
- Turn on iCloud Photos and Shared Albums if you’re using Apple Photos, especially if you already use other cloud storage for photos, to keep your library backed up and accessible across devices.
- Sign in to your Google account if you plan to use Google Photos.
- Connect to a stable Wi-Fi or mobile data connection.
- Make sure the photos and videos you want to share are already saved in an album.
Once these basics are in place, you’re ready to create and share an album without running into common setup or syncing issues.
How to Share an Album on iPhone Using Apple Photos
Apple Photos comes with a built-in Shared Albums feature that lets you share photos and videos without sending them one by one. It’s a great option if everyone you’re sharing with uses Apple devices. Once the album is shared, you can keep adding new content, and invited members will see the updates automatically.
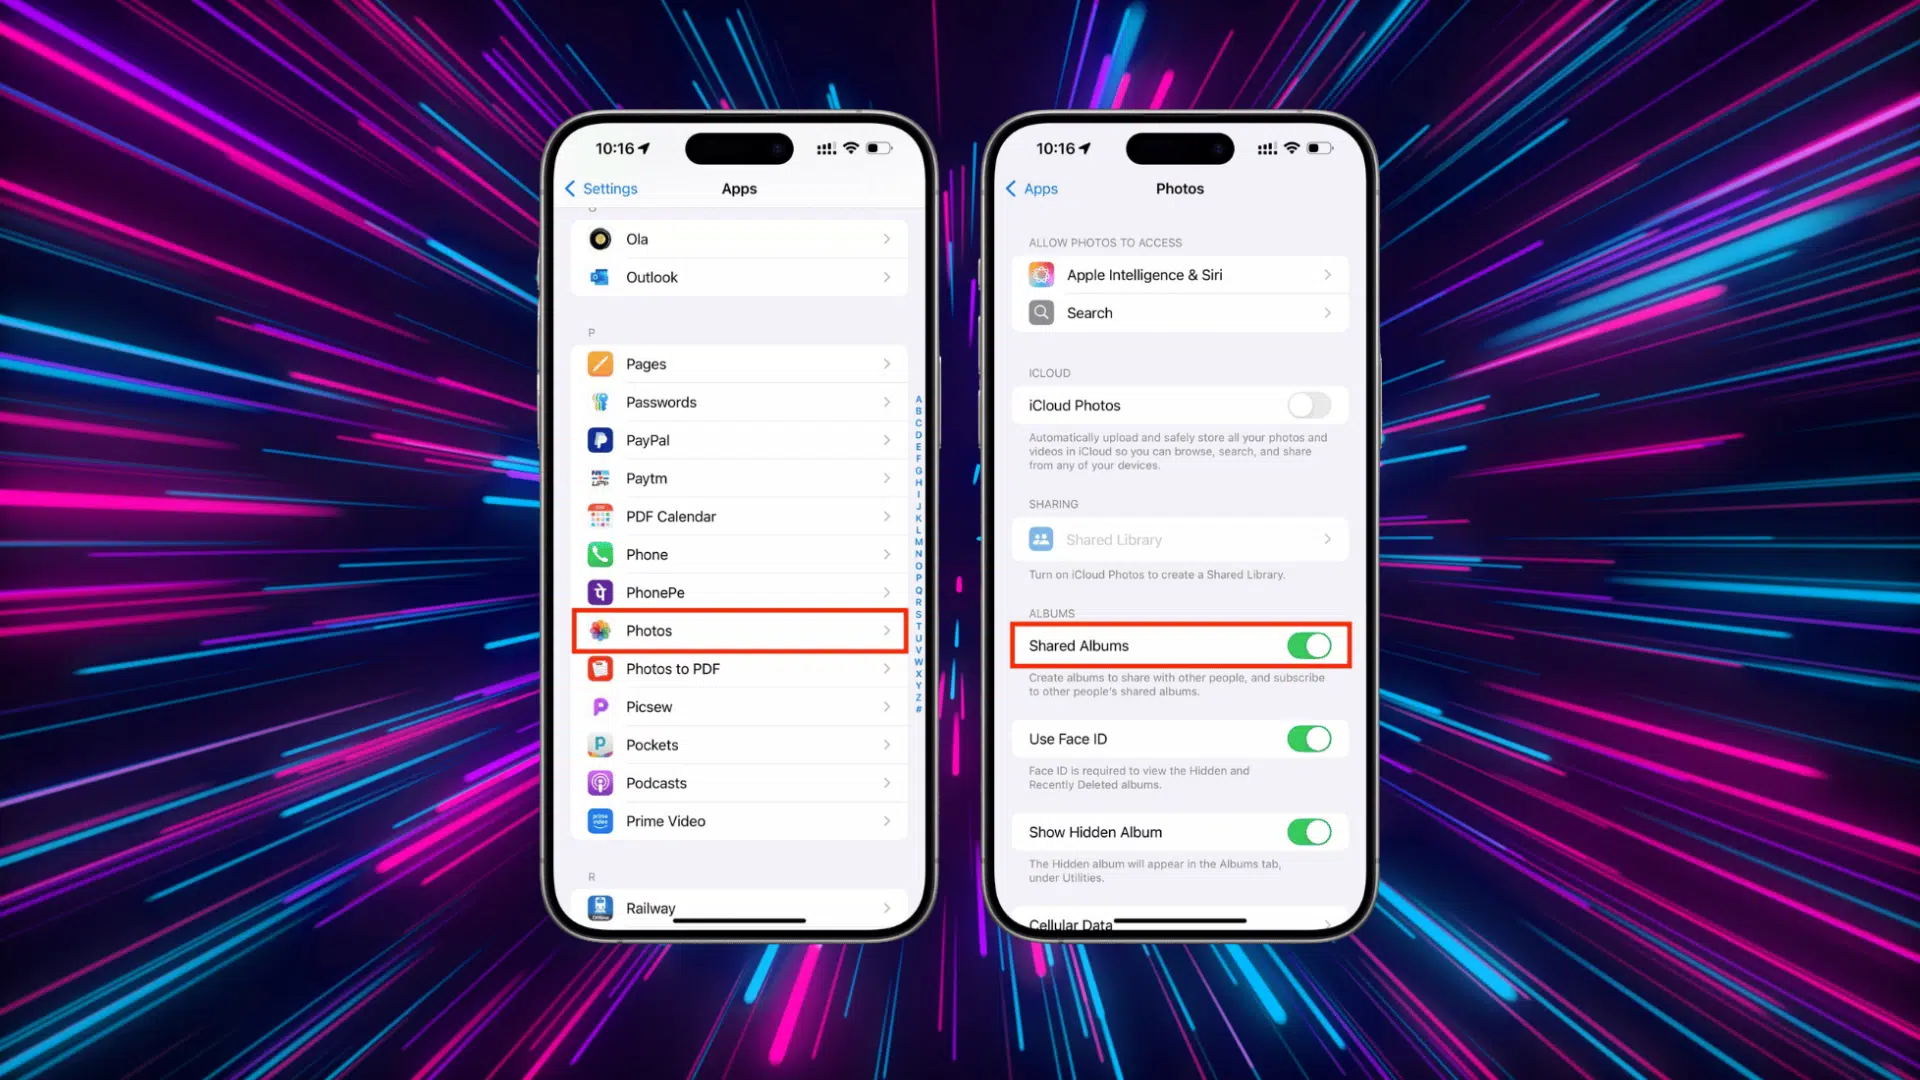
Step 1: Turn On Shared Albums
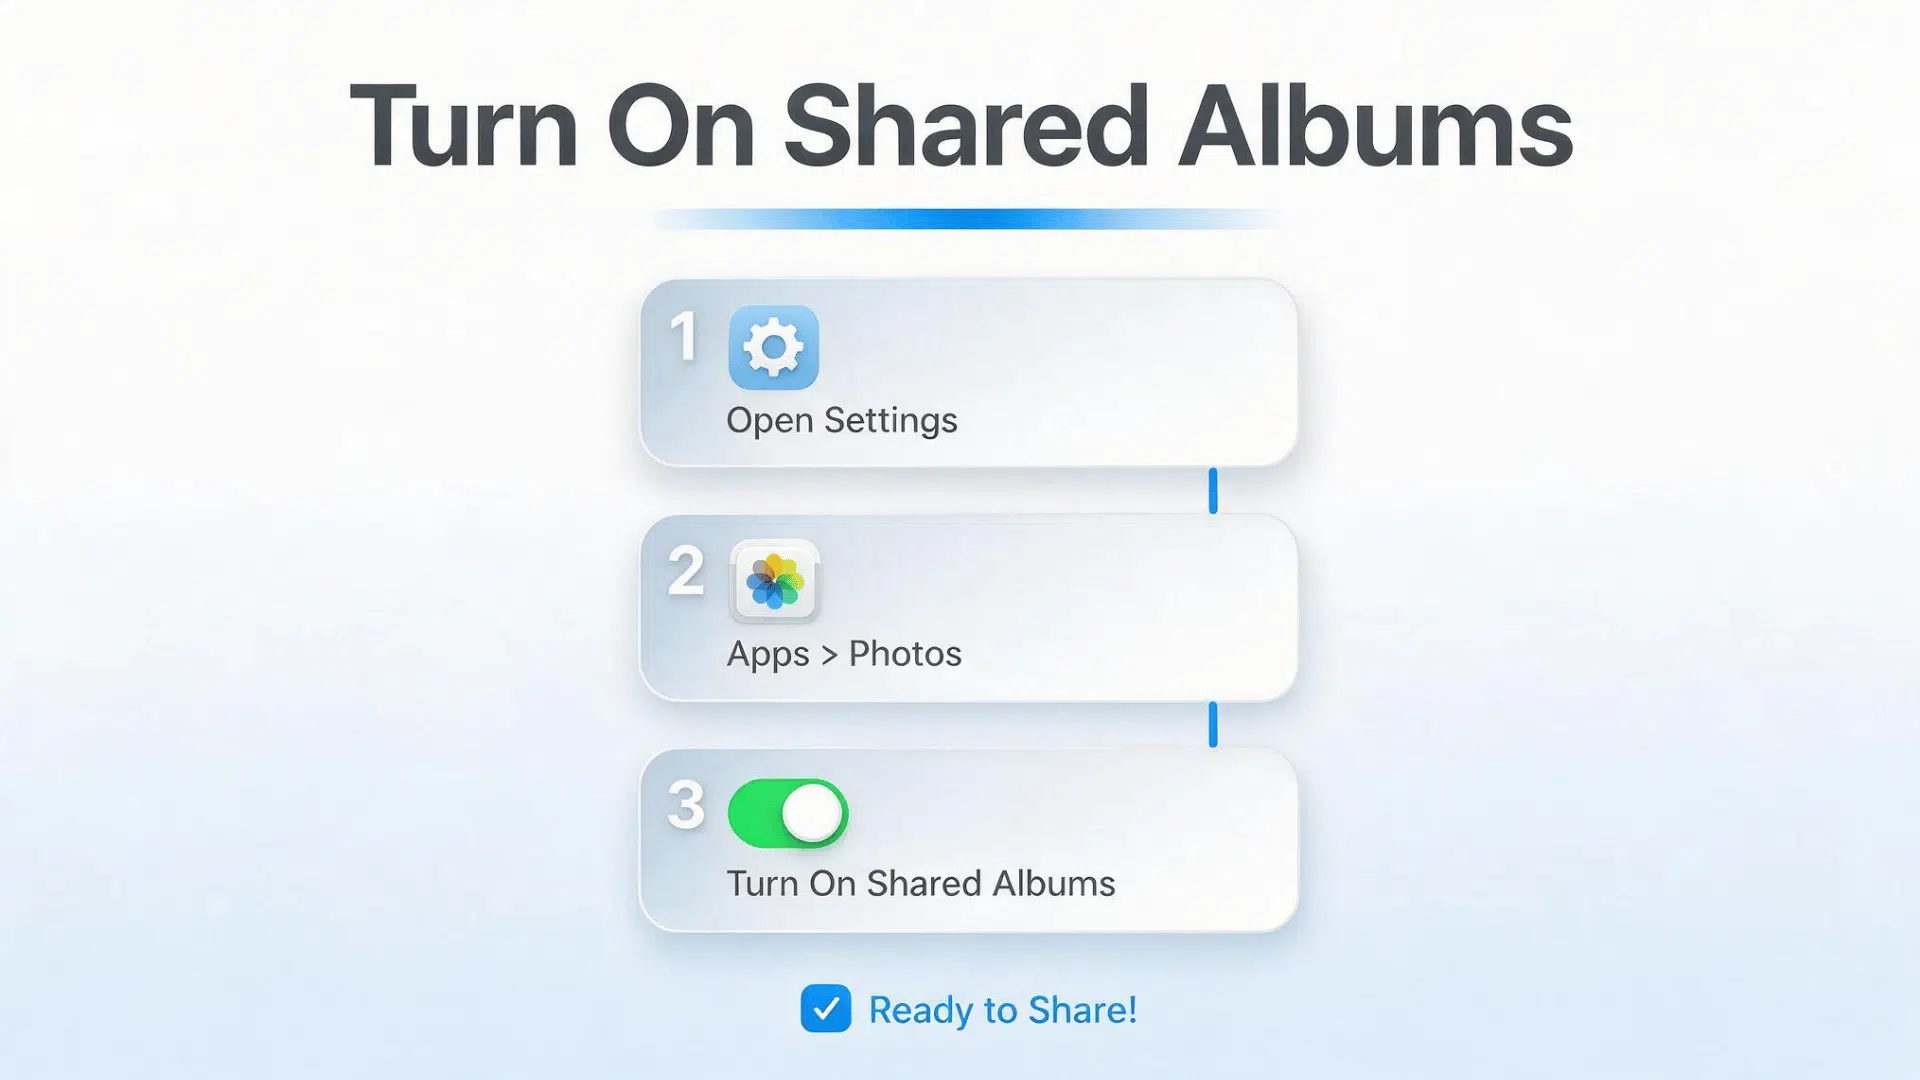
Before you create a shared album, make sure the feature is turned on. If it’s disabled, you won’t see the sharing option in the Photos app.
- Open Settings on your iPhone.
- Tap Apps > Photos (or simply Photos on some iOS versions).
- Turn on Shared Albums.
If the feature is already enabled, you don’t need to change anything and can move on to the next step.
Step 2: Open the Photos App
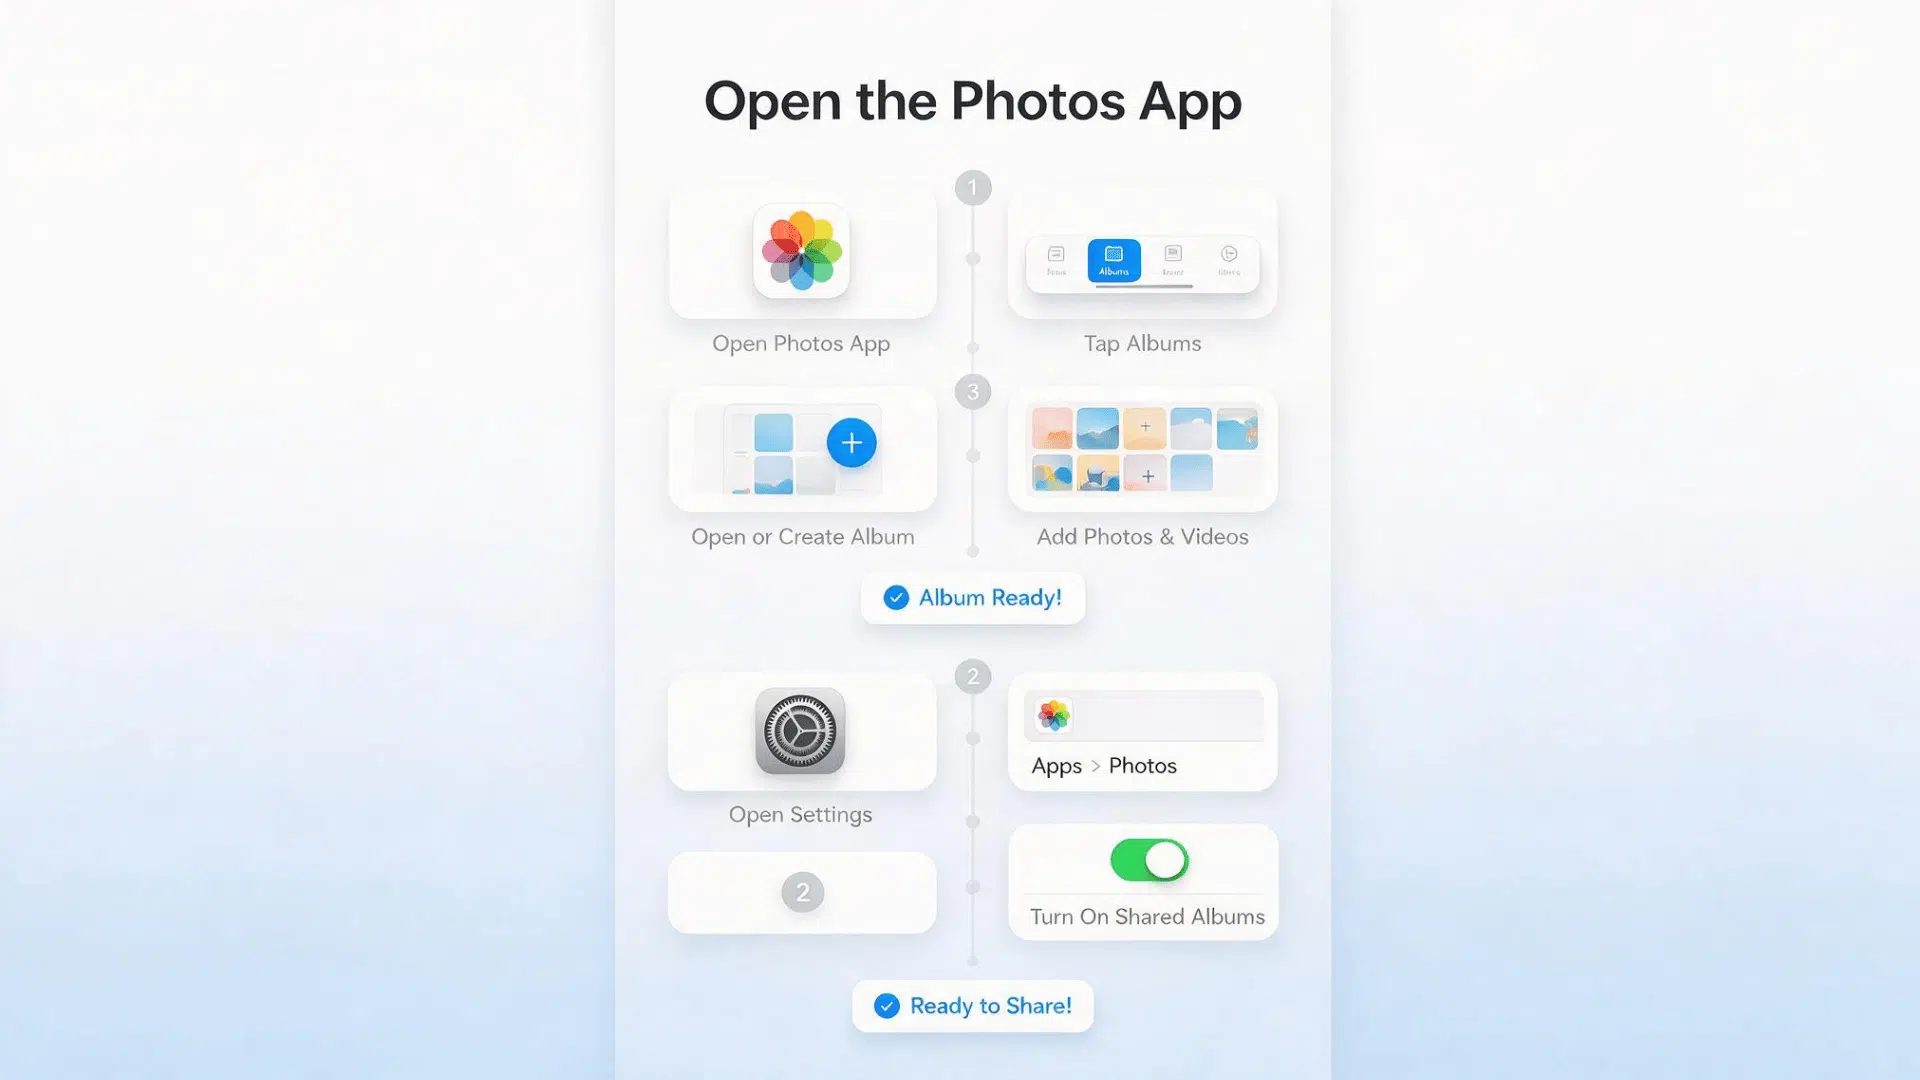
Now it’s time to choose the photos or videos you want to share. You can use an album you’ve already created or make a new one specifically for this purpose.
- Open the Photos app.
- Tap Albums at the bottom of the screen.
- Open an existing album or tap the + button to create a new one.
- Add the photos and videos you want to include if the album is empty.
Keeping everything in one album makes it easier to share and manage later.
Step 3: Tap the Share Button
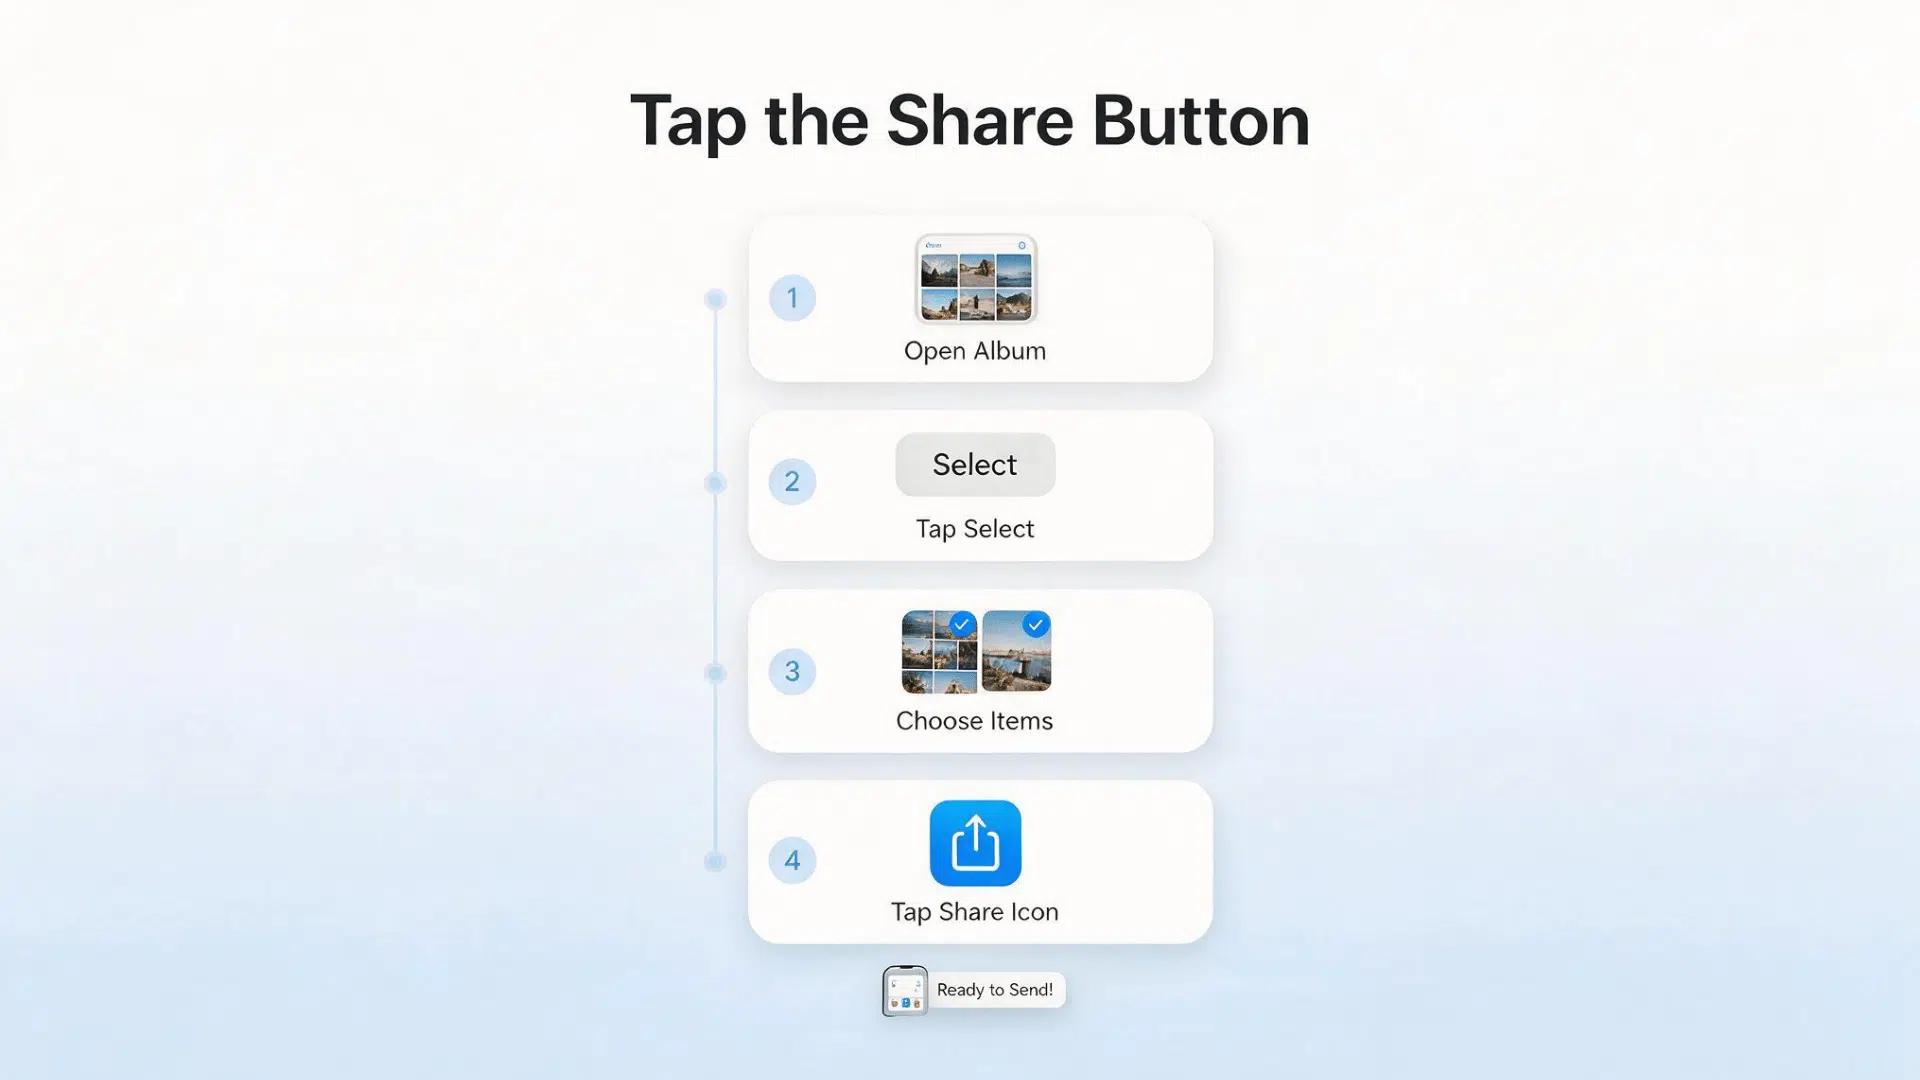
Once your album is ready, you can begin the sharing process.
- Open the album.
- Tap Select if you only want to share certain photos or videos.
- Choose the items you want to include.
- Tap the Share icon.
This opens several sharing options available on your iPhone.
Step 4: Choose Shared Album
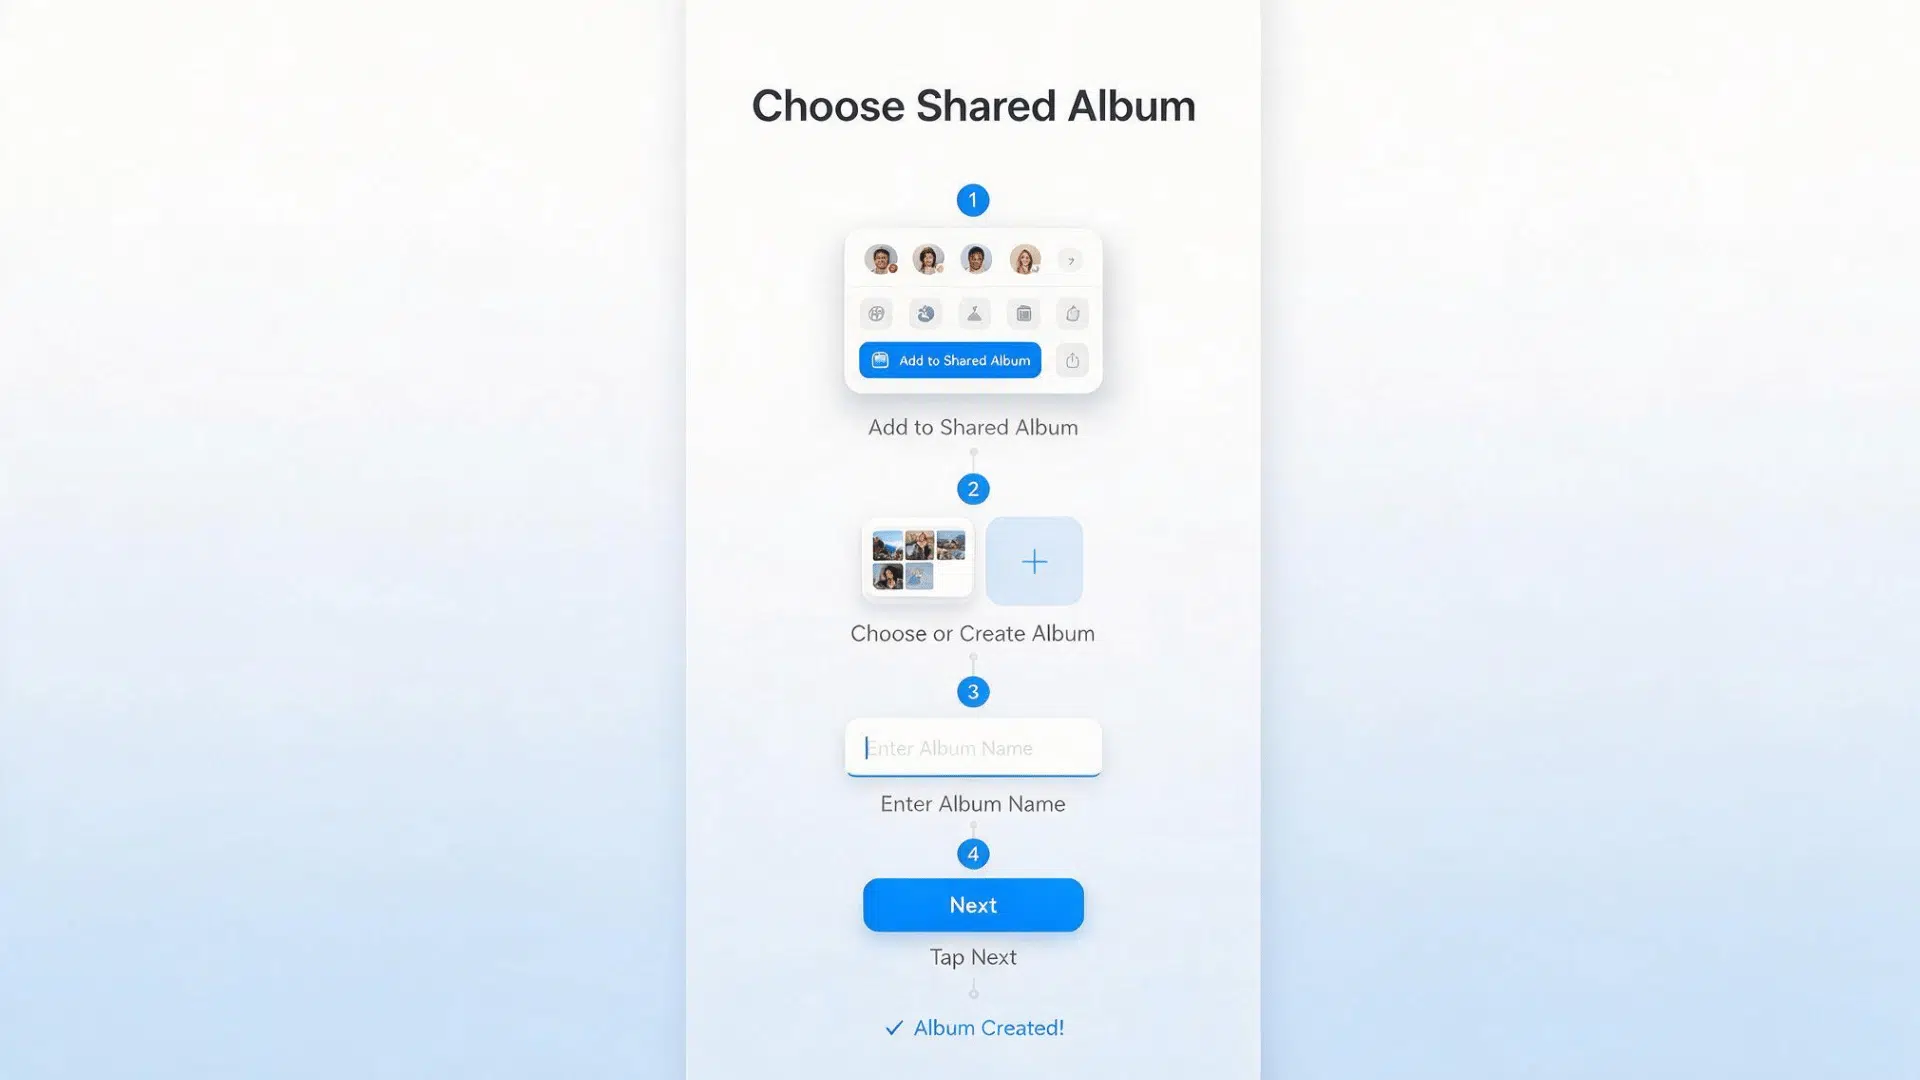
Next, move your selected photos or videos into a shared album.
- Tap Add to Shared Album from the sharing menu.
- Choose an existing shared album or tap New Shared Album.
- If you’re creating a new one, enter a name that’s easy to recognize.
- Tap Next to continue.
Your shared album is now created and ready for invitations.
Step 5: Invite People
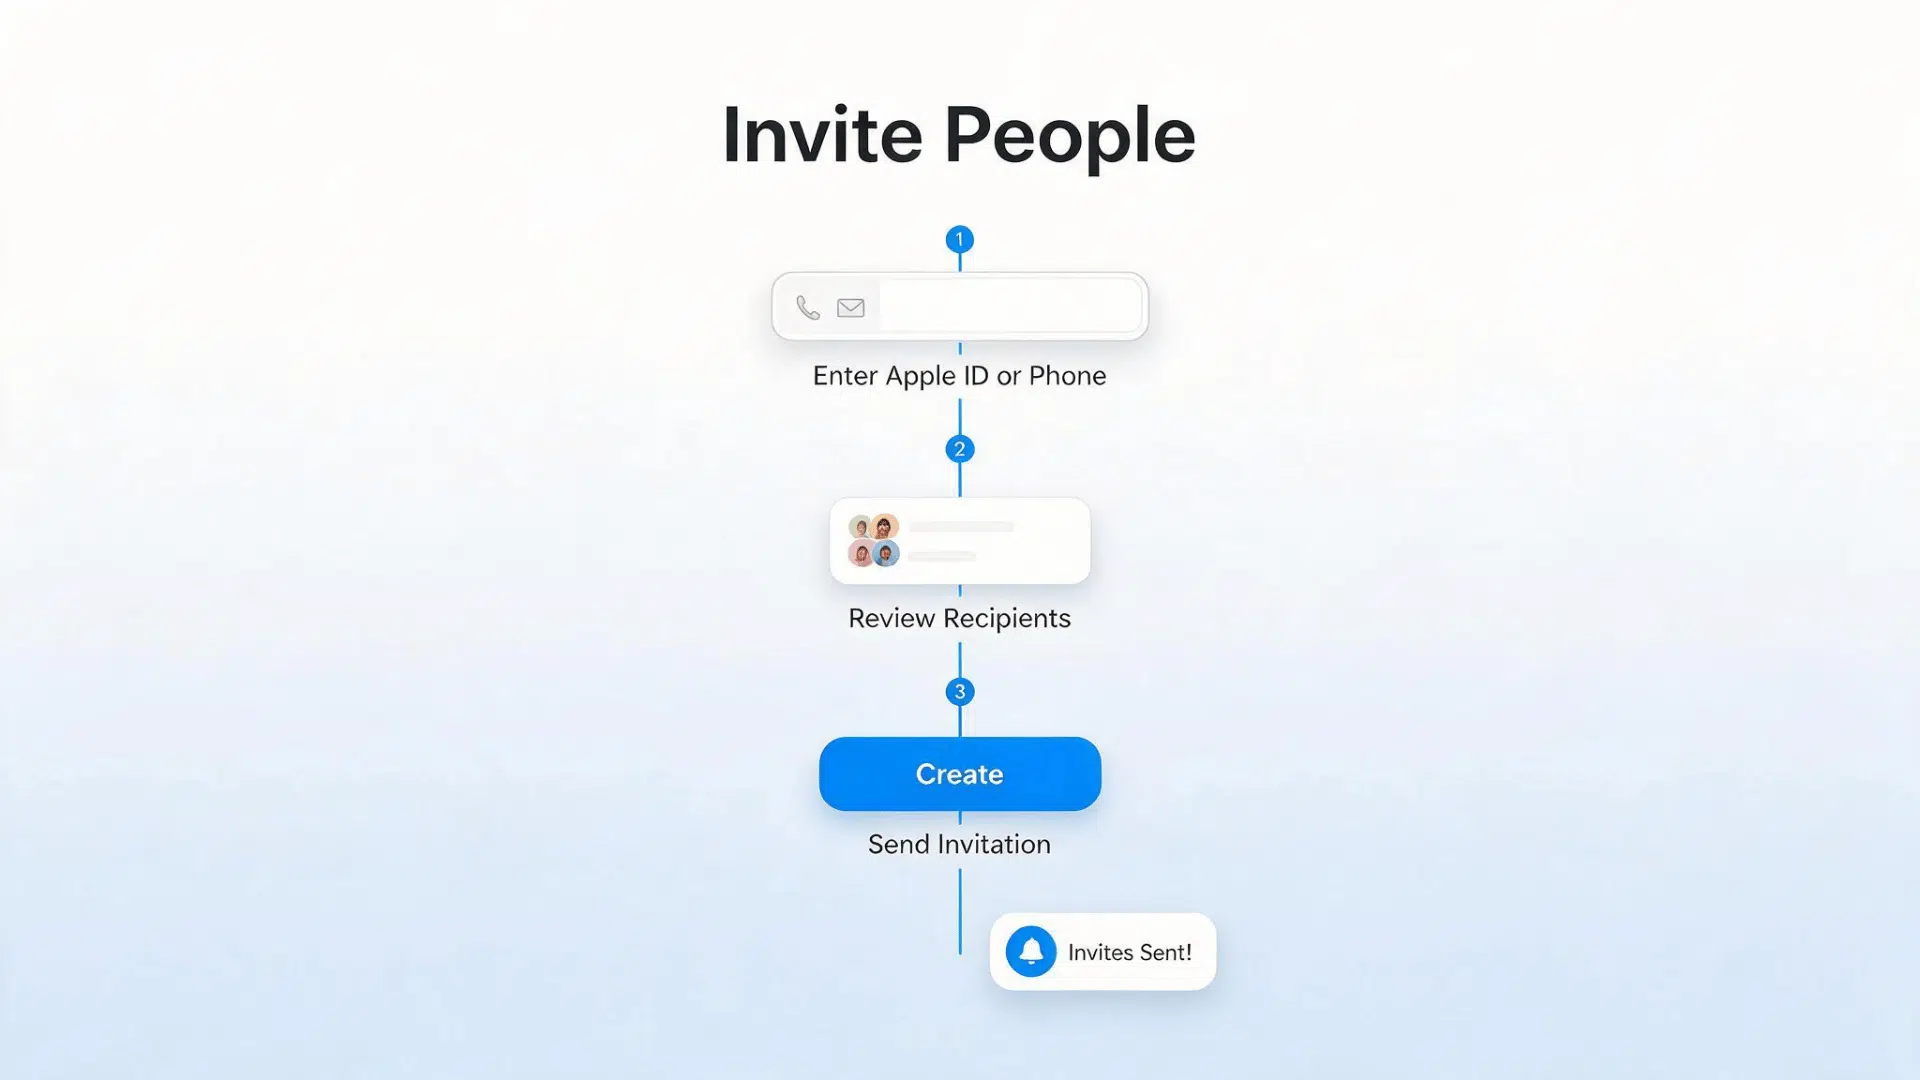
Now you can decide who should have access to the album.
- Enter the Apple ID email address or phone number of each person you want to invite.
- Review the recipient list to make sure everything is correct.
- Tap Create or Post to send the invitations.
The people you invite will receive a notification asking them to join the shared album.
Step 6: Start Sharing
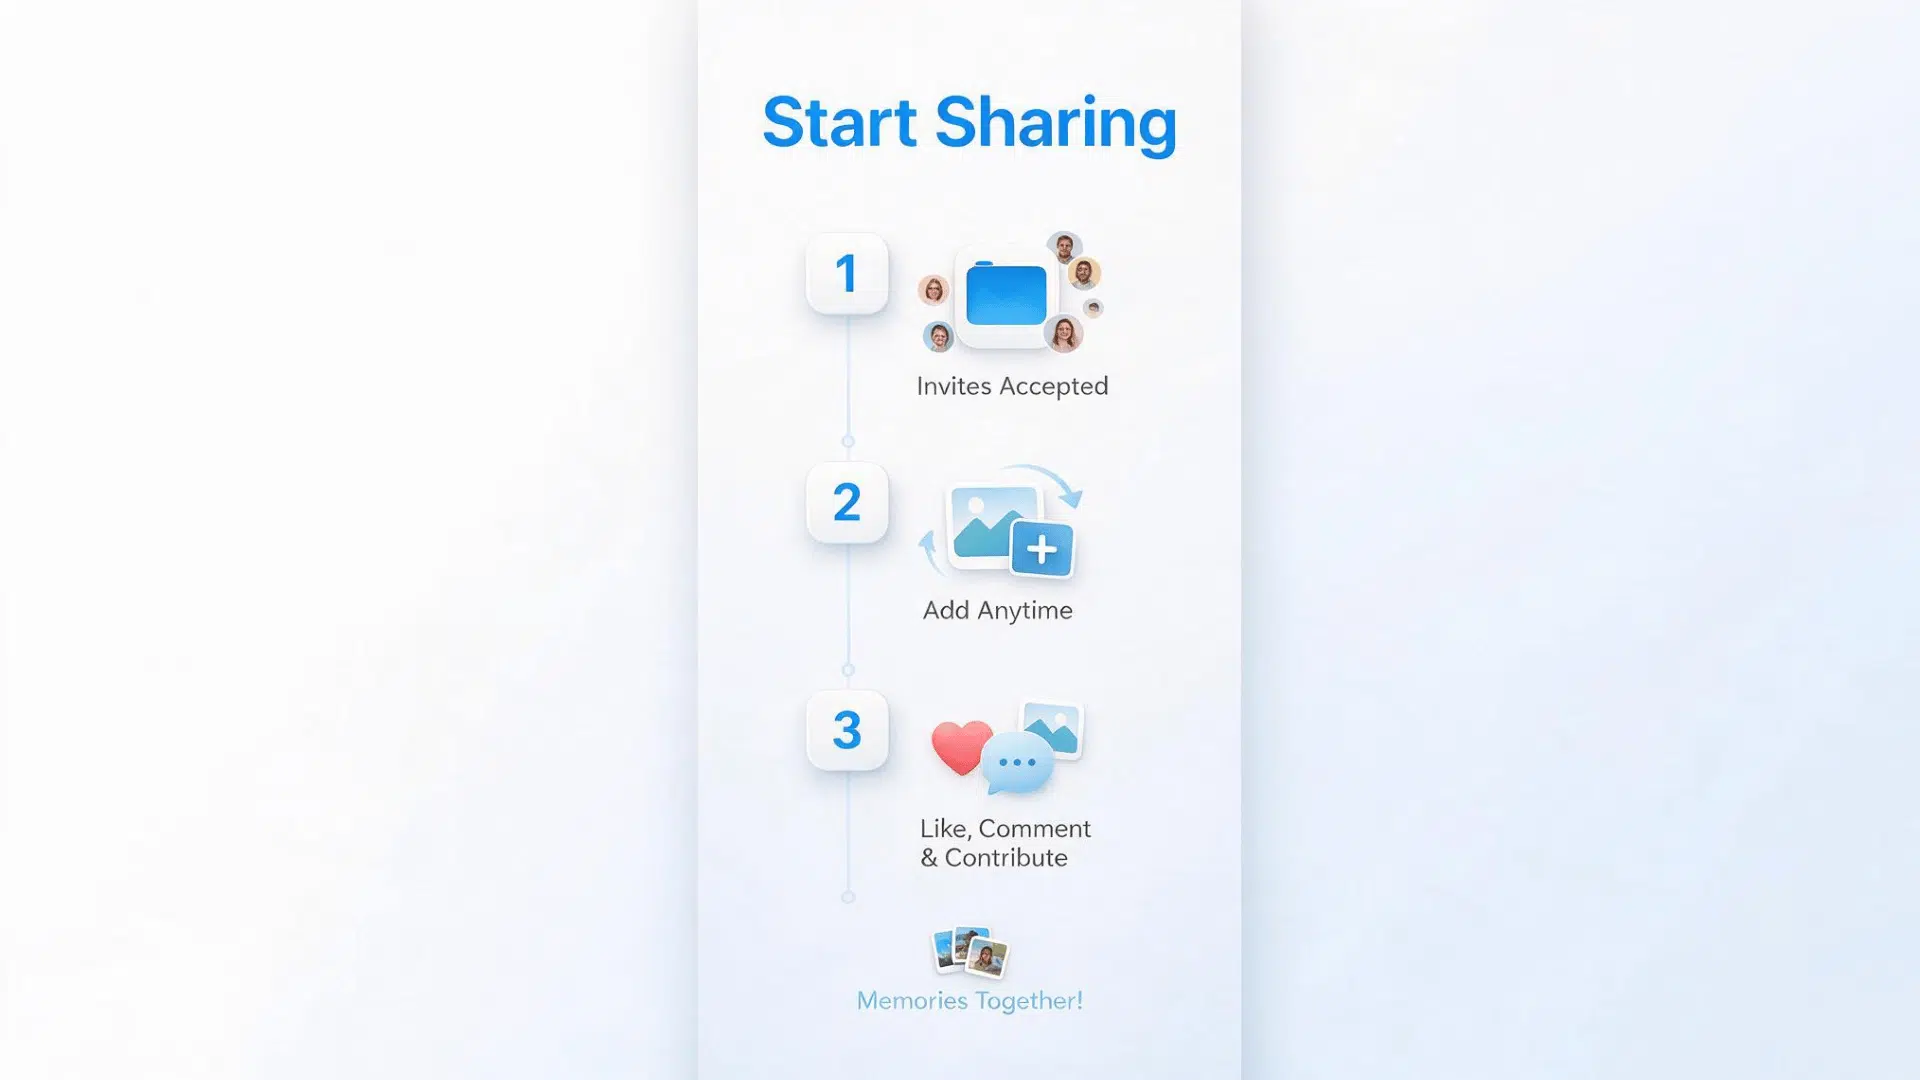
After your invitations are accepted, everyone you’ve invited can open the shared album from their Photos app.
You can continue adding new photos and videos at any time, and they’ll appear automatically for all members.
Depending on your settings, invited people can also like, comment on, or contribute their own photos and videos, making it easy to keep memories together in one place.
Note: Everyone you invite must sign in with an Apple ID to access an Apple Shared Album. If you’re sharing with people who use Android phones or don’t have an Apple ID, Google Photos is usually the easier option.
How to Share An Album On iPhone with Google Photos?
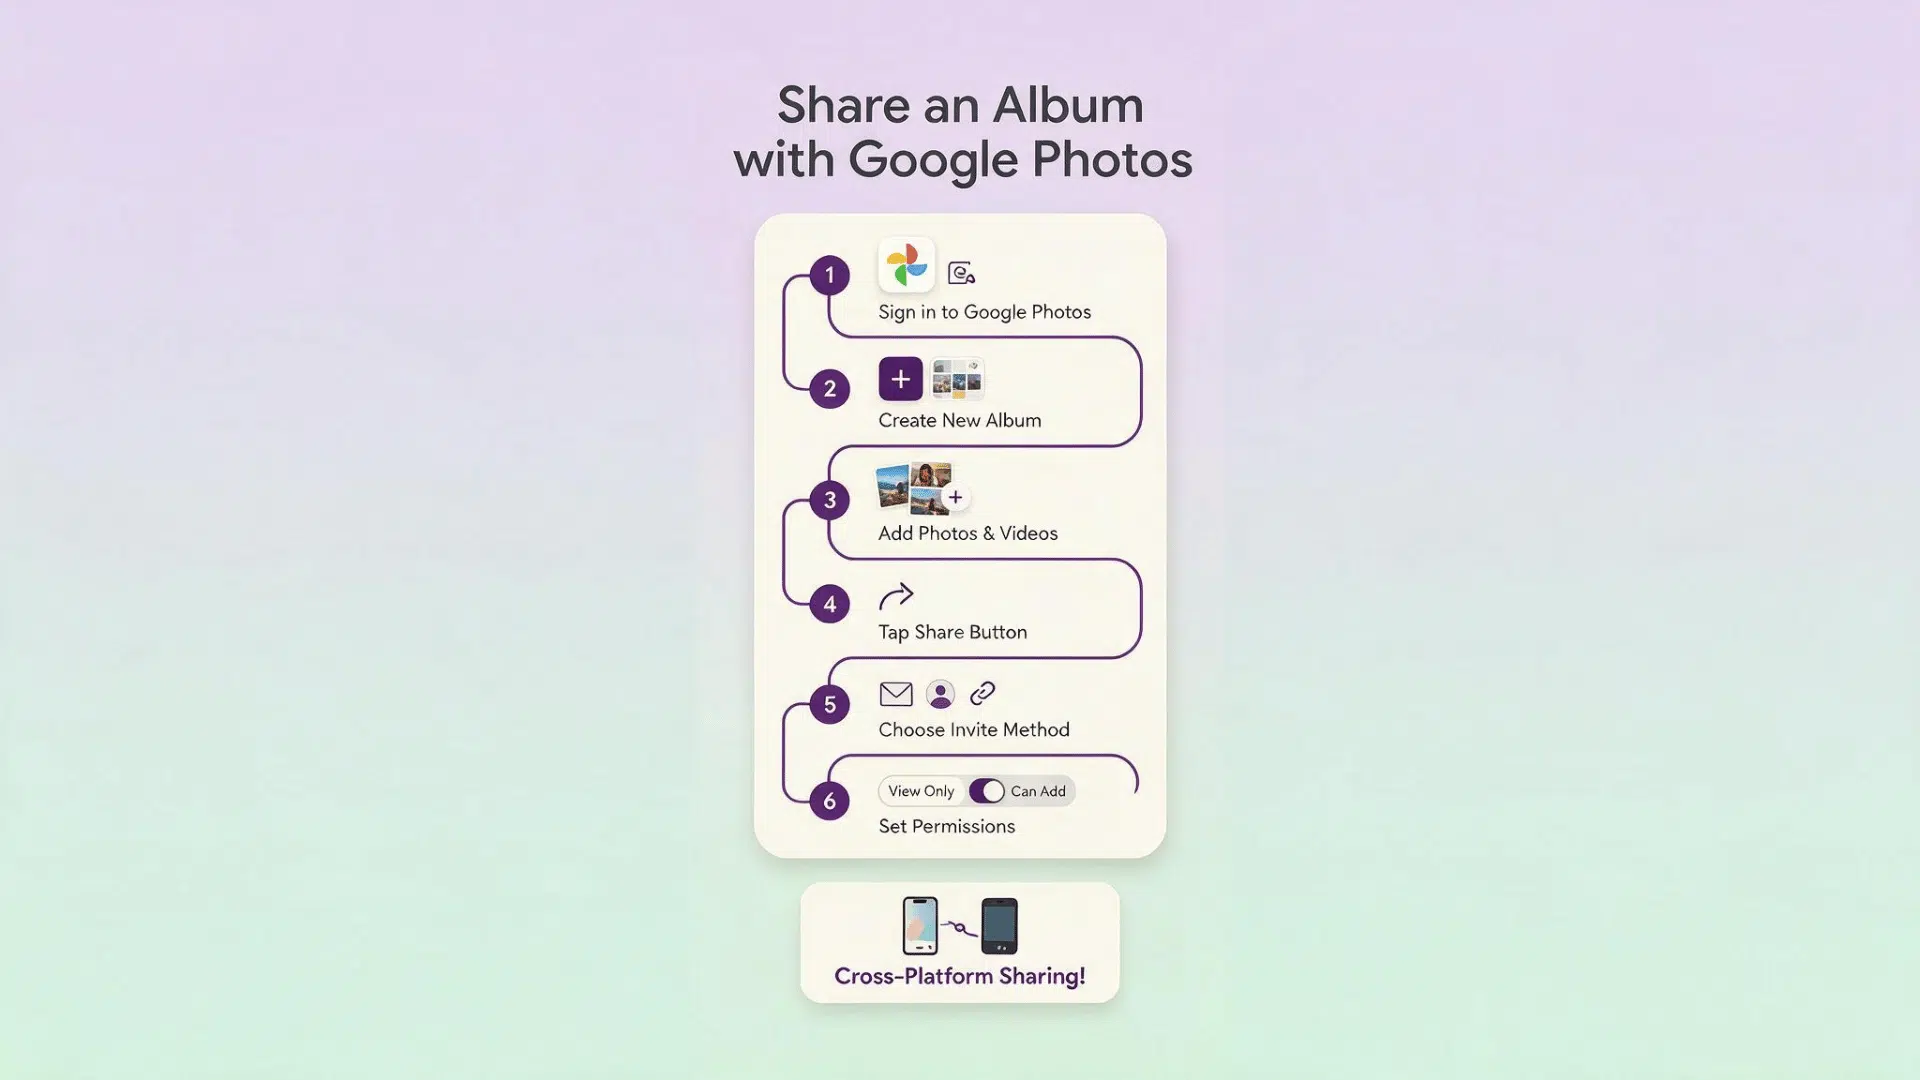
Google Photos is a great option if you’re sharing photos and videos with people who use different devices. If you’re comparing Apple and Android devices in your household, Google Photos makes sharing much simpler across platforms.
Since it works on both iPhone and Android, everyone can access the same album without needing an Apple ID, making it a convenient choice for families and groups.
- Open the Google Photos app on your iPhone and sign in to your Google account.
- Create a new album by tapping the + icon or going to Library > Albums, then select New Album.
- Add the photos and videos you want to include in the album.
- Tap the Share button at the top of the album.
- Choose how you’d like to invite people by entering an email address, selecting a Google account, or creating a shareable link.
- Review the sharing permissions and decide whether others can only view the album or also add their own photos and videos.
Android and iPhone users can join the same shared album, and any new photos or videos you add will appear automatically for everyone with access.
Note: If you share the album using a link, review your sharing settings carefully to make sure only the people you want can access your photos and videos.
Apple Shared Albums vs. Google Photos Shared Albums
Both Apple Shared Albums and Google Photos make it easy to share photos and videos, but they work differently. The right choice depends on who you’re sharing with, the devices they use, and how you want people to access your album.
Feature | Apple Shared Albums | Google Photos Shared Albums |
|---|---|---|
Works on iPhone | Yes | Yes |
Works on Android | No | Yes |
| Requires Apple ID | Yes | No (A Google account is recommended, but link sharing is available.) |
Link Sharing | Limited to Apple’s sharing options | Yes, you can share using a link |
| Photo Quality | Photos and videos may be compressed to fit Apple’s Shared Albums limits | Stores the original quality or Storage Saver quality, depending on your backup settings |
Comments & Likes | Yes | Yes |
| Best For | Families and friends who all use Apple devices | Groups using a mix of iPhone, Android, and web browsers |
The one line in that table I’d pay closest attention to is photo quality. Apple’s Shared Albums can compress files to fit its own limits, while Google Photos preserves more of the original quality depending on how your backup settings are configured.
For anything you might want to print or edit later, that’s worth knowing before you pick a method.
Managing a Shared Album on iPhone
After creating a shared album, you can update it at any time. Apple gives you simple controls to manage your album, so you can keep it organized and decide who has access.
- Add More Photos: Open the shared album, tap the + button, select your photos or videos, and tap Post.
- Invite More People: Tap the People icon, choose Invite People, enter their Apple ID, and send the invitation.
- Remove Someone: Open the People menu, select the person, and tap Remove Subscriber.
- Stop Sharing an Album: Open the People menu and turn off sharing or the Public Website option, if enabled.
- Delete a Shared Album: Open the album, select Delete Shared Album, and confirm to remove it for everyone.
Note: Deleting a shared album removes it for all members, while removing a subscriber only takes away that person’s access.
Why Can’t I Share an Album on iPhone?
If sharing an album on iPhone isn’t working as expected, don’t worry. Most sharing issues are caused by simple settings, syncing delays, or connection problems that can usually be fixed in a few minutes.
| Problem #1 – Shared Albums is turned off Fix: Go to Settings > Apps > Photos and make sure Shared Albums is enabled. Without this setting turned on, you won’t be able to create or share albums. |
| Problem #2 – iCloud Photos isn’t syncing Fix: Check that you’re signed in with the correct Apple ID and that iCloud Photos is enabled. Give your photos some time to sync if you’ve recently added new content. |
| Problem #3 – Poor or no internet connection Fix: Connect to a stable Wi-Fi or mobile data network and try sharing the album again. Album sharing requires an active internet connection. |
| Problem #6 – Google Photos album won’t share Fix: Make sure Backup is turned on in Google Photos and wait for all photos and videos to finish syncing before sharing the album. |
Tips for Sharing Albums Safely
Sharing albums is convenient, but a few simple habits can help protect your privacy. These quick tips can help you control who can view your photos and videos.
- Share albums only with people you know and trust.
- Review your album members from time to time.
- Delete old shared links that are no longer needed.
- Avoid sharing sensitive or personal photos publicly.
- Turn off public link sharing when you’re finished sharing the album.
Following these simple habits can help you share your memories with confidence while keeping your photos and videos private.
Final Thoughts
Learninghow to share an album on iPhone is easier than it may seem once you know which option fits your needs.
Apple Shared Albums work well for sharing photos and videos with other Apple users, while Google Photos is a better choice for groups using different devices.
No matter which method you choose, taking a few minutes to check your settings, manage permissions, and review who has access can make sharing smoother and more secure.
Now that you know the steps, you can confidently create, manage, and share albums with family and friends whenever you want!
Frequently Asked Questions
Can Someone Save Photos From a Shared Album on iPhone?
Yes. Invited members can usually save photos and videos to their own device unless the owner has limited access.
Do Shared Albums Use My iCloud Storage?
No. Apple Shared Albums have separate storage limits and don’t count against your iCloud storage the same way as your main Photo Library.
Can I Rename a Shared Album After Creating It?
Yes. You can change the name of a shared album at any time from the album’s settings.
Will People Be Notified When I Add New Photos to a Shared Album?
Yes. Members may receive notifications when you add new photos or videos, depending on their notification settings.
Can I Use a Shared Album Without Installing Google Photos?
Yes. Apple Shared Albums work through the built-in Photos app, while Google Photos shared albums require access through the Google Photos app or a web browser.